Lesson 4: Applying Construction to Insects and Arachnids

6:25 PM, Sunday September 5th 2021

Draw A Box Homework 5 - Album on Imgur

Direct Link: https://i.imgur.com/0fGFgPp.jpg

Post with 15 views. Draw A Box Homework 5

Those contour curves were tough!! Also for some reason I found tiny sausage legs to be very challenging. Overall happy with the submission, but there's still a looong ways to go!

Thanks for everything you guys do!

0 users agree
9:30 PM, Sunday September 5th 2021

Starting with your organic forms with contour curves, you're doing pretty decently here, though there are a few things to keep in mind:

  • While you're not far off from adhering to the characteristics of simple sausages, you do deviate in some ways throughout these forms. In some you allow the form to get wider through its midsection, and in others the ends get a little more stretched out rather than remaining entirely circular. Just things to keep in mind.

  • It looks like you're keeping a lot of these contour curves fairly consistent in their degree/width - as explained back in the Lesson 1 ellipses video, they should actually be getting wider as we slide along a cylindrical form, moving away from the viewer.

Continuing onto your insect constructions, you are definitely moving in the right direction here and making progress. There are however some things I want to warn you against, and areas where I'd like you to invest a little more time.

Because we're drawing on a flat piece of paper, we have a lot of freedom to make whatever marks we choose - it just so happens that the majority of those marks will contradict the illusion you're trying to create and remind the viewer that they're just looking at a series of lines on a flat piece of paper. In order to avoid this and stick only to the marks that reinforce the illusion we're creating, we can force ourselves to adhere to certain rules as we build up our constructions. Rules that respect the solidity of our construction.

For example - once you've put a form down on the page, do not attempt to alter its silhouette. Its silhouette is just a shape on the page which represents the form we're drawing, but its connection to that form is entirely based on its current shape. If you change that shape, you won't alter the form it represents - you'll just break the connection, leaving yourself with a flat shape. We can see this most easily in this example of what happens when we cut back into the silhouette of a form.

There were a few areas that stood out, where you were definitely taking some shortcuts in 2D space. So for example, this praying mantis - in red I've marked out places where you cut straight across the silhouette of forms that should have been treated as being solid and firm. In blue, I marked out areas where you added flat, two dimensional, partial shapes to the structures - changes made in 2D space. While on the abdomen there you did try to add contour lines to effectively fix the issue, that's unfortunately not how that tool works. Contour lines will only accentuate the sense of solidity and structure that is already present - but a form that isn't itself closed off, or that is too complex, will not be made to feel believably 3D.

Instead, whenever we want to build upon our construction or change something, we can do so by introducing new 3D forms to the structure, and by establishing how those forms either connect or relate to what's already present in our 3D scene. We can do this either by defining the intersection between them with contour lines (like in lesson 2's form intersections exercise), or by wrapping the silhouette of the new form around the existing structure as shown here.

You can see this in practice in this beetle horn demo, as well as in this ant head demo. This is all part of accepting that everything we draw is 3D, and therefore needs to be treated as such in order for the viewer to believe in that lie.

An example of this being done well can be seen with this crayfish's abdomen - while the segmentation there wasn't drawn as complete, enclosed structures (as you'll see on the shrimp/lobster demos on the top of the informal demos page), it does wrap in a believable fashion around the mass that was there previously, operating in 3D and establishing how it relates to that existing structure. Drawing each piece of segmentation as its own complete, enclosed form will simply help push that further, and will ensure that your brain is regarding every piece as though they all exist in 3D space.

Your use of the sausage method with that crayfish also did help - where in other drawings you were somewhat more inconsistent in just how much of the sausage method you'd apply (often choosing not to reinforce the joints between them with contour lines, or placing contour lines along the forms' lengths instead - so be sure to read through the sausage method diagram as it goes overall of its specific requirements), with the crayfish you had much more success in applying those principles in adherence to all the points shown in the diagram, especially with the big fore legs with the pincers. It is however pretty normal for students to struggle in adhering to the characteristics of simple sausages when the forms get especially small and narrow - but that is something that will improve with practice. Continuing to practice them at a larger scale will also help you get more comfortable with them, helping to diminish the number of things you're struggling to achieve when they get small.

Of course, the sausage method isn't just about sausages. The sausage chain structure itself is just the base armature that captures a balance between fluidity and gesture, and solidity, without leaning too much in one direction or the other. One in place, we can then build on top of this base structure with more additional forms as shown here, here, in this ant leg, and even here in the context of a dog's leg (because this technique is still to be used throughout the next lesson as well).

Now the last thing I wanted to call out is that when dealing with head constructions, you're pretty regularly oversimplifying them. This is likely simply because you're not taking enough time to really study and observe the forms that are present in those creatures' heads. If you compare how you've been approaching them to the ant head demo I linked above, you should see how much more can be done, if you take it step by step.

Throughout this critique, I've laid out a number of things that you can do to yield stronger overall results - I'm going to assign some revisions below, to help you demonstrate your understanding of what I've presented here.

Next Steps:

Please submit the following:

  • Drawings done along with the shrimp and lobster demos from the informal demos page.

  • 4 additional insect constructions of your own.

When finished, reply to this critique with your revisions.
4:20 PM, Sunday September 12th 2021
edited at 4:21 PM, Sep 12th 2021

https://imgur.com/a/sXdzzIP

I wasn't sure if you wanted me to copy the shrimp and lobster demos or to apply the principles to a new shrimp and lobster so i attempted the second. I also performed the claw exercise not knowing if this was part of the suggested revisions. Hope I did everything alright. Let me know if I missed something!

Thanks again!

edited at 4:21 PM, Sep 12th 2021
9:10 PM, Sunday September 12th 2021

So I did actually want you to copy the shrimp/lobster demos, and then apply those principles to the other drawings that followed - but it's not a big deal that you went the other route. As a whole I can definitely see improvement here, and that you're applying the points I raised in a variety of places. That said, there are still some areas where you're building upon your drawing using partial shapes/lines that do not define complete, enclosed forms' silhouettes. Here's an example of what I mean.

Be sure to keep working on that as you move forward. You may consider this lesson complete.

Next Steps:

Feel free to move onto lesson 5.

This critique marks this lesson as complete.
The recommendation below is an advertisement. Most of the links here are part of Amazon's affiliate program (unless otherwise stated), which helps support this website. It's also more than that - it's a hand-picked recommendation of something I've used myself. If you're interested, here is a full list.
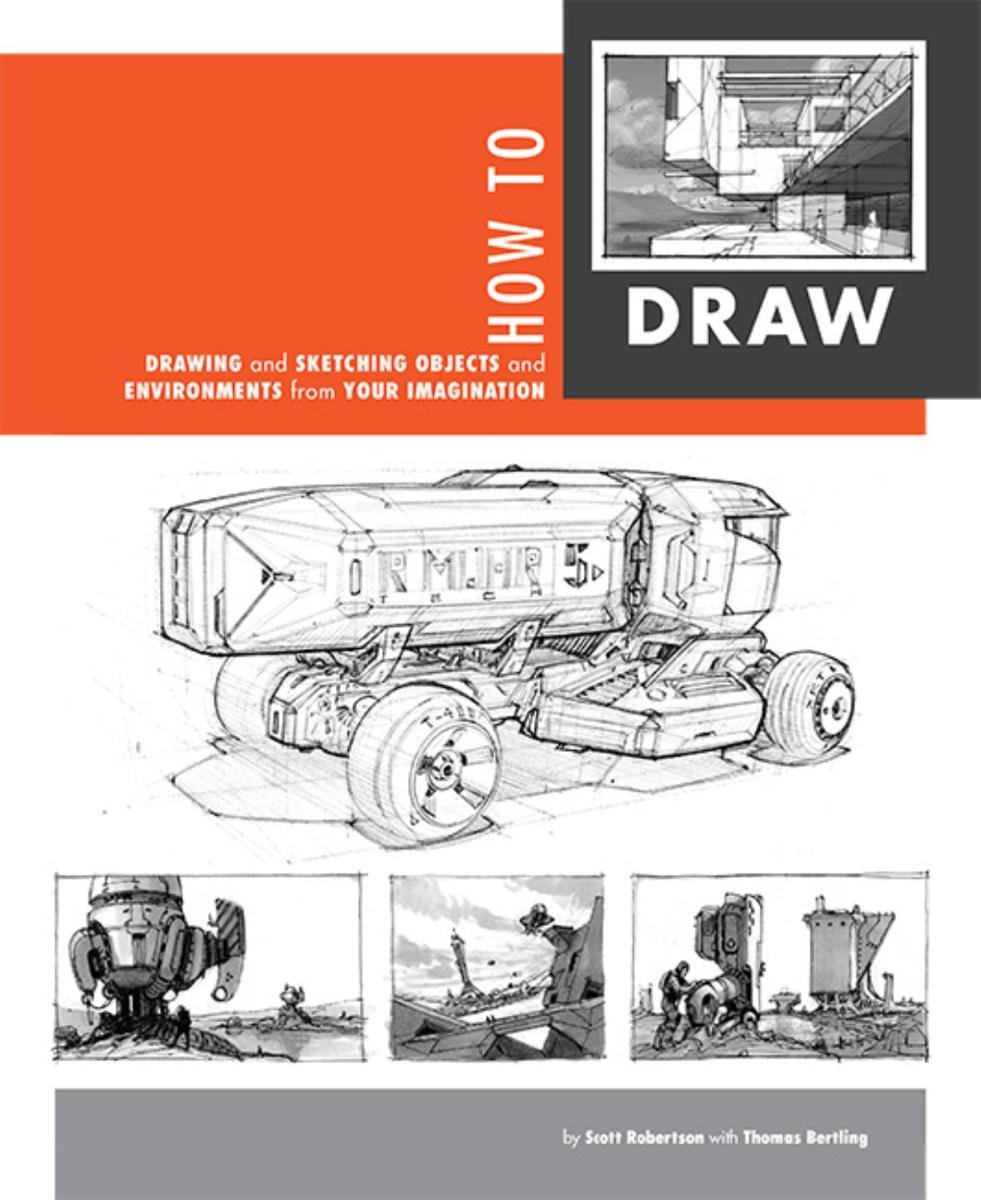
How to Draw by Scott Robertson

How to Draw by Scott Robertson

When it comes to technical drawing, there's no one better than Scott Robertson. I regularly use this book as a reference when eyeballing my perspective just won't cut it anymore. Need to figure out exactly how to rotate an object in 3D space? How to project a shape in perspective? Look no further.

This website uses cookies. You can read more about what we do with them, read our privacy policy.