Lesson 3: Applying Construction to Plants

2:13 PM, Wednesday November 11th 2020

DAB lesson 3 work - Album on Imgur

Direct Link: https://i.imgur.com/DCXRhfe.jpg

Discover the magic of the internet at Imgur, a community powered enterta...

Here we go for lesson 3. I actually made a few more because i did not keep coutn so not everything i ever made is posted here.

I am aware off how bad i am. But i wanna improve obviously. Help me and i shall reward you with text huggies!

But yeah any advise is appreciated. I know this will likely be a lot tougher then last lesson in temrs off what i need to improve on. I am aware my abilit yto create edges/fold in shapes is horrible and my structure ability etc but rip me apart! I wanna improve. Thanks!

Any help is appreciated. Thanks for spending your time on giving me critqiue!

3 users agree
9:51 PM, Saturday November 14th 2020

Hey there, whats up. I'm going to get out of my comfort zone and decided to do a lesson 3 critique for once. I hope i wont sound too rude or mean.

Let's start with the arrows. It looks like you struggled with these but there is overlap and compression, especially at the back. I think if you practiced these more the compression and space will only get stronger and stronger.

The top right is the only one missing an overlap but by looking at the oops you did notice it yourself. Kudos!

Onto the leaves we go. I want to first start with that they flow pretty smoothly and most of them look to be done correctly and i'd like to focus on those. The first leaf i noticed something with was the bottom leftish middle one. It looka to me like you made it more flexible than bendy. It also happens that this one looks to be pretty difficult to nail down Did my best to do it with a mouse. How i see leaves is that they are pretty much like arrows as soon as you bend them. another ones i want to mention is the top middle. It looks like you did the smaller leaves first and then made the big swoop. It's better to do the big swoop first so you have the base done and then do the smaller branches and add the small leaves like this poorly done example . If you do the smaller leaves first you can go out of proportion quickly and make it difficult to follow perspective. For this in addition i think reading about leaves on the site will give extra clarity with what i' trying to say.

Branches time! Major thing i noticed is that on some of them that you curve in the branch toward the ellipse. What i learned is to follow the the minor ellipse as a guide on how you turn.

Something i still struggle with is that there are visible tails where you can see where a stroke ended. With ended the stroke it's best to end it in between the half-way point of an ellipse. You did this some of them but others fall a bit short on it.

The ellipses also don't seem to turn a whole lot on some and tend to keep the same width. A complete side view is flat and as it turns towards you or away, you see more of it (same goes for the back if you have x-ray vision.) Made this visual example where you can also wee that the bottom has a wider ellipse on the top example. The width of the ellipse also changes depending on what height level the viewer sees it.

So, now time for the meat and bones? lesson 3, the plants! I think i will start looking at the demo's first and then look at each page separately starting with the first page i saw when i clicked on the link.

Demo's

-Page 1 Daisy demo

Looking at it i think some of the shadows are a bit too big or small and some petals don't curve over in a u-turn way? ( Don't fully know how to explain it so i'll show a visual example) It's not much but i hope this might make sense with what i'm trying to tell. Not sure if i said this before but when you want to look for cast shadows you can squint your eyes. details will fade more to the background making light and shadow better visible. Some of the detail on the petals look to be a bit too much making look a bit messy.

-Page 2 Pitcher plant demo

When looking at the branch part, it looks a bit flat as the ellipses don't change that much making it look more like a side view. The top part part where the leaf is looks to me a bit low and hard to see where it's going. Be careful you are not putting too much pressure on the pen. The lines here look to be pretty thick. But that might also be because of the size of the pen.

-Page 3 Potato plane demo

The leaves themselves are looking pretty might fine here. The branches seem to have the same problem and some of the cast shadows weren't needed or are floating The green one looks to be a bit too much shadows and looks to be floating. The orange was a step in the right direction but went on just a tiny bit too long making it float. The circled in blue is missing a connection point from the plant itself.

From the demo's i see here this is the best one of the demo's.

-Page 4 The first potted plant i see on imgur

it is important to keep in mind you always draw through your forms. You clearly did this on the plant but not on the pot. Also, whenever you draw a pot, don't forget to put a smaller ellipse in it. that way you show that the pot has some thickness to it

-Page 5 The 3 plants below the potted plant

Branches in the middle plant are going towards the right direction when it comes to forking but narrowly misses it. This explains it well

For the flower part of that one i see no construction at all. Keep in mind that you always use construction. It doesn't look the best with a mouse but hopefully gets the right idea across.

The flower on the left looks to be a tough one as it looks like a front view but the base construction before you add the petals should somewhat be the same as the daisy demo by looking at it. With the plant on the right you seem to have used detail lines that don't seem necessary. I think some shadow to push back the leaves with the will do wonders into popping it more.

-Page 6 Page under potato plant demo

It is difficult ti see what the left one is but by the looks of it it is only a flower head. If it is, then always use a spine before the rest. The bottom of the flower was probably the stem where the branch would be a solid option to make it look like it's sitting in 3D space. The middle one looks to be a big leaf from the top view. It looks to be zig zag pattern. Best to avoid that and make each stroke separate. as explained here

For the right one, it looks to be the most solid. It doesn't look like you drew through the form however (I may have done this one incorrect with the leaves.)

-Page 7 The one with 4 plants

The bud looks to be a bit high up but looks to be solid construction wise. Keep in mind that you draw the leaf fully before you cut into it if it misses something.

THe middle leaves look a bit flat, probably comes from it to be a top or front view. Better than the one of the previous page but still some of the issues are seen here like zigzagging.

Bottom right plant looks solid but keep in mind that while it looks like it starts higher up, it always start at the same place like the rest it looks crude but hopefully does the job.

Guessing that the top right is grass or it is a lant that looks like it's coming from the ground. Same concept like the plant under it. It starts from the same place but may look like it isn't. Some of them also seem to be flexing more than bending and drooping down thanks to gravity.

-Page 8 The second last one of this page

It reminds me of the first one of this post but Better!. It looks to be coming from the same spot and the pot has more thickness to it. The ellipse at the bottom could've been wider and there could've been an ellipse inside of the pot, a bit lower than the first one to show where the dirt starts. Not sure if this is the case but the bottom ellipse looks like it is drawn through only once and not twice or 3 times.

-bonus page (9)

The final page

THe flower on the right other than the branch looks ti be mre 3D. For the petal you can give it a fold even if it's a sharp one to give it even more depth than it already has.

For the flowers in the left im guessing they are together. I think it would be better if you first drew a long branch and then added the forking branch. Then in the end adding the flower. Hopefully this explains it a bit

Okay, to sum this wall up, branches could use a notch, the leaves are steady and for the most part look alright. Just keep in mind whenever it folds, it will be like the arrow for example. There was improvement from start to finish but i am missing the 4 page of pure construction and no detail and no shadows. Unless i missed something, please do say which ones are the ones with no detail. I think 1 extra page of branches would do wonders too.

Anyways, i hope i didn't sound too harsh. I'm still learning and would love to hear critique from how i did my critique in order to get better at my approach.

Cheers!

Next Steps:

1 page of branches and if they are not in here (and i somehow missed them which ones they are) 4 pages of plants that are purely construction and no details and shadows.

When finished, reply to this critique with your revisions.
1:39 AM, Monday November 16th 2020

I honestly did not really do any pags with focus on "detail" but i honestly think my thought process was a bit bad.

All of them have some form of lines for detail etc and i sort of forgot about that.

I bascially considerd the pots,potato flowers and some others to not be "detailed" because i did not really add many details but i now see that is a bit flawed,as true consturction should be more like the leftmost plant on the fourth to last page.

I could do 4 more pages that focus purley on no details with my "Newfound wisdom". The more practie the merrier. Cant have enough after all.

I will do more branches to and attempt to priortise more dynamic angles/elipses and try harder on getting totaly smooth lines.

I may have some questions on some statments but i think i will share them with Elodin and see what he makes of them.

Thank you so much for your time! It seems i was doing okay at least. I will push on with your tips. Thank you!

9:24 PM, Monday November 16th 2020

Anytime!

Could you share what Elodins point of view was? It might be useful for me too on how i can improve.

12:32 AM, Sunday November 29th 2020

Sorry for late reply hehe. But yeah (s)he aint given a reply yet. I ort of took a mini break from dab due to reasons but will try to do the last 3 pages of plants and then submit to you.

After that i think they claimed they would reply and CF me and il return their info to you.

6:49 PM, Friday December 4th 2020

https://imgur.com/a/QEr3NZD

Here ya go. Some are far worse then others and remember to stick to basic shapes was a bit hard and i probably failed a few times. But i think one of the papers was okay.

I learnt a lot/had to rethink some stuff and i think i am on the path to improvment. Take your time

View more comments in this thread
The recommendation below is an advertisement. Most of the links here are part of Amazon's affiliate program (unless otherwise stated), which helps support this website. It's also more than that - it's a hand-picked recommendation of something I've used myself. If you're interested, here is a full list.
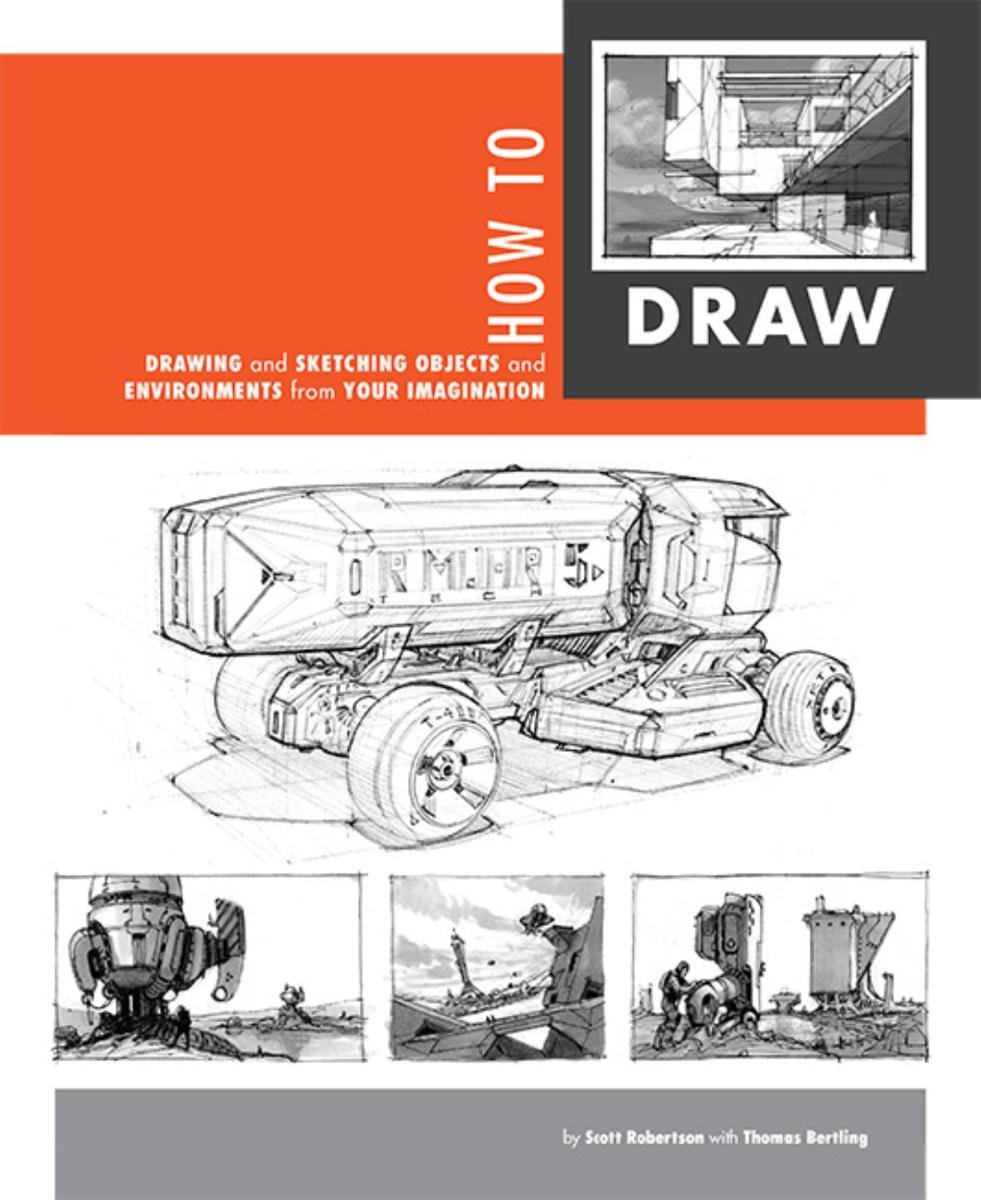
How to Draw by Scott Robertson

How to Draw by Scott Robertson

When it comes to technical drawing, there's no one better than Scott Robertson. I regularly use this book as a reference when eyeballing my perspective just won't cut it anymore. Need to figure out exactly how to rotate an object in 3D space? How to project a shape in perspective? Look no further.

This website uses cookies. You can read more about what we do with them, read our privacy policy.