View Full Submission View Parent Comment
2:30 PM, Friday March 22nd 2024

Hi,

Thank you for the very detailed feedback.

My revisions are linked here: https://imgur.com/a/BZHUZ7M

With many of the revised drawings, after I finished the core construction, I struggled with knowing the right balance of detail to add. For example, I know I shouldn’t draw every single piece of fur or spot/stripe otherwise the drawing will lose purpose and look to busy. I’ve watched the tutorial videos and read the page several times where Uncomfortable describes the importance of not drawing everything and focusing on the silhouette, but I still don’t know the right balance and worry that not drawing enough detail may make a drawing look unfinished. Do you have any other recommendations or resources for how to achieve the right balance between enough and not enough detail?

Also, I just found out I have tendinitis in my drawing arm and consequently need to change my pen/pencil grip from a thumb wrap to a more ergonomic grip. Over the last 2-3 weeks, I’ve been working on thisnew grip but I was wondering if this would require that I restart Lessons 1-4? Or, should I just continue incorporating the exercises from these lessons as part of my warmups and proceed as-is?

2:54 PM, Friday March 22nd 2024

DIO will be around to look at your revisions as per usual but I wanted to address what you mentioned at the end. If you have tendonitis - and by that I mean are in the process of recovering from it - you really shouldn't be continuing to aggravated the issue by continuing to practice drawing until it has had adequate time to heal, otherwise you risk making it worse.

If you have consulted over this with a physician - specifically continuing to draw and the grips you're using, and they confirmed that it's okay to continue, then that's fine, but if this is an adjustment you made on your own to keep going in the interim, that could be quite risky.

As to having to restart due to changing your grip, no that's not an issue, and you do not need to restart. But please, allow your arm to heal properly before continuing with the course, unless you've specifically discussed this with a doctor.

3:12 PM, Friday March 22nd 2024

Thanks so much for the reply. As of right now, the doctor said it is mild and not enough to warrant changing my work or hobbies for yet. However, they did say that I might need to decrease the intensity of both work and painting/drawing if it’s not better at my checkup in four weeks. In the meantime, they’ve recommended I do everything normally with the addition of the following practices:

  • Buy/use ergonomic wrist rests for my desk (I use a keyboard/mouse a lot for my day job)

  • Take frequent breaks every 15-30 minutes when typing or doing other repetitive motions.

  • Use a wrist brace while sleeping or driving long distances

  • Regularly do my prescribed PT exercises (these are the absolute devil and I officially hate tomato paste now, since all of my exercises are various wrist motions with 6oz cans of tomato paste).

  • Take a prescribed anti-inflammatory for the next week

  • Optional: Change my grip if I plan to still draw/paint for extended periods of time.

I’m hopeful that I’m on the upswing since my wrist/hand/arm already feels significantly better—albeit awkward—with my new grip, but I’ll closely monitor, see what the doctor says at my next checkup, and take it easy if necessary. I’ve also been doing a lot more pottery in my 50% time since that uses slightly different muscles.

Thanks again for the reply!

7:05 PM, Friday March 22nd 2024

Hello Hancollinsart, thank you for completing the additional pages.

For your question about how much detail to add, this seems to have been a bit of a distraction for you as you worked on these pages. I'm seeing a general trend for you to get to a certain point in your drawing (usually once you've constructed the torso sausage and basic leg armatures) and jump into texture and detail without fully constructing the forms - skipping over additional masses, and a few steps of head construction. Your application of fur isn't bad- I can see you've focused on adding tufts of fur where it breaks the silhouette and has the most impact, but for the purpose of getting you through this lesson I'd like you to focus on construction only for the next batch of pages.

I was pleased to see that you actually did take notes, including actionable steps with what to work on, and these pages are definitely an improvement. You're giving your constructions more space, and it looks like you're taking more time to think through what you're doing too. I'm happy to see that you're respecting the solidity of your forms, and have largely avoided cutting back inside the silhouette of forms you have already drawn. I'm happy to see that you've resisted the temptation to pile extra contour lines onto the surface of your forms, and have focused on using contour lines where your forms intersect instead, good work. You're making good progress here, though there are a few things which look like they require further clarification.

Core Construction

Your major masses are generally more correctly proportioned, and this is helping you to construct more convincing torso sausages.

When we're looking at an animal from the side like this giraffe there should be a space between the ribcage and pelvis mass as shown here.

I can't see any core neck construction on your lion or your rhino.

Leg Construction

I can see you've avoided making your leg forms elliptical, nice work. Try to stick to simple sausage forms as closely as you can. There are still some places such as here where you're deviating from sausage forms in an effort to draw the whole leg in one go. The key to keep in mind here is that the sausage method is not about capturing the legs precisely as they are - it is about laying in a base structure or armature that captures both the solidity and the gestural flow of a limb in equal measure, where the majority of other techniques lean too far to one side, either looking solid and stiff or gestural but flat. Once in place, we can then build on top of this base structure with more additional forms, here is how we could do this on your giraffe.

When attaching the legs to the body, I find that rather than drawing small ellipses like holes to plug the leg into, it helps to treat these as simplifications of some of the areas of bulky muscles that allow the animal to walk, using much larger ellipses. I've shown this in blue on the same giraffe image. These protruding shoulder and thigh masses are very useful for helping to anchor additional masses to the construction later.

Your lion seems to have had his feet amputated. I'm guessing what happened here is that the feet were obscured by long grass in the reference. If you encounter a similar situation in the future I recommend finding a second reference of the same species where the feet are visible, and use that information to help you to construct the feet. I'd also like to share these notes on foot construction where Uncomfortable shows how to introduce structure to the foot by drawing a boxy form- that is, forms whose corners are defined in such a way that they imply the distinction between the different planes within its silhouette, without necessarily having to define those edges themselves - to lay down a structure that reads as being solid and three dimensional. Then we can use similarly boxy forms to attach toes. Try using this strategy for constructing paws in future.

Additional Masses

Your use of additional masses is still very sparse. Additional masses are an important tool for developing your constructions beyond the simple, generic, balls and sausages that we use to create a solid foundation.

As well as using additional masses on the leg of the giraffe, we could also use them on the torso as seen here. (I'd also re-positioned the pelvis mass in red, and simplified the torso sausage in green, allowing it to sag slightly as discussed on the lesson intro page.

Head Construction

Here I do feel you could have paid more attention to the information presented to you. I'd like you to reread my initial critique where I went over some of the key points of the informal head demo, and asked you to follow the method for constructing heads, as closely as you can.

On your meerkat you clearly attempted to construct large angular eye sockets (though you could be paying more attention to the specific pentagonal shape) and wedge the muzzle snugly against them. On some of your other pages you seem to be largely doing your own thing with the head constructions.

On some of your pages I can't tell if you skipped over drawing eye sockets altogether, or drew them way too small and covered them with the eyeball.

A quick recap on applying the informal head demo method your lion.

1- Large, pentagonal (5 sided, with a point facing down) eye sockets. (red)

2- Wedge the base of the muzzle snugly along a full edge of each eye socket, minding the curvature of the cranial ball as we draw these lines. (blue)

3- Extrude a simple boxy muzzle form- you did this well. Construct the plane of the brow ridge/forehead area. (green)

4- Ears should attach to the head. Don't draw them as lines floating in a mass of fur. (purple)

I actually shared this rhino head demo with you previously and you don't appear to be using it to help with your own rhino head construction.

Other notes

I've also rebuilt a significant portion of your rhino construction here, to show a few of the things we've talked about in action.

1- I've shrunk down the huge ribcage. Remember it is only half the length of the torso, the rib cage is not the tummy.

2- Join the ribcage and pelvis masses together into a torso sausage, without cutting inside the pelvis mass. Construct the neck.

3- The big shoulder and thigh masses I discussed in the leg section.

4- Simple overlapping sausage forms. Make sure your lines are continuous and unbroken and don't introduce sharp corners to the sausages.

5- Contour lines at the joints. As these are intersections they occur where the forms connect together. For this to happen both forms must be present, so the contour curve stays within the region where the forms overlap. If you're not sure why that is, review this section where intersections are introduced. I also added simple forms as a base for the feet.

6- Additional masses (and toes) each with their own complete silhouette. I did see you drew some additional masses above the shoulder and neck of your your construction, though you cut them off where they passed behind the head and eachother, so they become flat partial shapes.

Okay, that should cover it. These are heading in the right direction but there are a few issues to clear up. I'll be assigning another round of revisions. As Uncomfortable discussed, please allow yourself time to heal if needed.

I'd like you to stick to the following restrictions when approaching these revisions:

  • Stick to one construction per page, making every effort to use as much of the space available as you can.

  • Focus on construction only, with no texture. I believe worrying about texture is distracting you from employing the constructional techniques that I'm trying to get you to put into practice.

  • Don't work on more than one construction in a day. You can and should absolutely spread a single construction across multiple sittings or days if that's what you need to do the work to the best of your current ability (taking as much time as you need to construct each form, draw each shape, and execute each mark), but if you happen to just put the finishing touches on one construction, don't start the next one until the following day. This is to encourage you to push yourself to the limits of how much you're able to put into a single construction, and avoid rushing ahead into the next.

  • Write down beside each construction the dates of the sessions you spent on it, along with a rough estimate of how much time you spent in that session.

Please complete 5 pages of animal constructions.

Next Steps:

Please complete 5 pages of animal constructions.

When finished, reply to this critique with your revisions.
9:12 PM, Thursday April 18th 2024

Hi, thank you for the feedback. Here is a link to the five pages of revisions: https://imgur.com/a/EuncZxi

I think there are still concepts I am not quite grasping that I need to practice more but I didn’t want to go against earlier recommendations not to do more than the required page count.

I really appreciate all of your help!

5:55 PM, Friday April 19th 2024
edited at 6:06 PM, Apr 19th 2024

Hello Hancollinsart, thank you for responding with your revisions.

Overall you've making progress.

Your application of the sausage method of leg construction is looking much better! You're sticking closely to sausage forms, applying a contour curve to each joint, and using some additional forms to add complexity. You've made a good start in the use of additional masses along your leg structures, but this can be taken even further. A lot of these forms focus primarily on masses that actually impact the silhouette of the overall leg, but there's value in exploring the forms that exist "internally" within that silhouette - like the missing puzzle piece that helps to further ground and define the ones that create the bumps along the silhouette's edge. Here is an example of what I mean, from another student's work - as you can see, Uncomfortable has blocked out masses along the leg there, and included the one fitting in between them all, even though it doesn't influence the silhouette. This way of thinking - about the inside of your structures, and fleshing out information that isn't just noticeable from one angle, but really exploring the construction in its entirety, will help you yet further push the value of these constructional exercises as puzzles.

Remember to keep pushing yourself to make full use of the space on the page, for example with this cat you're falling back into that habit of drawing small, with lots of empty space on the page. This makes it more difficult to think through the spatial reasoning problems involved with these constructions, making them harder than they really need to be. Drawing small can also make it harder to engage your whole arm and can lead to stiff or clumsy linework.

Speaking of linework, there are places where your lines appear somewhat hesitant, which suggests you might be trying to combine the "thinking" and "doing" into a single step. Remember that one of the strengths of the ghosting method is that we do all our thinking before we make the mark, by separating the process into stages. Remember that during this course we're working on developing our instincts, so they become stronger in our drawings outside of this course. If we try to rely on the very instincts we're trying to develop the work will come out haphazard. Always be very intentional with each mark you make in these exercises.

For example, you could definitely be much more conscious and intentional about how you draw the eye sockets. I know that you know that the eye sockets should be large and pentagonal (you wrote it in your notes!) but here they are small and hexagonal. The boxy muzzle form appears haphazard and incomplete, and the brow ridge is missing. Definitely take a closer look at the informal head demo and follow the method shown more closely. You may find that it helps to actually draw along with the demo if you have not already done so, and to keep referring back to your notes and the feedback/diagrams in these critiques as you practice these constructional exercises.

You're making progress with your additional masses, and I think the mass on the rump of this goat is very well done. You're using the logic shown in this diagram keeping the mass simple where it is exposed to fresh air, and using specific complexity to explain how it wraps around the torso sausage, good work. There are some masses that came out stronger than others, if we go back to this cat the mass under the chest is pretty wobbly and complex and it is unclear what is causing all these bumps and hollows around its silhouette, so it appears flatter. So, here I've redrawn the mass, giving it a more intentional design. Each coloured line is a new stroke, going through the planning and preparation phases of the ghosting method before executing it. For each one I thought about how to communicate how the mass attached to a particular structure- the front of the chest, between the front legs, along the side of the torso- and with the red line I'd kept it simpler, using an outward curve where the mass was exposed to fresh air.

As I redrew that mass it came to my attention that the elliptical shoulder and thigh masses were absent. I went over them at length in your last round of feedback, and you wrote about them in your notes, so I suggest revisiting them to jog your memory.

Overall you're progressing decently, although there do seem to be some issues with remembering everything that's been covered in the various rounds of feedback. More practice will help, but when you do so I think it will help to "think more" rather than just "doing more." By that I mean referring to these rounds of feedback and/or your notes not just before you do some practice, but during the process as well. For example when you get to head construction open up the demo and check your notes for what to work on, to make sure you actually do draw those large pentagonal eye sockets.

Anyway, we've been going over animal constructions for a while now, and I've conferred with Uncomfortable about what next steps we think would be best for you. We agree that the best course of action for you is to take a break from animal constructions and move forward with the course.

What we recommend is that you move forward with the course for now, the 250 Cylinder Challenge is the next step, then come back and review animal constructions in a month. What we'd like you to do is take some time to review all of the feedback you have received and practice applying this information to your constructions independently. There is no need for you to submit any more lesson 5 homework for official critique, as I believe that the information you require is already at your disposal within the various rounds of feedback you have received. If you'd like to get some eyes on your additional practice, you're welcome to join our Discord chat server and share your work there.

Best of luck with the cylinder challenge, and thank you for all your hard work in this lesson.

Next Steps:

Move onto the 250 Cylinder Challenge.

This critique marks this lesson as complete.
edited at 6:06 PM, Apr 19th 2024
The recommendation below is an advertisement. Most of the links here are part of Amazon's affiliate program (unless otherwise stated), which helps support this website. It's also more than that - it's a hand-picked recommendation of something I've used myself. If you're interested, here is a full list.
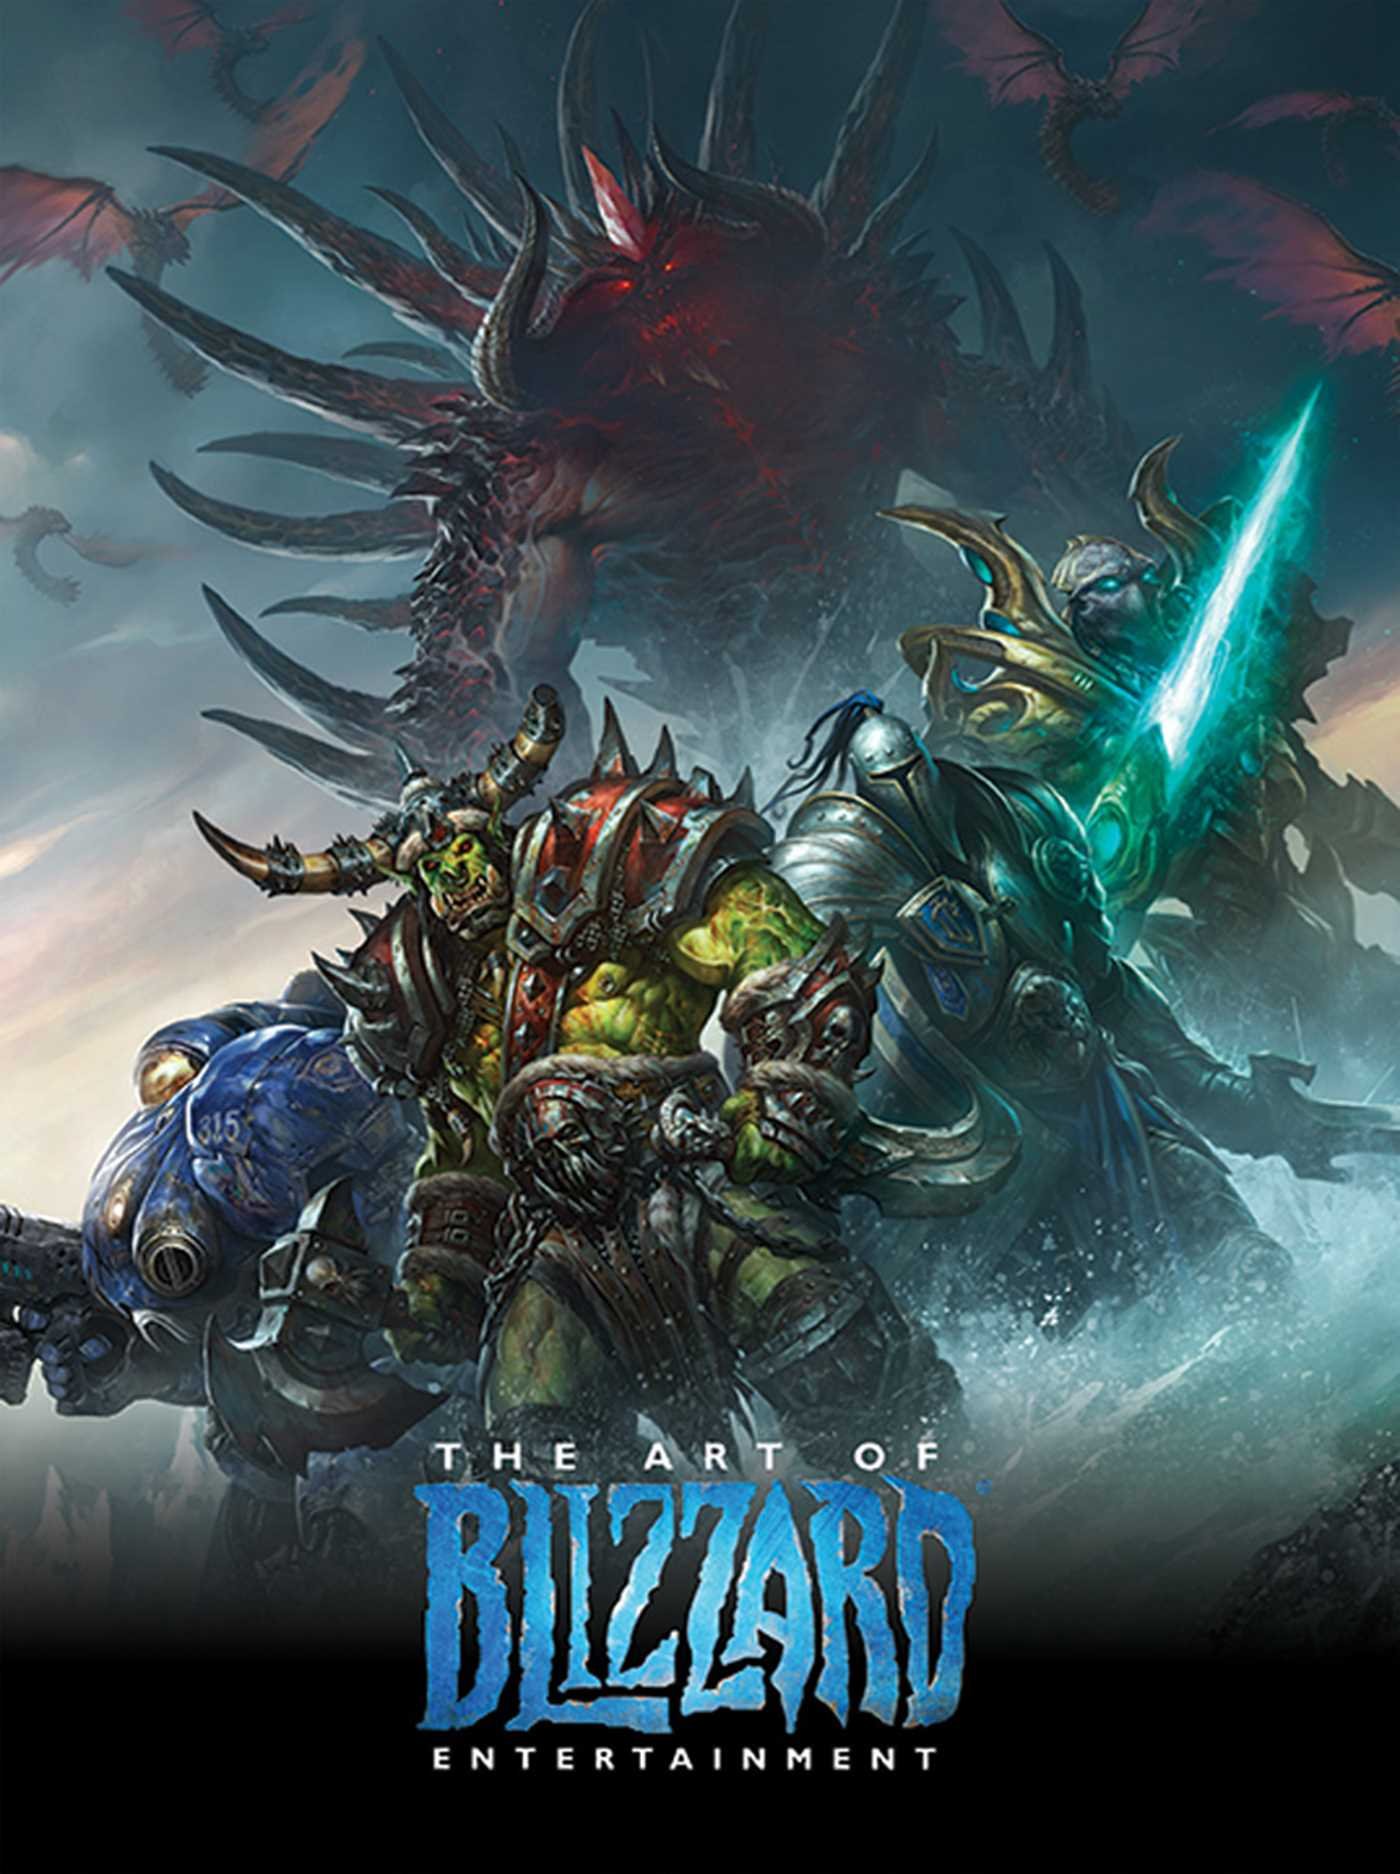
The Art of Blizzard Entertainment

The Art of Blizzard Entertainment

While I have a massive library of non-instructional art books I've collected over the years, there's only a handful that are actually important to me. This is one of them - so much so that I jammed my copy into my overstuffed backpack when flying back from my parents' house just so I could have it at my apartment. My back's been sore for a week.

The reason I hold this book in such high esteem is because of how it puts the relatively new field of game art into perspective, showing how concept art really just started off as crude sketches intended to communicate ideas to storytellers, designers and 3D modelers. How all of this focus on beautiful illustrations is really secondary to the core of a concept artist's job. A real eye-opener.

This website uses cookies. You can read more about what we do with them, read our privacy policy.