Lesson 5: Applying Construction to Animals

4:48 PM, Wednesday October 27th 2021

DrawABox Lesson 5 — Jason Bui

Jason Bui: https://www.jasonbui.com/drawaboxlesson5

Hi Uncomfortable,

I have completed my homework for lesson 5. Please let me know what you think.

I wrote the names of the animals I drew on the top right or left corner of each page.

Best,

JB

0 users agree
9:09 PM, Friday October 29th 2021

Starting with your organic intersections, these are coming along pretty well, though I do have a few quick observations to share:

  • Firstly, don't be afraid to kick in some subtle touches of line weight where the forms overlap one another, to help clarify those overlaps. Even the lightest touch of line weight will help add a lot of dimension to the pile.

  • Secondly, you're making progress with this, but keep thinking about how the surface that receives a cast shadow deforms through space. If it's rounded/curving like the sausages are, consider how those shadows will get pulled along.

  • Avoid places where you've got a form being held up in the air without anything to support it. Make sure that as you design the silhouette of a given sausage, it's abiding by the rules of gravity.

Moving onto your animal constructions, as a whole you are doing pretty well. You're clearly thinking hard about how the things you're drawing exist in 3D space, how your forms fit together to create more solid, believable results, and so on. There are however a few areas where I feel I can suggest some tweaks to your approach to keep you moving in the right direction, and getting the most out of these exercises.

The first thing I noticed was simply that you tend to rely really heavily on contour lines, erring on the side of piling them on even when they aren't necessarily going to contribute much more to the construction and the illusion that what we're drawing is 3D. It's easy to get caught up in the idea that "more is always better", but this isn't actually true. These kinds of contour lines (there are two types, the ones introduced in the organic forms with contour lines, and those introduced in the form intersections, with the ones we're discussing here being the former) tend to suffer from diminishing returns, where the first may have a more significant impact, but the next will have less effect, and those that follow even less.

We make sure that we apply the first step of the ghosting method - that is, the planning phase - assessing exactly what we meant to achieve with a given stroke, how that stroke can be drawn to best achieve its purpose, and whether another mark may already be accomplishing that specific task. It's pretty easy to forget to do this and to rush ahead into simply making the marks, resulting in a lot of linework that isn't necessarily being put to its best use, or that isn't necessary to begin with.

There's also another downside to this, aside from simply piling on more lines than are strictly needed. When drawing our additional masses, where the actual design of each additional mass is what helps us establish the relationship between this new form and the existing structure, it's easy for students to feel that they can try to "correct" a poorly drawn mass by adding contour lines to it. Unfortunately, that's not how it works - those contour lines that sit only on the mass itself don't define the relationship between the mass and the structure. We'd need to actually be defining intersections in order to achieve that with a contour line, but the masses themselves are meant to "wrap" around the existing structure rather than intersect with it.

Despite this, if we feel like we might have a tool that can at least in part "correct" our mistakes, we can find ourselves avoiding the main solution (which is to take more time and think through the design of the mass's silhouette further), and instead continuing to rush through that step and trying to fix it later.

On the topic of additional masses, it's worth mentioning that I don't really feel that you have a strong tendency to pile contour lines onto your additional masses as described above - so you're good in that regard. Still, it's a risk that is worth knowing about. Also, there are some things I'd like to call out in regards to your use of additional masses that should help them come out even better. Here are some notes on one of your camel drawings:

  • The mass you used to add the hump to the camel's body is way too complicated, trying to achieve way too many things all at once. Each additional mass should be given a fairly limited scope of responsibility, and it is generally better to break things into individual pieces in order to ensure that each one's silhouette can be kept simple. This is one of those cases where you definitely drew a silhouette that was way too complex and wouldn't feel solid on its own, then tried to rectify it with contour lines.

  • One thing I notice in a lot of your additional masses is the use of seemingly arbitrary sharp corners - a form of complexity - that aren't being caused by the presence of, or contact with, another form. One thing that helps with the shape here is to think about how the mass would behave when existing first in the void of empty space, on its own. It all comes down to the silhouette of the mass - here, with nothing else to touch it, our mass would exist like a soft ball of meat or clay, made up only of outward curves. A simple circle for a silhouette. Then, as it presses against an existing structure, the silhouette starts to get more complex. It forms inward curves wherever it makes contact, responding directly to the forms that are present. The silhouette is never random, of course - always changing in response to clear, defined structure. You can see this demonstrated in this diagram. This allows us to keep those forms as simple as possible, and to ensure that whatever complexity is added to its silhouette is always in response to the structure it's wrapping around. This will ensure that your forms feel more three dimensional and solid. As a whole, the specific design of these silhouettes will take a lot of effort and time - so don't feel like these things need to be drawn quickly, or even all in one go. It's entirely normal to draw parts of a mass's silhouette with individual strokes, especially when you need to incorporate complexity in different areas.

  • When building up masses on the legs, remember the diagrams I shared with you in my last critique - specifically this one and this one, which shows how every piece we add is its own complete, enclosed, 3D form, and how we're fitting them together piece by piece. Also, since I caught you adding contour lines along the length of your sausages instead of focusing them specifically at the joints between sausage segments (like in this drawing for instance), do be sure to review the specific requirements for the sausage method.

The last thing I wanted to call out was how you're approaching your head construction. Right now it doesn't look like you had a chance to look through this explanation from the informal demos page. As it stands right now, this is the most useful explanation we've got for how to tackle head construction, and once I'm able to overhaul the video content for this lesson, that's the approach we'll be applying across the board. Note specifically how it relies on specifically shaping the eye sockets into pentagons, allowing for a space between them in which the muzzle can be wedged, and a flat surface across the top where the brow ridge and forehead can rest. This allows everything to fit together like pieces of a puzzle, so each component reinforces the illusion that they're all part of a 3D structure.

Be sure to read through that explanation, and apply it to the best of your ability to your animal constructions.

As I have pointed out a number of things for you to work on, I'm going to assign some revisions below, so you can demonstrate your understanding.

Next Steps:

Please submit an additional 4 pages of animal constructions.

Take your time with each one - I highly recommend doing no more than one of these animal constructions on a given day, and if you feel you need to break a single drawing across multiple sittings or days, you should feel free to do so. Sometimes students have the misconception that they should be rushing through and finishing a drawing within whatever amount of time they have that day, but it's the task at hand that should determine how long it ought to take. That way we can be sure to invest as much time as is needed into ever aspect of a drawing - from time spent observing our reference and coming back to it frequently, to the design of each individual form we construct, and the execution of each and every mark.

When finished, reply to this critique with your revisions.
9:52 PM, Saturday December 4th 2021
edited at 10:18 PM, Dec 4th 2021

Hi Uncomfortable,

I completed 8 more drawings. I drew 4 animals and 4 heads. You can see them here(also, you can click the photos to enlarge them, in case you didn't know): https://www.jasonbui.com/drawabox-lesson-5-part-2

I think I was able to make some progress drawing heads. For example, I really like how my drawing of the red panda head came out. However I don't think my other drawings of heads are as good.

I also think that limbs are still the weakest part of my drawings despite my best efforts over the past few months. I hope this skill will 'click' for me at some point in the future.

Lastly, I struggled with your instruction to "Take your time with each one". I worried about investing a large amount of time into a single drawing since I knew that one or two mistakes would mess it up and I would have to start over again. Instead, I drew a bunch of drafts of each animal until i got to one I liked. Each of these drafts took me 10-15 minutes to draw and I did this 15-20 times for each animal. Do you have any tips for getting over this fear of committing to a single drawing over a long period of time?

Thanks,

JB

edited at 10:18 PM, Dec 4th 2021
9:20 PM, Monday December 6th 2021

Before I get into critiquing your revisions, I wanted to talk about the last paragraph. The most important thing you can keep in mind is the fact that every one of these drawings are nothing more than exercises. You are not here to impress anyone. Not me, not others, and not yourself. The work you're producing in this course is not going to be put up on a fridge or celebrated in any way. It's just an exercise, similarly to how those who play sports run drills to develop their core skills.

Remember this above all else: the actions you take - whether you choose to do a bunch of "drafts" (contrary to the instructions about grinding from Lesson 0), or whether you choose to start over because you made a couple mistakes, these are all within your control, because you're the one choosing to do them. Similarly, you can choose not to do any of those things, and to instead follow, as strictly as you can, the core principles set out by the course. Following external directives (for example, those from the course) is often easier because it takes the choice out of your hands, as long as you're willing to put that trust in something outside of yourself. Currently, you are not doing so.

Consider this - the time you put into those 15-20 drafts (amounting to about 150 minutes or 2.5 hours if we take the minimum of each estimate), is time that could be put towards the single constructional drawing, along with observing your reference carefully and frequently, going back over the feedback I provided in my last critique, and so on. It's entirely natural for students to struggle when it comes to figuring out how to invest more time into their drawings, but when you use that time to instead invest in other (draft) drawings, that time is not being spent on this one.

Going over your revisions, there are a number of things I noticed:

  • I noticed in particular on your sheep drawing that you were definitely making a solid effort to have those additional masses wrap around the existing structure. I do have additional suggestions to keep that moving in the right direction however, and I've marked them out here. Most importantly, when drawing the silhouette of an additional mass, remember that corners and inward curves are forms of complexity, and complexity can only exist in response to contact being made by the existing forms/structures that are already in place. You should not be putting corners down arbtrarily, without first having the form that causes them defined.

  • It's also worth noting that your head construction here is coming along well, with the sheep drawing from the previous point. The following sheep head has its strengths too, though it is somewhat more similar to the other head constructions where you have significant deviations from the head construction demonstration I told you to follow towards the end of my last critique. Using your mouse head as an example, I've drawn directly on top of it to show how the approach from the head construction demo would have been applied here. As you can see here you're missing several critical components - you're not employing the specific eye socket shape from the demonstration, and you're not defining how the muzzle actually connects with the cranial ball.

  • The area where you're likely struggling the most right now is in observation. When students make a concerted effort to focus on construction, it's not uncommon for those students to take some of that effort from another area, with the most common I've seen being that those students will spend vastly less time actually looking at their references carefully and most important, frequently. This results in a greater tendency to rely on what they remember, rather than pulling each individual form one by one from their reference, adding it to their construction, then going back to their reference to identify the next. This issue is present most of all in your horse head construction.

  • The last two points are going to be somewhat more minor - firstly, try to restrict your areas of solid black to cast shadow shapes only. Meaning, any shape you've got filled in with black should be establishing the relationship between the form casting it as a shadow, and the surface receiving it. Do not fill things in with black to capture local/surface colour, as you did for the mouse's eye, and the horse's nostril. This is simply because, given the restrictive toolset (which has us working strictly in black and white), the viewer is most likely to interpret those filled areas as cast shadows, and when that doesn't match their expectation, in the time it takes them to shift their expectations and process what they're looking at, we lose some of their suspension of disbelief. Always try to lean into those expectations.

  • You appear to be drawing the proportions of the ribcage and pelvis incorrectly. As explained here, the ribcage occupies half of the torso, and the pelvis occupies one quarter. This leaves a gap consisting of the quarter of that torso length in between them. You appear to be filling this gap with the ribcage by extending its length.

As a whole, you have definitely improved, and I can most clearly see your efforts paying off when it comes to the use of your additional masses. There are however pretty significant points from my original critique that have been missed in a number of these drawings, and I do believe we need to attack that question of how your time is being spent head on. As such, I am going to assign some additional revisions below.

Next Steps:

Please submit an additional 4 pages of constructions. Only do the quantity of work that I request, and submit all of the work you do.

When finished, reply to this critique with your revisions.
9:25 PM, Tuesday December 21st 2021
edited at 9:26 PM, Dec 21st 2021

Hi Uncomfortable,

I followed the new instructions to the best of my understanding.

My drawings can be found here:

https://www.jasonbui.com/drawabox-lesson-5-part-3

I limited the number of drafts I drew. I drew 2 or 3 drafts for each animal to figure out how/where to place major masses. I avoided going overboard with drafts to 'get things right'.(though I know I have room to improve with ghosting and being deliberate with my lines). I included all of my drafts as requested. I marked my final draft of each drawing with a star in the upper right-hand corner.

I also focused on:

  1. breaking up the heads into planes though I'm not certain that I've mastered this skill yet. Personally, I don't notice a big difference in my drawings of when I do break up heads into planes vs. when I don't.

  2. avoiding sharp corners for forms/masses except they came into contact with other forms/masses, especially around joints and limbs.

  3. restricting my use of cast shadows and frawing the ribcage-pelvis ratio 3/4:1/4.

Please let me know what you think.

edited at 9:26 PM, Dec 21st 2021
View more comments in this thread
The recommendation below is an advertisement. Most of the links here are part of Amazon's affiliate program (unless otherwise stated), which helps support this website. It's also more than that - it's a hand-picked recommendation of something I've used myself. If you're interested, here is a full list.
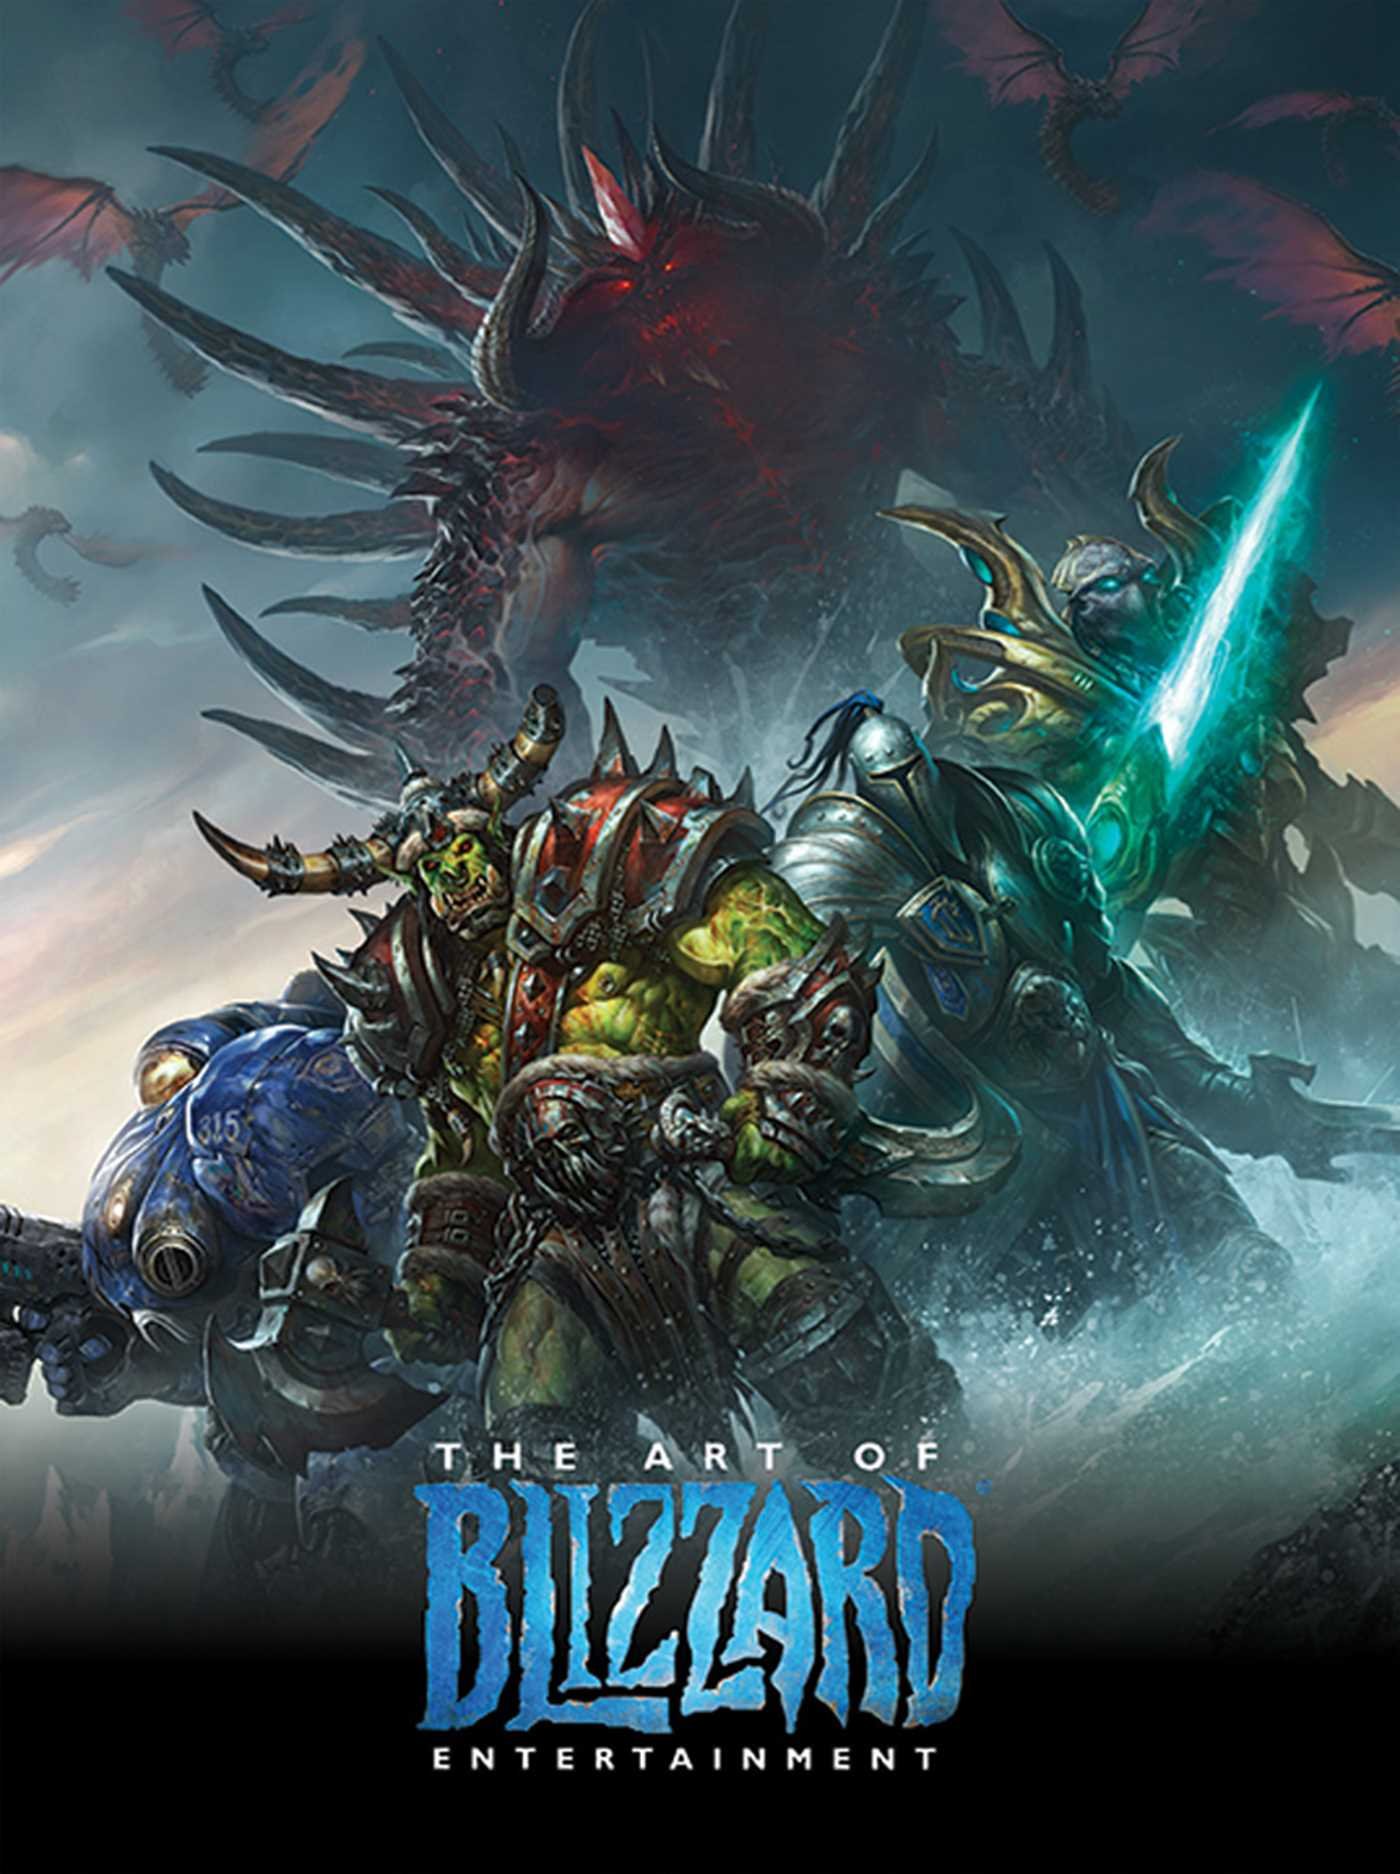
The Art of Blizzard Entertainment

The Art of Blizzard Entertainment

While I have a massive library of non-instructional art books I've collected over the years, there's only a handful that are actually important to me. This is one of them - so much so that I jammed my copy into my overstuffed backpack when flying back from my parents' house just so I could have it at my apartment. My back's been sore for a week.

The reason I hold this book in such high esteem is because of how it puts the relatively new field of game art into perspective, showing how concept art really just started off as crude sketches intended to communicate ideas to storytellers, designers and 3D modelers. How all of this focus on beautiful illustrations is really secondary to the core of a concept artist's job. A real eye-opener.

This website uses cookies. You can read more about what we do with them, read our privacy policy.