This website uses cookies. You can read more about what we do with them, read our privacy policy.

7:59 PM, Friday October 7th 2022
Starting with your arrows, you've done a great job of approaching the linework here with a great deal of confidence. This helps to really push the sense of fluidity with which they move through the world. This also carries over fairly well into your leaves, where you're capturing not only how they sit statically in 3D space, but also how they move through the space they occupy. I'm also pleased to see that you're approaching your edge detail well here, building each bump up with a separate stroke that rises of and returns to the existing structure.
Continuing onto your branches, unfortunately here it appears you may not have gone through the instructions for this one as carefully as you should have. As noted here, the manner in which we lay out our edges - where the start and where they end - are important. Each segment starts at one ellipse, continuing past the second and stopping halfway to the third. Generally you do this part correctly. But what you tend to miss is that the next segment must start at the second ellipse, which would be half the distance between ellipses back from where the previous one ended. This results in an overlap between them, which in turn helps to achieve a smoother, more seamless transition from one segment to the next. In minimizing that overlap, we end up losing a lot of that benefit.
Moving onto your plant constructions, while you're generally moving in the right direction here (although I can see the branches issue present in your work), there are a few points I want to draw to your attention:
-
Keep in mind that construction is all about maintaining tight, specific relationships between the different steps. Each step introduces a new decision being made, and so those that follow must respect and reinforce those decisions, rather than contradicting and undermining them by effectively providing new answers to them. To look at this more concretely, here on this hibiscus drawing, you started out with an ellipse as noted in the demo, which helps us to establish how far out our petals will reach. Once established, our flow lines then must extend right to its perimeter - which again, you did fairly well. That flow line determines both how the leaf or petal it governs will move through space, and how long it will be. Thus, the petal you then draw must stop where the flow line does, rather than leaving an arbitrary gap between it and the tip of the petal.
-
Having complete, consistent, fully closed silhouettes is important - when we draw a structure that has gaps in its silhouette, it tends to remind us that we're just drawing lines on a flat page. On this drawing, your petals ended up being constructed rather loosely, with some of them not actually being closed on the far end.
-
In general I am noticing a number of places where your linework tends to be somewhat hesitant and wobbly - this suggests to me that you're not consistently using the ghosting method, so that's something you'll want to correct. The ghosting method pushes us to separate the mark making process into distinct steps, so we can solve one problem at a time, instead of trying to figure everything out simultaneously.
-
When drawing your petals, in most situations they'll kind of emerge from a central mass, as we see here. In such cases, you should still continue to draw each petal in its entirety, as a completely closed silhouette, even though this will result in parts of those leaves penetrating into that central mass. Drawing each form in its entirety helps us better understand how they sit in 3D space, and how they relate to the other forms around them.
Now, I am going to need you to do an additional page of the branches exercise in order to demonstrate your understanding of how that technique is used, so you'll find that assigned below.
Next Steps:
Please submit 1 more page of branches.
6:06 AM, Saturday October 8th 2022
7:23 PM, Monday October 10th 2022
Looking better. Just be sure to shift the degree of your ellipses wider as we slide further away from the viewer, as noted in the Lesson 1 ellipses video (rather than maintaining a consistent degree for all the ellipses).
I'll go ahead and mark this lesson as complete.
Next Steps:
Move onto Lesson 4.

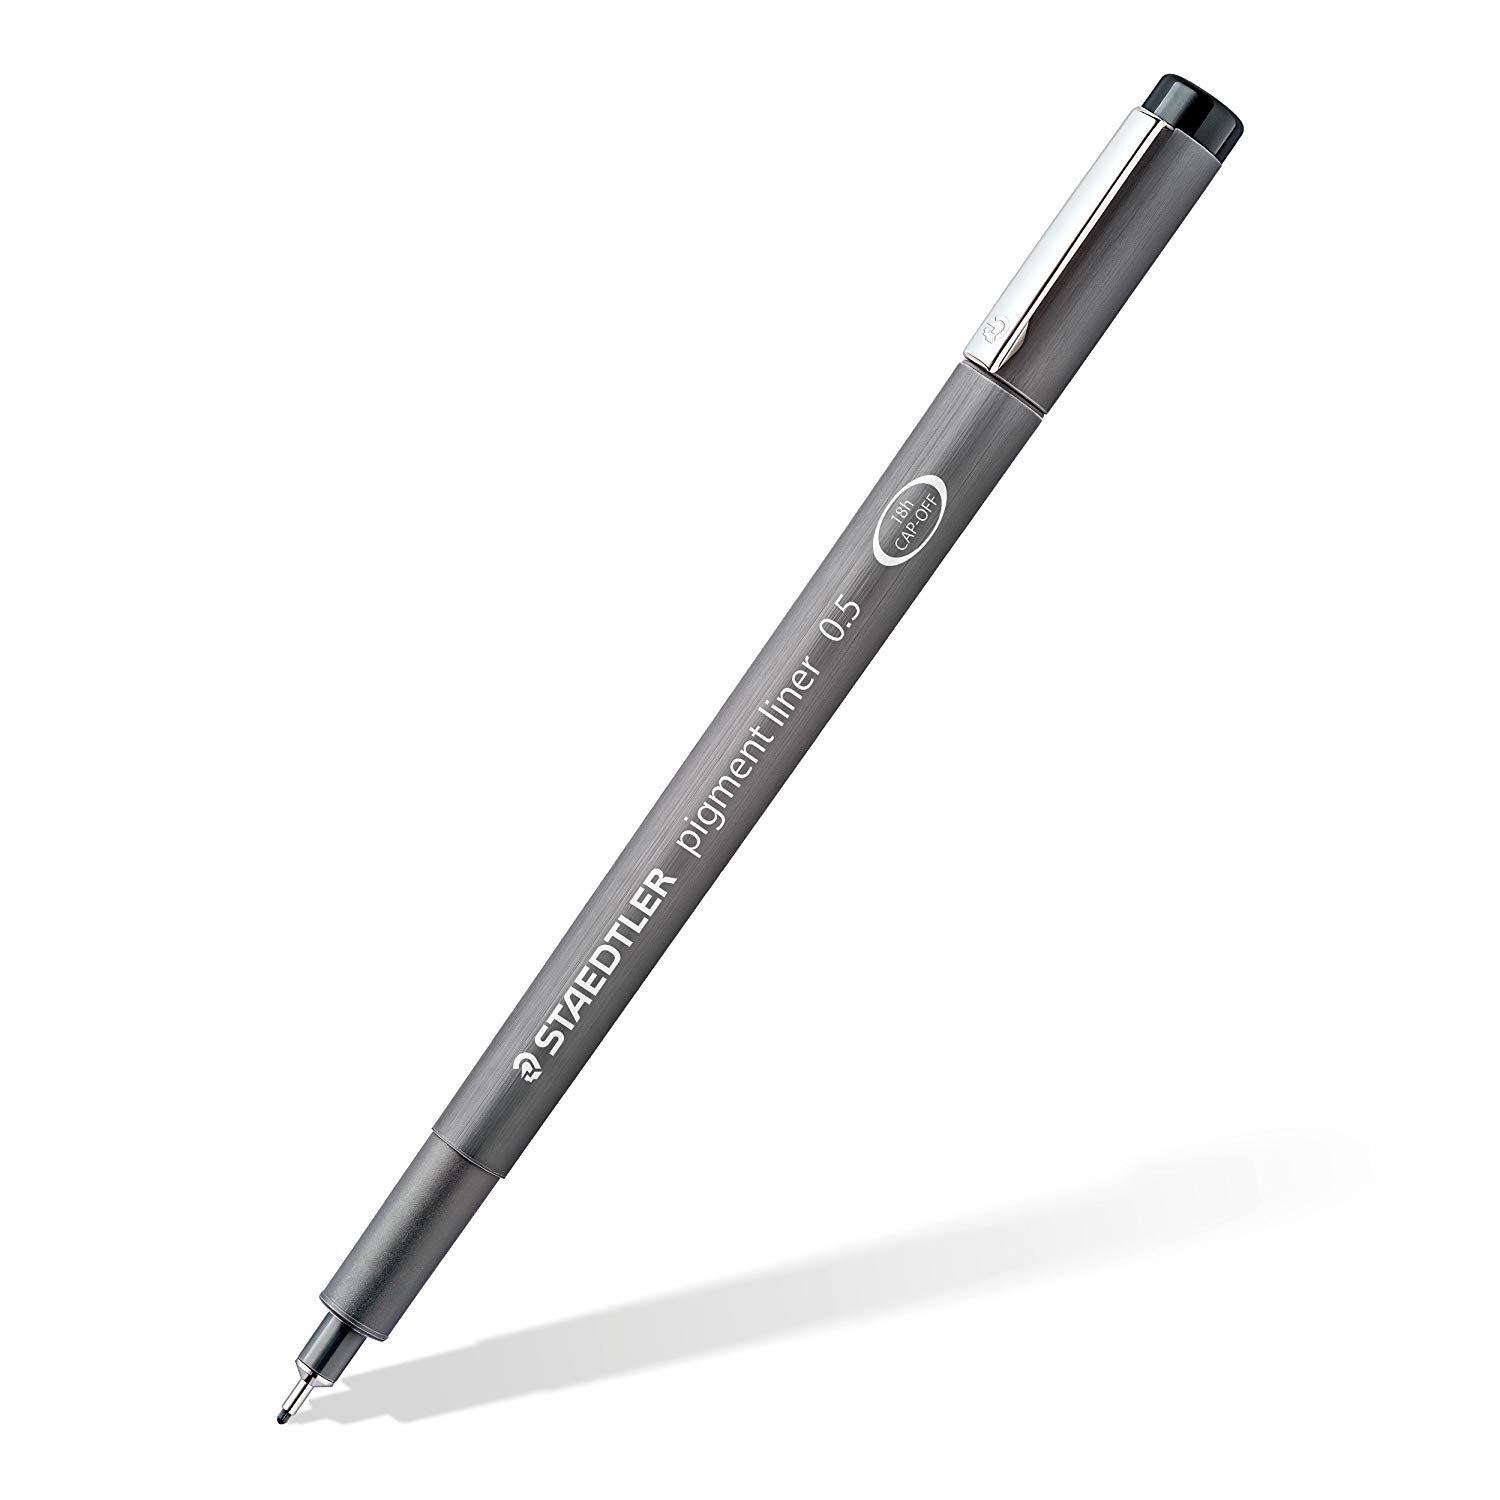
Staedtler Pigment Liners
These are what I use when doing these exercises. They usually run somewhere in the middle of the price/quality range, and are often sold in sets of different line weights - remember that for the Drawabox lessons, we only really use the 0.5s, so try and find sets that sell only one size.
Alternatively, if at all possible, going to an art supply store and buying the pens in person is often better because they'll generally sell them individually and allow you to test them out before you buy (to weed out any duds).


