Lesson 4: Applying Construction to Insects and Arachnids

9:20 AM, Tuesday August 3rd 2021

Homework L4 - Google Drive

Homework L4 - Google Drive: https://drive.google.com/drive/folders/1FI6we9jO6KelaheePPVZ0vMkjH1YkPXa?usp=sharing

Hi There,

Really enjoyed this homework, gave me a chance to see all the cool insects up close, and also a new disgust for some unnamed arachnids, that have creepy details when viewing high res up close.

I have included a few more images than necessary though just wanted to to get an opinion on whether my progression (in some cases) was on the right track.

Thanks in advance, look forward to reading feedback.

Ethan

0 users agree
7:26 PM, Tuesday August 3rd 2021

As a whole, I think your work throughout this submission has shown considerable growth and improvement, and across the board you've definitely improved a great deal. Your understanding of how these complex structures fit together has really come along.

Starting with your organic forms with contour lines, overall you're keeping fairly close to the characteristics of simple sausages. I'm also pleased to see that you are playing with the degree of your contour lines as you slide along the length of a given form.

Continuing onto your insect constructions, there are some issues present in your earlier constructions that you more or less completely resolve by the end - but I do still think it's worth talking about those issues. Sometimes a student may correct mistakes without realizing what they were entirely, and understanding them will help going forward.

If you look at the ambush bug and dung beetle, you had a tendency of not really "respecting" the earlier masses you constructed. You'd draw them more faintly, and then cut across them (leaving pieces of those early masses outside of your "final construction"), generally not treating them as though they were solid, three dimensional structures - but rather as flat drawings on a page.

Because we're drawing on a flat piece of paper, we have a lot of freedom to make whatever marks we choose - it just so happens that the majority of those marks will contradict the illusion you're trying to create and remind the viewer that they're just looking at a series of lines on a flat piece of paper. In order to avoid this and stick only to the marks that reinforce the illusion we're creating, we can force ourselves to adhere to certain rules as we build up our constructions. Rules that respect the solidity of our construction.

For example - once you've put a form down on the page, do not attempt to alter its silhouette. Its silhouette is just a shape on the page which represents the form we're drawing, but its connection to that form is entirely based on its current shape. If you change that shape, you won't alter the form it represents - you'll just break the connection, leaving yourself with a flat shape. We can see this most easily in this example of what happens when we cut back into the silhouette of a form.

Instead, whenever we want to build upon our construction or change something, we can do so by introducing new 3D forms to the structure, and by establishing how those forms either connect or relate to what's already present in our 3D scene. We can do this either by defining the intersection between them with contour lines (like in lesson 2's form intersections exercise), or by wrapping the silhouette of the new form around the existing structure as shown here.

You can see this in practice in this beetle horn demo, as well as in this ant head demo.

This is all part of accepting that everything we draw is 3D, and therefore needs to be treated as such in order for the viewer to believe in that lie - and I am confident that somewhere after those first few drawings, you changed the way in which you looked at the things you were drawing. There is a considerable shift towards believing that what you're building really exists in a three dimensional world, and it has a definite impact on your results, for the better.

Continuing on, I did notice that you seem to have employed a lot of different strategies for capturing the legs of your insects. It's not uncommon for students to be aware of the sausage method as introduced here, but to decide that the legs they're looking at don't actually seem to look like a chain of sausages, so they use some other strategy. In your case I think you were trying to stick to many of the principles of the sausage method in many cases, but there were definitely a lot of cases where because of the subject matter, you made alterations or shifted away. In general, even if it doesn't seem like the right strategy, try to apply all the elements of the sausage method - from sticking to the characteristics of simple sausages for each segment, to reserving your contour lines only for the joints between them (and not adding others along their lengths).

The key to keep in mind here is that the sausage method is not about capturing the legs precisely as they are - it is about laying in a base structure or armature that captures both the solidity and the gestural flow of a limb in equal measure, where the majority of other techniques lean too far to one side, either looking solid and stiff or gestural but flat. Once in place, we can then build on top of this base structure with more additional forms as shown here, here, in this ant leg, and even here in the context of a dog's leg (because this technique is still to be used throughout the next lesson as well). Just make sure you start out with the sausages, precisely as the steps are laid out in that diagram - don't throw the technique out just because it doesn't immediately look like what you're trying to construct.

Aside from that, your work is coming along really well. I'll go ahead and mark this lesson as complete, so keep up the good work.

Next Steps:

Feel free to move onto lesson 5.

This critique marks this lesson as complete.
12:15 AM, Wednesday August 4th 2021

Thank you for this critique, I appreciate your feedback and I would say that I did find it difficult at times to define leg shapes as sausages. And I definitely tried to stop myself cutting in to the base forms and respect the masses I had already blocked in.

I am having trouble with defining long thin legs with a quick fluid sausage shapes.

Should I do a more fluid but smooth action (with my arm)? Drawing quickly allows me to make a lighter mark but if I'm slower i becomes wobbly and thick. I enjoy building up objects as if sculpting with clay, so I found it hard with long and thin anatomy.

What would be your recommendation/approach for long, thin, rigid segments of insect anatomy?

Thanks again.

Ethan

3:38 PM, Wednesday August 4th 2021

Drawing the sausage forms definitely gets more difficult at smaller, narrower scales. First and foremost, it is one of those things that gets easier with practice, and specifically practicing at larger scales tends to make the smaller scales gradually get easier - so always strive to make full use of the space available to you on the page.

Additionally, trying to slow down your execution of your marks (while still using the ghosting method, maintaining a confident stroke, and drawing with your whole arm from the shoulder) can help regain some amount of control. When talking about the ghosting method's execution step, we always use the word "confident" rather than "fast", because it isn't actually tied to how fast you draw. It's simply easier to maintain confidence while drawing faster. As you get more experience drawing lines, you will find that the speed you need to maintain to avoid wobbling/hesitation will gradually decrease, allowing you to reclaim control during the process.

It's a tricky thing that does require experimentation though, and at the end of the day, one way or the other it does come down to practice.

The recommendation below is an advertisement. Most of the links here are part of Amazon's affiliate program (unless otherwise stated), which helps support this website. It's also more than that - it's a hand-picked recommendation of something I've used myself. If you're interested, here is a full list.
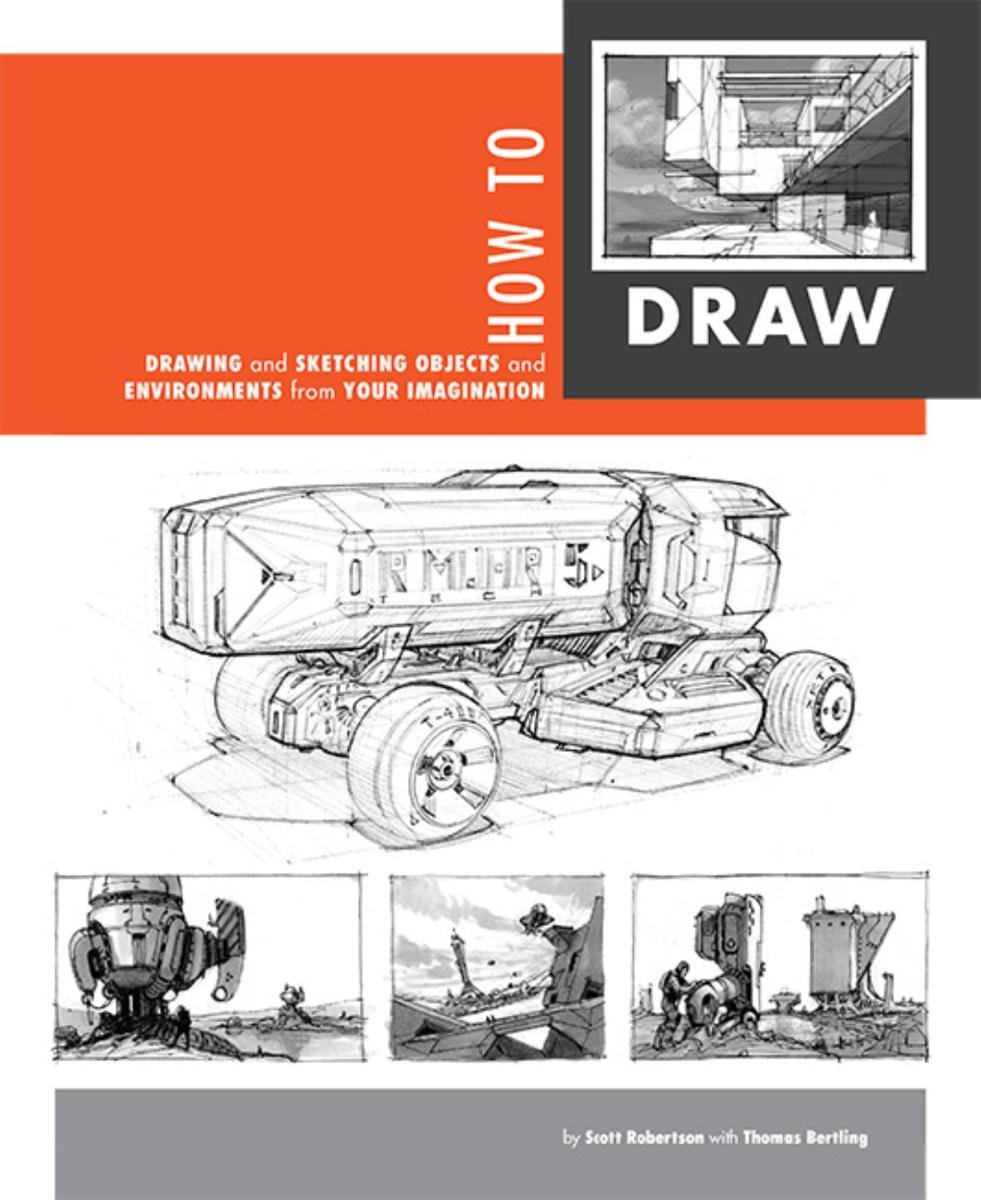
How to Draw by Scott Robertson

How to Draw by Scott Robertson

When it comes to technical drawing, there's no one better than Scott Robertson. I regularly use this book as a reference when eyeballing my perspective just won't cut it anymore. Need to figure out exactly how to rotate an object in 3D space? How to project a shape in perspective? Look no further.

This website uses cookies. You can read more about what we do with them, read our privacy policy.