Lesson 5: Applying Construction to Animals

10:27 PM, Thursday March 17th 2022

Drawabox Lesson 5 - Album on Imgur

Direct Link: https://i.imgur.com/xSkJLrV.jpg

Post with 19 views. Drawabox Lesson 5

(The birds are out of order because I somehow missed them at first, they ended up between the quadruped pages)

For this one, I tried to focus on making sure that every line I drew was part of a fully-defined 3D shape that looked three-dimensional on the page. In some places that made things a bit cluttered, mainly around heads and necks, but for the most part I think they turned out all right. Adding some line weight and shadows at the end made it easier to tell what was going on.

There were a few cases where my first few shapes turned out to have wonky proportions or positioning, and there wasn't much to be done about it - for instance, my first camel's body was too big for its legs and head (#9), so I ended up with a fat camel. I kept going and tried to make the most of it. I managed to fix that in the second page of camels, at least.

0 users agree
7:26 PM, Friday March 18th 2022

Before I start the critique, I did want to mention that the course of action you mentioned at the end of your submission comment - that is, just pushing forward with the way things are going, avoiding changes that cannot be made while staying in line with the principles of construction, and so on - is the right course of action. I assume you mentioned it because you understand that, but I did want to confirm.

Jumping right in with your organic intersections, good work here in drawing forms that slump and sag over one another to create a believable impression of gravity, and largely good work with the cast shadows as well. Just remember that the ground plane would also receive cast shadows.

Moving onto your animal constructions, I'm going to tackle this in a few different categories, split up with headings to hopefully make it a little easier to digest and process.

General Construction

Here there's not much to say. With the corrections made based on the previous critique, you're doing a great job of avoiding modifying the silhouettes of existing structures, building up with new, complete, self-enclosed forms, etc. I can clearly see that you're thinking through how the different forms relate to one another in 3D space.

Use of Additional Masses

I'm quite pleased to see that you've really dived in with the use of additional masses, although I can definitely offer some advice on how to make better use of this technique, specifically when it comes to the design of each mass's silhouette, in order to convey how it wraps around the existing structure.

Before that though, a quick moment to mention that you do use quite a few contour lines here - in fact, you have a tendency to slap contour lines on almost every additional mass, and this is actually a common mistake that ranges from being largely harmless to actually holding us back somewhat, as I'll explain in a moment. It is however, easily fixed.

The thing is, every tool serves a particular task or job. They have their place, but we have to be cognizant of what the tool actually does. In this case, contour lines that sit on the surface of a single form (like those introduced in the organic forms with contour curves exercise) largely focus on taking a form and making it feel more solid, or establishing its volume, as that form exists in isolation. It doesn't do anything to actually establish the relationship with the other forms that already exist, which is really what we want to be solving here.

There is another type of contour line - the kind introduced in Lesson 2's form intersections exercise - which defines the joint between two different forms. This does establish a 3D relationship between forms, but it is applicable specifically in the case that the form we're adding interpenetrates the existing structure. Conversely, when we need a form to wrap around the existing structure instead, we use additional masses, and the tool we use to convey that relationship is the way in which their silhouette is drawn and nothing else.

Now, adding contour lines can be harmless - after all, if they're just doing a job that isn't necessary, that doesn't necessarily mean they're hurting anything. But it can make us feel as though we have an extra tool that we can use to fix situations where our additional masses' silhouettes were not drawn correctly. Instead of assessing the actual problem, we slap a bandaid on it (the contour line) and call it a day, feeling comfortable in the approach of putting whatever form down and then correcting it later.

As for how to correct this - one thing that helps with the shape here is to think about how the mass would behave when existing first in the void of empty space, on its own. It all comes down to the silhouette of the mass - here, with nothing else to touch it, our mass would exist like a soft ball of meat or clay, made up only of outward curves. A simple circle for a silhouette.

Then, as it presses against an existing structure, the silhouette starts to get more complex. It forms inward curves wherever it makes contact, responding directly to the forms that are present. The silhouette is never random, of course - always changing in response to clear, defined structure. You can see this demonstrated in this diagram.

Here's an example of this approach on one of your camels - note also how beneficial it is to have different masses and structures actually butting up against one another. This helps them to feel more grounded and cohesive, and it's often possible to do this with those masses at the hip and shoulder (where quadrupeds tend to have muscle groups that help them run and walk). You can also see more of this in this elephant construction demo.

Also note how in both of these, we can, and should, build up masses on top of one another. Each one should still be as simple as it reasonably can be - its only complexity coming from contact/pressure from other structures. So where you tackled the camel's hump as a single mass, I built it up with several.

Leg Construction

A couple quick notes in regards to this:

  • There are some places, like on this elephant where you're a little more prone to using ellipsoid forms instead of sausages.

  • I did see you slapping some contour lines along the lengths of your sausage structures (mostly earlier in the set) - remember that as explained in the middle of the sausage method diagram, the only contour lines here should be placed at the joint between the sausages.

Head Construction

Lesson 5 has a lot of different strategies for constructing heads, between the various demos. Given how the course has developed, and how I'm finding new, more effective ways for students to tackle certain problems. So not all the approaches shown are equal, but they do have their uses. As it stands, as explained at the top of the tiger demo page (here), the current approach that is the most generally useful, as well as the most meaningful in terms of these drawings all being exercises in spatial reasoning, is what you'll find here on the informal demos page.

There are a few key points to this approach:

  • The specific shape of the eyesockets - the specific pentagonal shape allows for a nice wedge in which the muzzle can fit in between the sockets, as well as a flat edge across which we can lay the forehead area.

  • This approach focuses heavily on everything fitting together - no arbitrary gaps or floating elements. This allows us to ensure all of the different pieces feel grounded against one another, like a three dimensional puzzle.

  • We have to be mindful of how the marks we make are cuts along the curving surface of the cranial ball - working in individual strokes like this (rather than, say, drawing the eyesocket with an ellipse) helps a lot in reinforcing this idea of engaging with a 3D structure.

Try your best to employ this method when doing constructional drawing exercises using animals in the future, as closely as you can. Sometimes it seems like it's not a good fit for certain heads, but with a bit of finagling it can still apply pretty well. To demonstrate this for another student, I found the most banana-headed rhinoceros I could, and threw together this demo.

Conclusion

As a whole you're definitely headed in the right direction here, and are making good progress. That said, I have shared a number of things here, and while I'm confident you can apply them all effectively, I would like to see some examples to show your understanding. You'll find some revisions assigned below.

Next Steps:

Please submit an additional 3 pages of animal constructions.

When finished, reply to this critique with your revisions.
8:58 PM, Tuesday March 22nd 2022

Thanks for so much great feedback! You can find my revisions here:

https://imgur.com/a/VxHwuo1

For the most part, I think it ended up much less cluttered compared to my original submission, since I'm using fewer contour lines and focusing on the form intersections instead. I think the elephant head in particular came out a lot better than before, building things out from the eye sockets definitely helped.

As for the legs, I find that my arm naturally wants to turn the sausages into ellipses, so I have to try and force it to make sausages instead. If I force it too much though, I start slowing down and losing the line confidence. I think most of them turned out all right, but a few still turned a bit elliptical.

I also added some cast shadows on the ground, though I wasn't sure just how much to add here. I thought too much shadow would start to detract from the animals themselves, so I tried to add just enough to show that they're on the ground and not hovering in midair.

5:38 PM, Wednesday March 23rd 2022

I'm definitely seeing a lot of improvement here, although there's still plenty of room for further growth. As I've marked out here and also demonstrated on these corrections, you do still have plenty of room to keep improving the design of your additional masses' silhouettes - specifically where to use inward curves vs. outward curves. For that bridging form between the camel's two humps, you've got inward curves both along the top and the bottom of the mass, although there's no specific structure making contact on either side to produce those results.

Also, there are definitely opportunities to press masses up against the hip and shoulder masses that you're missing out on, and a similar tendency to use outward curves where inward curves are required when adding masses to your legs.

That said, I think this is still a significant improvement over your last set, which were already coming along reasonably well, so I am going to mark this lesson as complete. With the feedback I provided previously and the additional points I marked out here, you should be able to continue practicing, revisiting that feedback periodically to make sure you're heading in the right direction.

As to the cast shadows, I think what you added was fine. Logically speaking the shadows wouldn't be broken up like that, but I think it's stylistically valid to avoid the big heavy black splotch, going with smaller ones focusing on where the object makes contact with the ground. Another alternative however would be to draw the big singular cast shadow but to merely outline it, rather than filling it in. That'll help ground the structure without overwhelming the drawing.

Next Steps:

Move onto the 250 cylinder challenge, which is a prerequisite for lesson 6.

This critique marks this lesson as complete.
The recommendation below is an advertisement. Most of the links here are part of Amazon's affiliate program (unless otherwise stated), which helps support this website. It's also more than that - it's a hand-picked recommendation of something I've used myself. If you're interested, here is a full list.
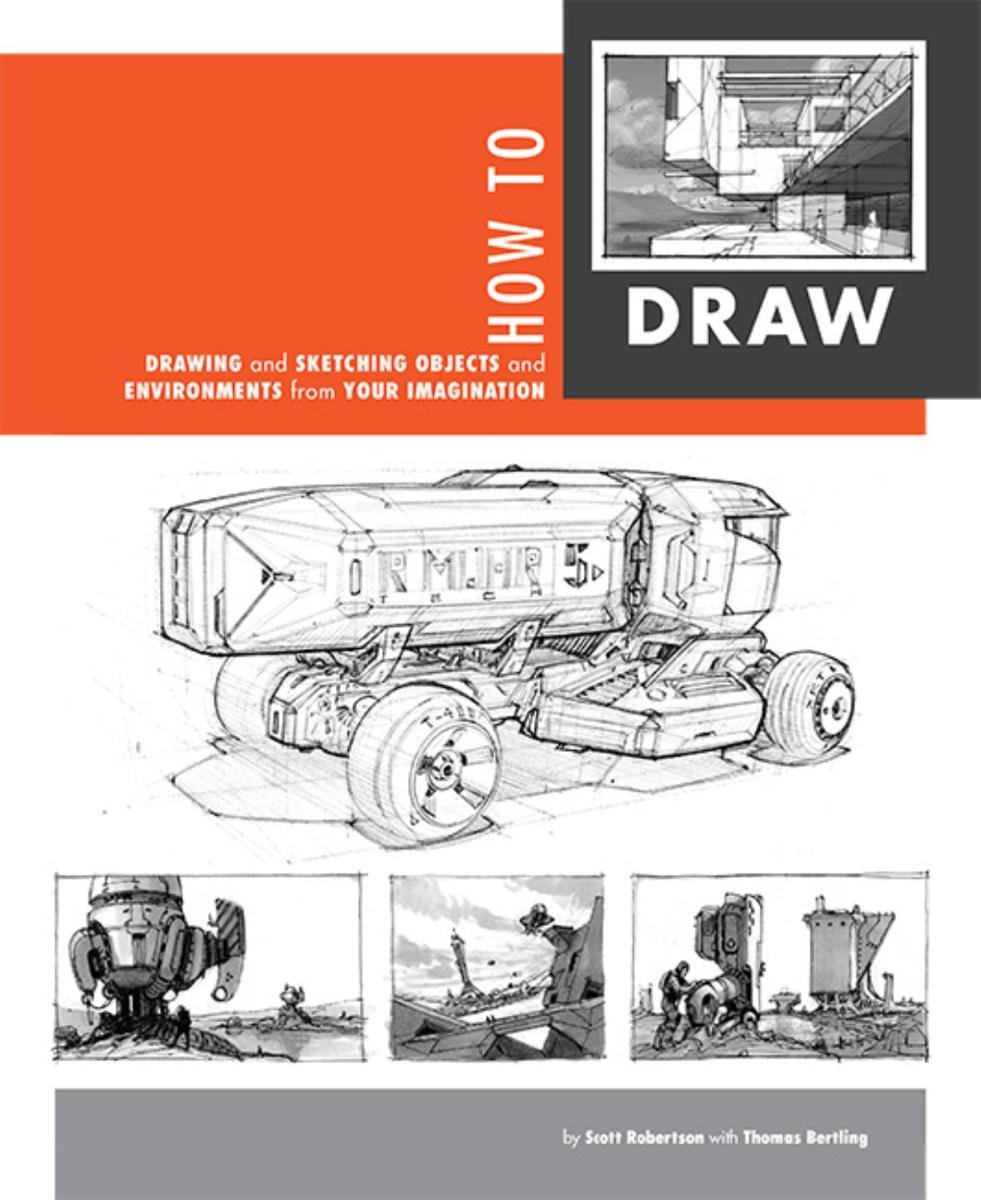
How to Draw by Scott Robertson

How to Draw by Scott Robertson

When it comes to technical drawing, there's no one better than Scott Robertson. I regularly use this book as a reference when eyeballing my perspective just won't cut it anymore. Need to figure out exactly how to rotate an object in 3D space? How to project a shape in perspective? Look no further.

This website uses cookies. You can read more about what we do with them, read our privacy policy.