Lesson 2: Contour Lines, Texture and Construction
5:47 PM, Saturday September 4th 2021
Well, this is it for lesson 2 I guess. Happy to hear any comment.

You've done a pretty good job with lesson 2 overall. I just have a few issues to point out.
On the organic forms, you seem to focus a lot on adding a good number of ellipses/contours. While having a good number of them is important to a point, I think it's excessive here. I'd personally recommend sticking to 4-5 for the average form - maybe 6 if it's a particularly large form. The main issue here, however, is the degrees of the ellipses & curves. The degrees on them don't really change all that much. It's important to incorporate those changes in degrees to help portray the shift in perspective.
Your arrows are pretty solid overall. On a couple of them, the gaps in the folds don't get larger as they get closer, but you avoid this issue in most of your arrows.
The texture exercises are quite good. You've done a solid job with observing your references carefully and applying what you see to your drawings. You also do a good job with making the textures adhere to their surfaces on the dissections exercise. My only point for critique is that the gradients for the first two textures come to a somewhat abrupt stop instead of smoothly transitioning into white space. You did a very good job with this on the third one, however.
The form intersections and organic intersections are quite good. The forms all feel like they occupy the same space together, complete with consistent foreshortening. My only point of critique is that on the last page of organic intersections, you drew three smaller piles instead of one big one. I'm not certain that this is wrong persay, but it is good to draw bigger when you can. Keep this in mind for the future.
Also, I don't wish to be snarky, but do be sure that the photos are not upside down, next time. Drawings are a fair bit harder to fully critique when they're not right-side-up.
Next Steps:
Overall, great work. I think you're ready to move on to lesson 3.
I also recommend incorporating some of the simpler exercises as warm ups. I think you'll benefit from practicing the arrows and organic forms with contour curves some more as you go forwards.
Keep on drawing.
Thanks for your time! I'll try to watch out for what you pointed out. And I'll definitely take your advice about warm-ups.
Have a nice day.

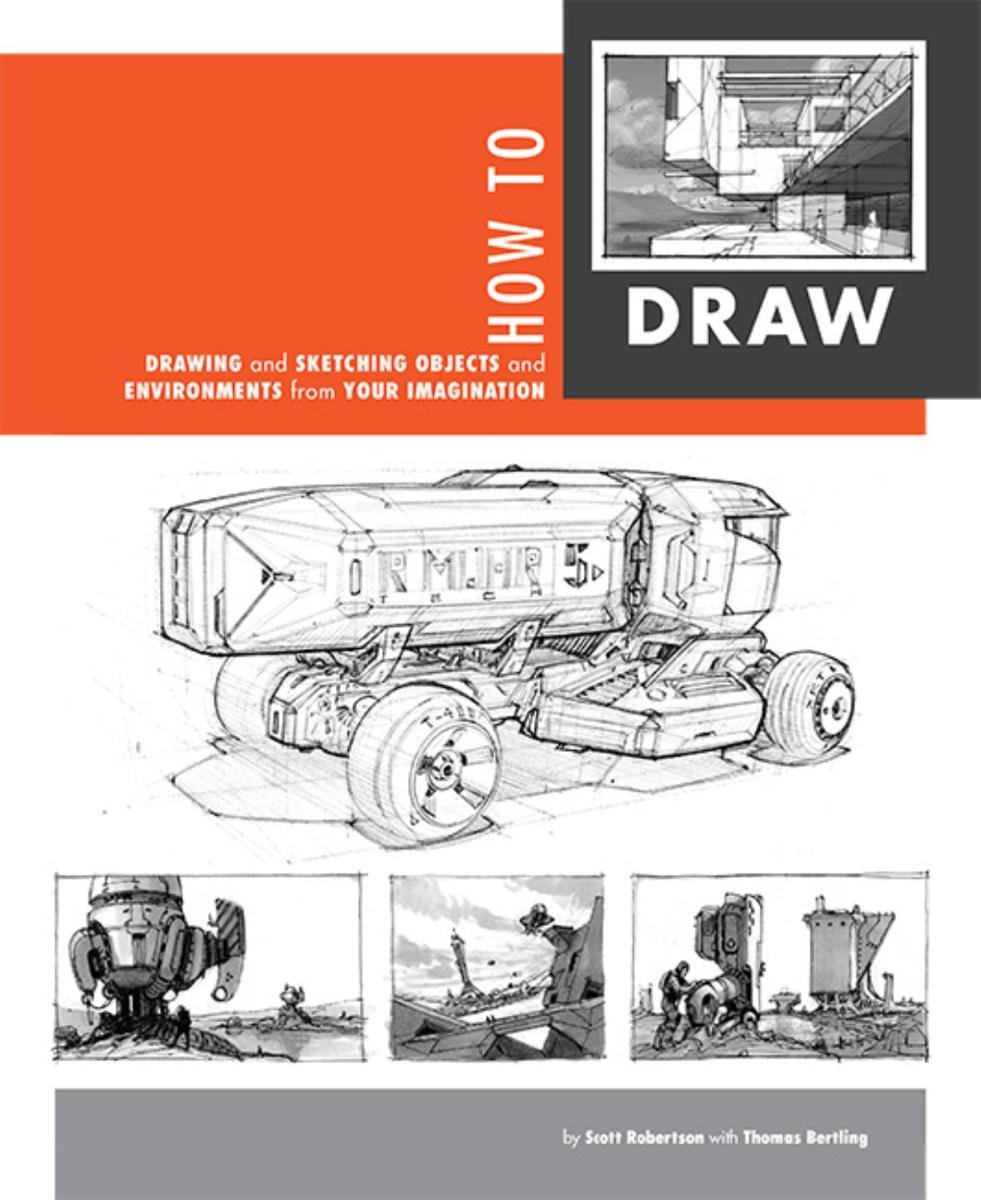
When it comes to technical drawing, there's no one better than Scott Robertson. I regularly use this book as a reference when eyeballing my perspective just won't cut it anymore. Need to figure out exactly how to rotate an object in 3D space? How to project a shape in perspective? Look no further.
This website uses cookies. You can read more about what we do with them, read our privacy policy.