Lesson 5: Applying Construction to Animals

5:41 PM, Friday January 7th 2022

Imgur: The magic of the Internet

Direct Link: https://i.imgur.com/y5VBXXk.jpg

Find, rate and share the best memes and images. Discover the magic of th...

Hello Box Man and all others,

Tis that time again for me to submit a lesson. This time Lesson 5. Took a bit, what with holidays and all that. Hope you all had a fruitful holiday time.

Anywho, I tried to incorporate a few more textures into things, add a bit here and there. I'm still not confident in adding anything because it feels like I'm going to muddy up the whole drawing and ruin the opportunity for ya to judge the work.

No questions at the moment, but maybe in the future after ya take a look.

Thank you,

Kraken

0 users agree
9:26 PM, Monday January 10th 2022

Alrighty! So let's jump right in. First, looking at your organic intersections, the page labelled P1 shows that you largely understand how to approach this exercise correctly. The other page goes a little bit far in terms of making the forms much more complex than is needed - so when doing this in the future, keeping the forms simple so you can focus entirely on how the sausages slump and sag over one another under the force of gravity.

Moving onto your animals, I'll break it down into a few different categories.

Overall construction

So there were a few issues that I saw come up on this front that are certainly worth mentioning, and I call them out here on your stag drawing.

  • Firstly, you don't do this super often, but it does come up on occasion - do not cut into the silhouettes of your forms, once they've been constructed. In drawing the stag's ribcage, you ended up with a situation where your reference likely had a dip that you could no longer achieve while maintaining your desired proportions. Keep in mind that what we're doing here is just an exercise - it's a puzzle, where we start with a fairly consistent starting set of simple masses, and then figure out, step by step, how to build up in the direction of our reference image. If we deviate from that reference due to a choice we've made, that's fine - replicating it at all costs is not our goal here. At that point, you could choose to ignore the bumps in that area, or build them out on top of the structure you already have.

  • Similar to the previous point, I pointed out an example where you drew a one-off individual line, rather than ensuring that every addition to your construction is its own separate, complete, solid form.

  • You have a tendency to really overuse your contour lines - this most likely comes from a habit of using them reflexively, rather than thinking and considering before each individual one. The ghosting method is useful for this - its planning phase is the opportune moment to consider the mark you wish to make, ask yourself about what its purpose is meant to be, how it can achieve that goal best, and whether another one is already doing the same job. As shown on your work, where we place our contour lines matters a lot - focusing them on the joints between structures is usually the most effective. If after that some additional solidity is still required, we can add additional contour lines, one at a time, ensuring that each one is drawn as well as we can.

Use of additional masses

I am certainly pleased to see you using lots of additional masses in your constructions, though one issue I tend to spot is that you do struggle to draw those masses in such a way that they establish strong relationships with the existing structure to which they're attaching. You'll often draw a mass, find that it probably feels flat, like a sticker being added to the drawing, and then you add contour lines to make it feel more solid.

Contour lines are a very useful tool, but the task they accomplish is specific. Contour lines help make forms feel more solid and three dimensional, but they do this in isolation. With these additional masses, what we want to do above all else is establish how they relate to the existing structure, so everything can come together to create a sort of three dimensional puzzle. We achieve this, not through additional contour lines, but from the initial silhouette with which the mass is drawn. If we do it incorrectly, there is unfortunately not a lot we can do to fix it.

One thing that helps with the shape here is to think about how the mass would behave when existing first in the void of empty space, on its own. It all comes down to the silhouette of the mass - here, with nothing else to touch it, our mass would exist like a soft ball of meat or clay, made up only of outward curves. A simple circle for a silhouette.

Then, as it presses against an existing structure, the silhouette starts to get more complex. It forms inward curves wherever it makes contact, responding directly to the forms that are present. The silhouette is never random, of course - always changing in response to clear, defined structure. You can see this demonstrated in this diagram.

As shown on this goat drawing, bringing your masses further down along the side will have the benefit of letting you then wrap it around the masses at the shoulder and hips. Also, don't just focus on what impacts the silhouette - thinking about the masses that sit within the silhouette also forces us to think about how all the different pieces fit together.

Leg construction

I can see that you're making a concerted effort to use the sausage method consistently throughout your constructions, and for the most part you're laying down those basic structures pretty well. There are a few cases where you drift away from the proper sausage shape (for example that same goat's back leg has ends that are more stretched out rather than entirely circular), and on this mountain goat you ended up loading up contour lines, though the sausage method diagram specifically says not to.

The points I mentioned about your additional masses certainly do apply here too, and as it stands I don't feel that you really did too much to apply the diagrams/notes I gave you in your Lesson 4 critique on the topic of building on top of your sausage structure. I can see you making attempts in a number of places, but I do suspect that since it wasn't working out (again, due to the way you were designing those silhouettes), you relied less and less on the idea. So - don't be afraid to delve into building on top of your sausage structures, but make sure that you work at how those additional masses' silhouettes are designed, and how they all fit together.

I can also see quite a few instances where the issues I raised in regards to the overall construction section of this critique also cause issues - for example, adding individual lines rather than complete forms, and cutting into/altering silhouettes.

Head construction

Here your results are somewhat varied, with some of your head constructions coming out quite well (like this sitting bear), and others less so like this ram whose eye socket is floating apart from everything else.

As far as head construction goes, the lesson is admittedly in a bit of a messy state, with there being multiple different approaches to head construction discussed, each having been added at a different point. This is simply a part of Drawabox having been developed over many years, and rewritten/updated frequently. Each approach has value to offer, but as discussed right at the top of the tiger head demo, the one that was produced most recently and thus reflects the core principles of the course in its current state best, is this one from the informal demos section. When my more general update of the drawabox content from start to finish reaches Lesson 5, this approach will definitely be integrated into the main material more thoroughly.

Conclusion

As a whole, I think there are a lot of things that can be improved upon, but at its core, you are moving in the right direction. I am going to assign revisions below, so you can try to address the issues I've called out here. One last thing that I'd recommend however is to give yourself more time for these drawings.

Currently you're not by any means rushing, or at least not that I can tell - but I can see a tendency to perhaps make decisions more quickly than you should, resulting in you making mistakes by trying to work around choices that were too swiftly made. Give yourself plenty of time for the execution of each mark, to the best of your ability, and for observing your reference frequently and consistently as well so you do not end up working from memory for some of the seemingly less important things.

One common thing students do, is that they feel compelled to complete a drawing in a single sitting - but there's nothing that actually states you should be done when you get up. Instead, you should feel welcome and encouraged to spread a single drawing across as many sittings and days as you need to accomplish your singular responsibility - to execute the work to the best of your current ability.

Next Steps:

Please submit an additional 4 pages of animal constructions.

When finished, reply to this critique with your revisions.
2:19 AM, Friday January 14th 2022

Hello again,

First off, thank you as always for the thorough critique. I really appreciate it. Whether I pay for this service or not, it means a lot.

Animals

I did some more animal constructions as per the request and kept the aniamsl varied. To give a clue into my thoughts: I'm most pleased with the Gazelle, and least with the Stag redraw.

I wanted to do the stag again to see if I could make it better. Antlers are simply insanity. Though perhaps that's impatience and rushing.

But, here are the revisions. If you deem more to be necessary, I will do those as well. I tried to incorporate everything you gave feedback on, and went and re-read Lesson 4's feedback for the building of forms on the sausages.

Thanks as always,

Kraken

1:55 PM, Friday January 14th 2022

These are definitely looking quite a bit better. I do have one thing to point out for you to keep in mind as you move forwards. When building upon your leg structures, do not simply engulf the existing forms with larger forms, having them swallow up the entirety of the previous silhouette, as you did here. This results in a very minimal relationship between the added form (the larger one) and the existing smaller one, limited only to the ends where they actually contact. This is thus much more similar to altering the silhouette of the existing structure, rather than attaching new forms to it.

As you can see here in the demonstration I provided in your Lesson 4 critique, it's more effective to add smaller, separate forms one by one, giving each one's silhouette ample contact with the existing sausage structure. Additionally, having them "twist" around that existing structure helps create a more organic, muscle-like impression.

Anyway, I'll go ahead and mark this lesson as complete, as you are largely applying the points from my previous critique and are showing a fair bit of improvement.

Next Steps:

Move onto the 250 cylinder challenge, which is a prerequisite for lesson 6.

This critique marks this lesson as complete.
4:18 PM, Friday January 14th 2022

Thank you, Box Man.

Your lessons have helped a lot and are inspiring me to greater heights. Thank you for all the assistance.

Hope to see this out and make ya somewhat proud.

Now, time for some cylinders.

All the best,

Kraken

The recommendation below is an advertisement. Most of the links here are part of Amazon's affiliate program (unless otherwise stated), which helps support this website. It's also more than that - it's a hand-picked recommendation of something I've used myself. If you're interested, here is a full list.
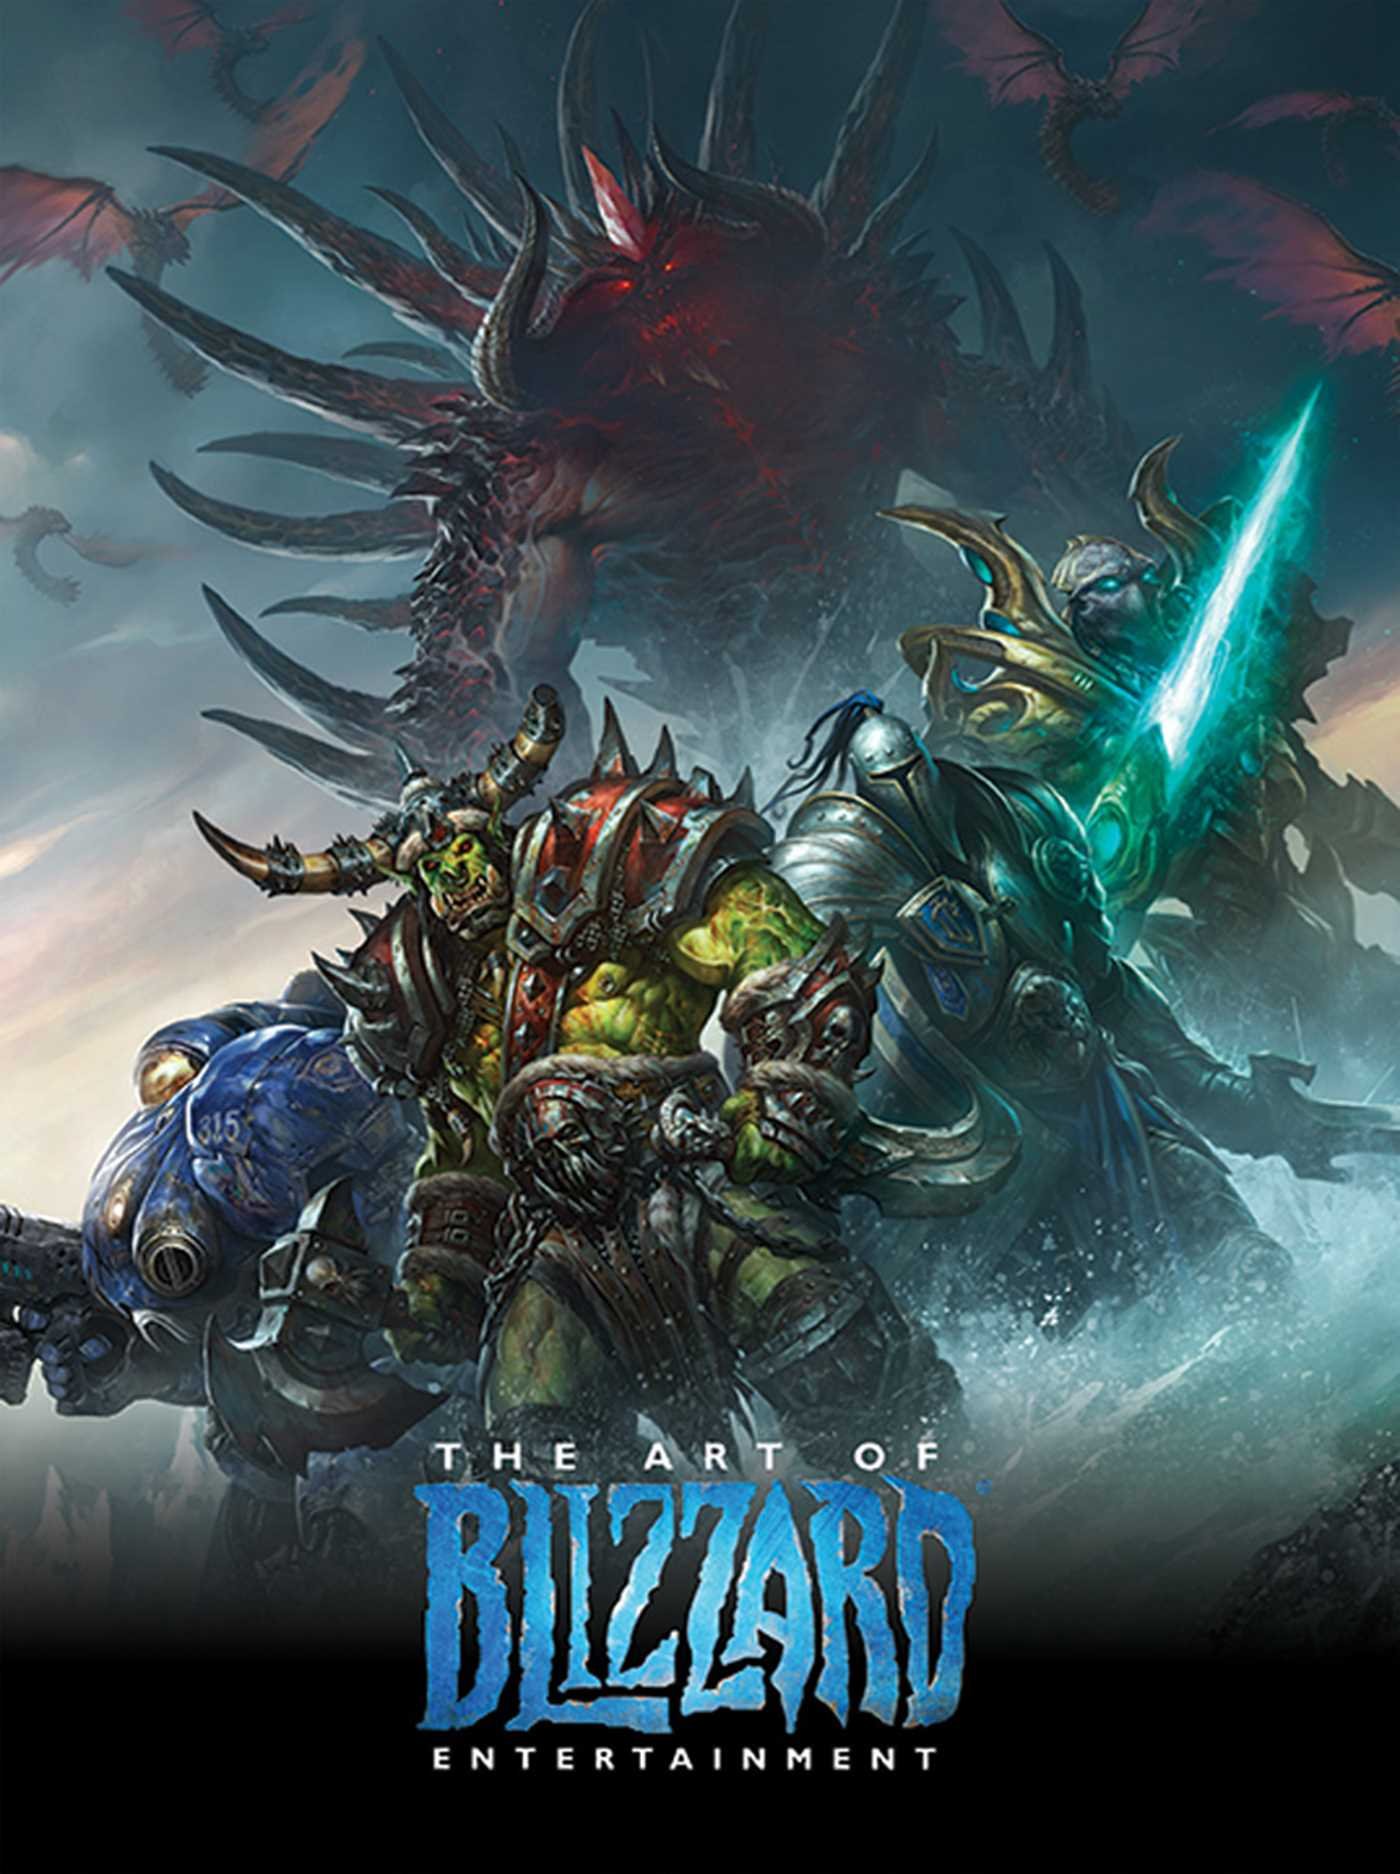
The Art of Blizzard Entertainment

The Art of Blizzard Entertainment

While I have a massive library of non-instructional art books I've collected over the years, there's only a handful that are actually important to me. This is one of them - so much so that I jammed my copy into my overstuffed backpack when flying back from my parents' house just so I could have it at my apartment. My back's been sore for a week.

The reason I hold this book in such high esteem is because of how it puts the relatively new field of game art into perspective, showing how concept art really just started off as crude sketches intended to communicate ideas to storytellers, designers and 3D modelers. How all of this focus on beautiful illustrations is really secondary to the core of a concept artist's job. A real eye-opener.

This website uses cookies. You can read more about what we do with them, read our privacy policy.