Lesson 5: Applying Construction to Animals

6:56 PM, Thursday August 19th 2021

SCAN-Lesson 5.pdf - Google Drive

Google Docs: https://drive.google.com/file/d/1rP-gYYprNMfWBHaZMmM8yBFy764pOkmm/view?usp=sharing

I super enjoyed this lesson. I suffered quite a bit because proportions really start to matter here, as we are aware of how some animals should really look. But I think I could handle that decently.

I think my main issue with animal construction were heads, specially the ones which have flattened muzzles, those were the ones that made my head ache the most. Also I still need to work on my patience when applying texture, it's still very frustrating to me!

As for the PDF, I ordered the pages chronologically; I did the demos first, then organic forms and then constructed animals as listed.

Anyway, I'm looking forward to receiving feedback and I am very grateful in advance for anyone who takes the time to review my work.

1 users agree
3:25 PM, Friday August 27th 2021

Hi Gady! before we get into the critique, you gotta promise me that you are going to give me a longer time to recover between critiques xd!

Starting by your organic intersections, it looks like you are doing a solid job on them, you are convincigly wrapping new forms on top of each other and these forms alone look solid and 3d. Though, there is still a few things I want to draw attention to:

  • First, try to always stick to the characteristics of the simple sausage- It seems like you are almost doing it but sometimes you are flattening them out a little (flattening their 3d form, you are not making any mistakes on making them look solid), think of them as balloons full of water, as they will sag and wrap around each other, but not completely loose their original structure, like a half full balloon would!

  • And second, on your first page happened that you added some of your forms to the sides and sometimes it lokes as if you added them below others. As this is an exercise that mainly uses gravity as a factor, it is recommended that you just build on top of the forms you add, try to make a generous base of sausage/s and then build on top of that until you have no space left, its more useful in this way.

Moving on to your constructions, they definetely look solid and believable, Im pretty pleased to see that you are respecting your silhouettes way much than your past lesson, though there is still a thing here and there that I want to talk about so you can keep on the right path.

First thing that called my attention is the belly of your dog, we have talked about this in very depth so you know how it goes, dont alter the silhouette of your forms, instead build on top of them. And since we are on the topic of adding forms, lets talk about your head constructions- Its pretty common for students to have a hard time building these at this stage, mostly because they have a lower margen of error than other part of the body, if you make the leg slightly fatter for example, the chances are that nobody will notice, though if you construct an eye slightly higher than the other, people will immediatelly sense that something is off. This said, the general advice for constructing heads (at least in this course and this lesson) is to think the whole structure as a 3d puzzle that needs to fit snuggly together, or else it will look odd. I know that you have probably seen this puma demo though my best advice is to tell you to go back and absorb what Uncomfy explained here cause its clearer than what I will able to explain.

Some extra points on this lesson that I want to just comment about:

  • Be ware of using too many contours on your masses, usually just one contours is enough since the more you add on the same form, the less impact they individually have.

  • Regarding line weight, it seems like you kind of took some of what I talked about on the past critique- Just remember that it is a tool used in localized areas to clarify overlaps, although I have to really congratulate you on how you build up your cammel head, you are using a very thick line weight on the top contour of the head and that is not communicating anything for us, worse, its just undermining the effectiveness of the line weight that is actually communicating overlaps!

  • I wanted to talk about what you said about proportions, it is really not the focus of this lesson, you did some really 3d and solid constructions and thats what is important here, to be honest, your proportions were pretty accurate, but its just we dont really care about that yet.

All this said, Im going to mark this lesson as completed! Keep up the good work.

Next Steps:

Feel free to move on to the 250 cylinder challenge.

This community member feels the lesson should be marked as complete. In order for the student to receive their completion badge, this critique will need 2 agreements from other members of the community.
2:45 PM, Thursday September 9th 2021
edited at 2:45 PM, Sep 9th 2021

Hi Weijak! Thank you so much for yet another wonderful critique. It's great to see this critique in relation to the previous one, as you pointed out things were I made progress and others that remain an issue. I thank you greatly for this and I'm sorry about not giving you time to recover, this will not happen again (by the time I uploaded this one I took a 2-week holiday, so I'll just start fresh now with the next challenge, thus providing you with more time to rest!). I'll move on to the cylinders then!

edited at 2:45 PM, Sep 9th 2021
1:26 PM, Friday September 17th 2021

Im glad you found my critique useful! Regarding the rest thing, it was a joke there is no issue with you going faster or slower, do it at your own pace! Though Im glad that you could take some time off to rest. Good luck moving forward!

The recommendation below is an advertisement. Most of the links here are part of Amazon's affiliate program (unless otherwise stated), which helps support this website. It's also more than that - it's a hand-picked recommendation of something I've used myself. If you're interested, here is a full list.
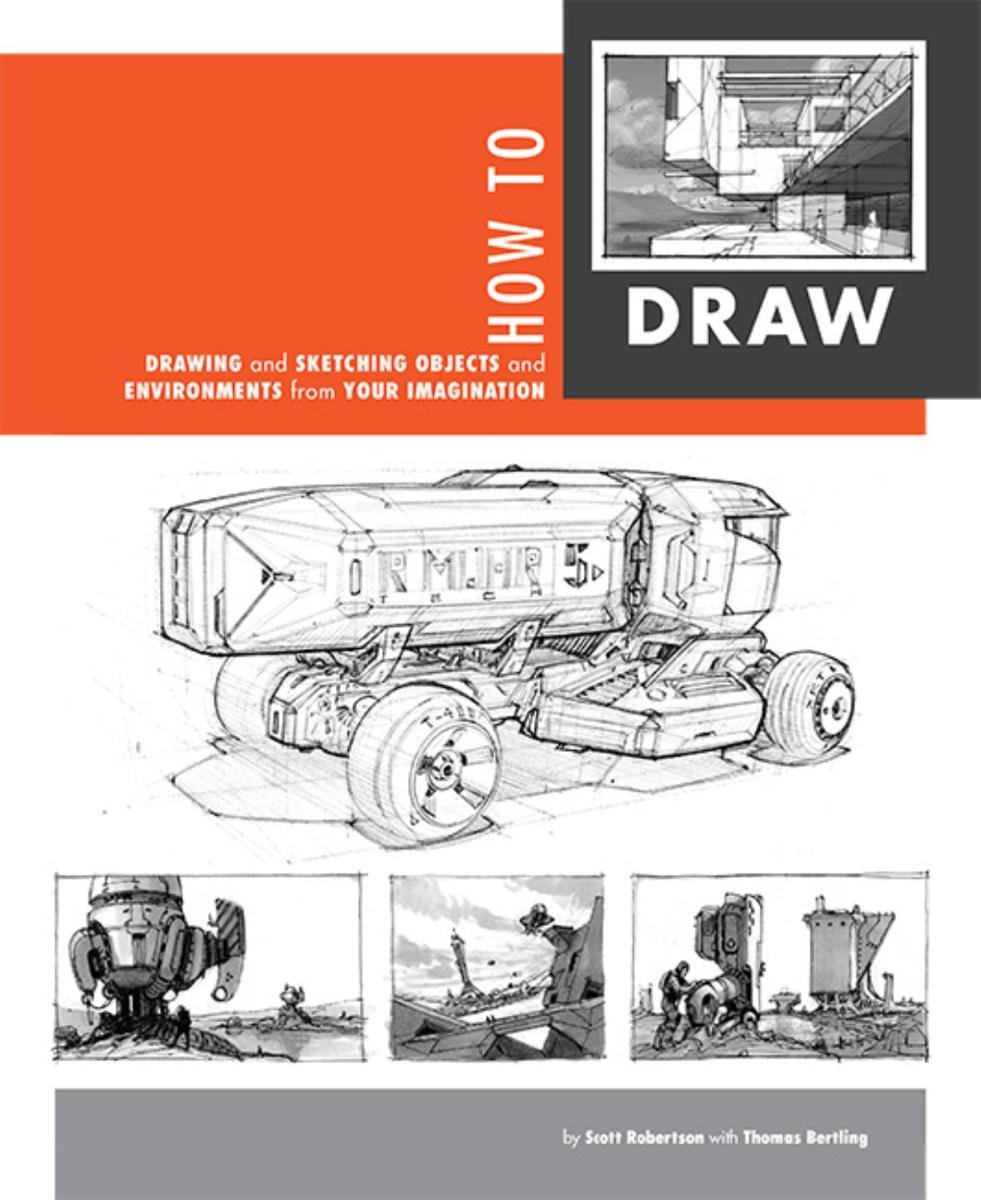
How to Draw by Scott Robertson

How to Draw by Scott Robertson

When it comes to technical drawing, there's no one better than Scott Robertson. I regularly use this book as a reference when eyeballing my perspective just won't cut it anymore. Need to figure out exactly how to rotate an object in 3D space? How to project a shape in perspective? Look no further.

This website uses cookies. You can read more about what we do with them, read our privacy policy.