Lesson 3: Applying Construction to Plants

1:52 PM, Thursday March 21st 2024

DrawABox Lesson 3: DeerboyeBoxes - Album on Imgur

Imgur: https://imgur.com/a/JjLDlP6

Discover the magic of the internet at Imgur, a community powered enterta...

Plant homework. I'm pretty happy with some of the later ones and how they came out. One thing I am confused about is where the line between shading in to add depth vs "detail" shading begins, that was something that I struggled with for some of them. But I am pretty happy with how these have come out, especially since its been a while since I've done drawing of this style.

0 users agree
8:54 PM, Monday March 25th 2024

Hello Deerboyeboxes, I'm ThatOneMushroomGuy and I'll be the TA handling your critique today.

Arrows

Starting with your arrows you're drawing your marks with a good deal of confidence which helps solidify the feeling of fluidity that arrows posses as they move through all the three dimensions of the world they exist in. However your arrows have little to no foreshortening, make sure to explore the size difference between arrow segments more in order to make better use of the depth of the page and push your understanding of tridimensional space further.

Your usage of hatching helps you establish how your arrows twist and turn in space and further your own understanding of the tridimensional space these objects occupy, but do remember that your hatching lines must still follow the principles of ghosting and mark-making, they must have clear end and start points, be carefully planned and executed and not end at arbitrary points. It's also good that you're making use of added line weight on top of the overlaps in order to reinforce their depth, but don't forget that this lineweight is supposed to be made with a single mark superimposed on top of the overlaps, and it must be subtle, with your new stroke integrating seamlessly into the one underneath.

In general you're doing well, so keep tackling this exercise during your warm ups in order to take your understanding of arrows and 3D space further, experiment with the different ways arrows can twist and bend and move across space, try different rates of foreshortening and experiment with the negative space between overlaps, all of these will help you challenge yourself and develop your skills further.

Leaves

The original linework for your leaves is looking smooth which helps communicate their fluidity and sense of energy, but you also have a lot of unnatural bends present in your leaves. Keep in mind that even though leaves are very flexible structures, that mostly applies to their length and not their width. They're like a piece of paper, not a piece of rubber, they can fold and bend in a lot of ways, but they can't stretch or compress, and if you try to force them to they'll simply rip apart.

It's good to see that you've experimented with complex leaf structures but remember not to skip construction steps when approaching these more intricate structures.

This structure is looser than it could be because you didn't establish the form that all of the later structures should abide to, despite complex structures being made up of several different parts, they still exist as a single entity, by not skipping construction steps you can ensure that your constructions are much more solid and specific.

Your addition of edge detail is generally looking good, as you don't usually attempt to capture more than one piece of edge detail at a time, and you generally construct your edge detail additively. But make sure to keep the line thickness between your phases of construction roughly consistent and don't go over marks that you've already drawn, as this will flatten out your structures unnecessarily.

Branches

Moving on to your branches they are coming along decently made as you're generally following the instructions for the exercise, but they can still be improved. While it's good to see that you're drawing your edges in segments you're not always always extending said segment completely up to the halfway point between ellipses, which partially removes the healthy overlaps we seek to achieve in these structures.

So don't forget how branches should be approached, by having your segment start at the first ellipse point, extending it past the second ellipse and fully up to the halfway point to the third ellipse, afterwards you'll start a new segment, making sure to place your pen at the second ellipse and repeat this pattern until your entire branch is complete.

For ellipses it's good to see that you're making an attempt to always draw through them twice, as that allows for a smoother mark overall. It's good to see that you're aware of the ellipse degree shift, but your addition of it can be improved, as it stands your ellipses get wider towards the middle and thinner at the ends of your branch, while this can work for cylindrical structures that are bending in space your branches have no foreshortening and so this breaks the illusion of tridimensionality in your work.

Plant Construction Section

And lastly let's take a look at your plant constructions, which are starting to move in the right direction. You're generally making use of the construction methods and techniques introduced in this Lesson which helps you create the illusion of tridimensionality in your work, you're not only trying to capture what these structures look like, but you also focus on how they work, how they exist fully in tridimensional space by drawing through your forms and thinking about the way each piece of your construction exists in relation to one another.

This is all very good and it's helping you develop a strong sense of spatial reasoning, but there are a couple of issues in your work which are holding you back from your full potential, and should be addressed the next time you attemlt these exercises.

First things first, an issue that hurts your work without you even realizing is the fact that you're trying to fit too many constructions on a given page before you've even committed to any of them. Because of this your pages have big empty spaces that could have been better used not by adding more drawings to your page, but instead by limiting them, which would allow you not only more room to work through the spatial reasoning challenges that arise when tackling these exercises, but also give you enough space to fully engage your whole arm.

As it stands your constructions are too small which has limited your ability to make use of the construction methods and techniques introduced in your work.

Make sure that you're always drawing through your forms and constructing them fully, I've noticed that in several of your constructions you don't draw through some of your forms, such as the petals in your attempt at the daisy demo, the leaf structures in this construction and these leaf structures where you also skipped construction steps by not drawing them with the correct leaf construction method.

Drawing in this manner limits your ability to work through these tridimensional puzzles and limits how much you're getting out of the exercise as not drawing through your forms means relying on your observation skills, instead of engaging your sense of spatial reasoning and truly trying to understand how the object you're drawing works, where it comes from, what it attaches to.

On top of this never forget that the construction methods and techniques introduced in this course must always be applied to your work, as they're tools which will help you construct much tighter and solid looking structures, there are times where you deviate from the construction methods by not starting your branches with a minor axis or keeping your leaf structures simple. They're not guidelines or suggestions - they are rules

Ease up on your lineweight, it's thick, with several passes going over the same marks and jump from one form's silhouette to another, which smooths everything out too much. Almost as if you pulled a sock over a vase, it softens the distinctions between the forms and flattens the structures out somewhat.

Instead lineweight must be subtle, used only to clarify the overlaps between the forms that are being built up, as explained here.

Make sure to keep the relationships between your different stages of construction tight and specific, never leave forms open ended in your page such as in here. Always construct them fully and cap branches off with an ellipse.

As for your question the answer is simply a matter of scale, cast shadows are cast shadows regardless of the size of the form casting if, whether it's just a cast shadow or a cast shadow that communicates texture depends on whether that shadow is being cast onto a different structure or onto itself.

A leaf casting a shadow onto a different leaf is a cast shadow that communicates depth.

Small forms running on top of the leaf's surface that cast shadows onto the syrface itself communicate texture and detail.

Final Thoughts

In general you're starting to move in the right direction but you're still struggling on a couple of points and applying these methods consistently to your work, as such I believe you would benefit from tackling these exercises again before moving on to more complex tridimensional challenges.

1 page, half of leaves, half of branches.

2 plant construction pages.

Next Steps:

1 page, half of leaves, half of branches.

2 plant construction pages.

When finished, reply to this critique with your revisions.
1:03 AM, Tuesday April 2nd 2024
edited at 1:11 AM, Apr 2nd 2024

Hello, I took a break due to the promptathon but here is my revisions.

https://imgur.com/a/l4jKeRY

One issue I was having in the past was I was working with a spotty fineliner, which I think lead to me overdoing the line weight. I switched to a newer pen and tried to limit reapplying line weight to only specifying overlaps, as mentioned in your critique.

edited at 1:11 AM, Apr 2nd 2024
9:15 PM, Tuesday April 2nd 2024

Hello DeerboyeBoxes, thank you for getting back to me with with your revisions.

Looking at your leaves they are coming along much more fluid and energetic now that you're not going over your marks several times, they still have unnatural bends present in them to some degree, so keep practicing arrows and leaves in your warm ups in order to keep tackling this issue.

Your branches are looking much better and more clean, but they are looking a bit inconsistent when it comes to their size, even considering the possibility of foreshortening because the ellipse's degreee do not change realistically. They are all too similar which is a mistake. When tackling simple branches do not forget to keep their size consistent and consider the ellipse degree change as the fork shifts away from the viewer.

Your plant constructions are looking much better as you're constructing them out more fully and drawing through your forms.

I've noticed that in your homework pages you have made an attempt to add contours to your work which is commendable, but I'd like to talk a little bit more about them, because while it's good that you're trying to add them when you add contour to your forms they don't really communicate any new information. Those kinds of contour lines, the ones that sit on the surface of a single form, only serve to take a form that can already be interpreted as 3 dimensional, and clarify it.

Contours are quite powerful at communicating 3dimensional information about the surface of your object, this means that if you mess up your contour lines it has the ability to flatten out the entirety of your construction, such as in your leaf structures, where contours don't help further communicate the tridimensionality og your leaves, so they end up making them look flatter. So in general it's best not to add these types of contour lines, rather, focus on intersection lines, the contour lines that communicate the relationships between different forms in your structure.

I'm going to be marking this submission as complete, good luck in Lesson 4.

Next Steps:

Don't forget to add these exercises to your list of warm ups.

Move on to Lesson 4.

This critique marks this lesson as complete.
The recommendation below is an advertisement. Most of the links here are part of Amazon's affiliate program (unless otherwise stated), which helps support this website. It's also more than that - it's a hand-picked recommendation of something I've used myself. If you're interested, here is a full list.
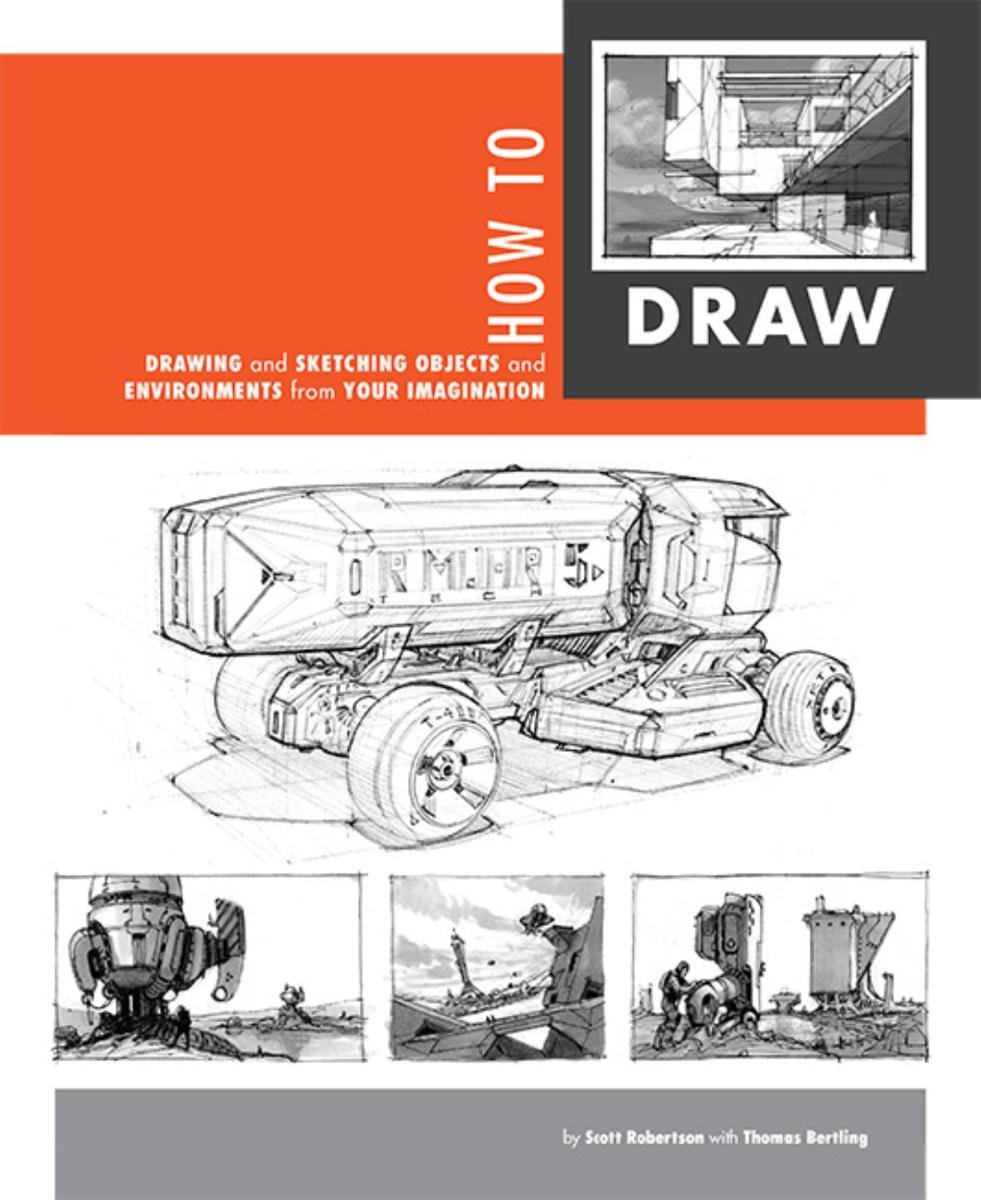
How to Draw by Scott Robertson

How to Draw by Scott Robertson

When it comes to technical drawing, there's no one better than Scott Robertson. I regularly use this book as a reference when eyeballing my perspective just won't cut it anymore. Need to figure out exactly how to rotate an object in 3D space? How to project a shape in perspective? Look no further.

This website uses cookies. You can read more about what we do with them, read our privacy policy.