Lesson 4: Applying Construction to Insects and Arachnids

8:05 AM, Friday December 3rd 2021

Drawabox Lesson-4 - Album on Imgur

Direct Link: https://i.imgur.com/70JInPz.jpg

Discover the magic of the internet at Imgur, a community powered enterta...

Hi everyone!

Above is my lesson 4 homework submission.

Overall, I am extremely satisfied with my progress. I thought it would take me a few more years until I could even draw bugs but I proved myself wrong!

Personal Notes :-

1) My contour curves are pretty wobbly + uneven, especially on page one.

2) My demo drawings are way too small.

3) I completely forgot that you can't use form shading/hatching in Drawabox, I used it on the body of the mosquito on page 7.

2 users agree
9:22 PM, Friday December 17th 2021

Hello Noodlecake,

I hope you are well,

Starting with your sausages

As you realize yourself, your contours are quite off. Most important thing is that your contours aren't hooking around the courners, your contours on sausages and other forms would benefit greatly if you did that. You understand how the degree of ellipse works so it is a matter of practice to get it right.

It doesnt matter if our contours are uneven, what we want to inform our viewer with them, is that our form is turning in space or how it exist in it.

Moving to insects

They are really solid, you made a great job executing those curved lines confidently. That said there are places where your line work could be better. That might be caused because you don't commit enough to those as they wobble. Remember to be patient with ghosting and take as much time as needed for each line. Then when it feels right, confidently execute the line. Also keep in mind to use your shoulder with a locked wrist.

Next thing I want to point out is your line weight. Remember we use it to clarify overlaps of our form. What we want to do is add another line on top of our initial one and what we should get is an effect of our line becoming darker(as we give more ink to the line) and slightly wider(as ink spills slightly to the sides). Making our line wider isn't our goal, it is to make it stronger/darker. This diagram conveys what I am trying to say. We don't want to make our whole drawing outlined with line weight. We want to make sure our initial lines are as good as our abilities allow us to.

Additionally the same as with line work, there are places where you are sloppy with the execution.

Drawing small. You said it yourself but I want to make sure you understand we don't want to draw small. Drawing small makes things harder for us. We draw more clumsily and it limits our ability to think through spatial problems. It also makes it awkward for our arm, especially when we don't have as much experience with a shoulder. There is plenty of empty space on your pages so use it to full advantage. After finishing the 1st drawing, look at your page and think if there is enough space for the next one. But don't force things into a tiny corner.

In your last drawing, you cut back into the head. This image teaches perfectly why we shouldn't do that as it flattens the form out.

Lastly when you add forms don't do it with 2d shapes. When we use construction we want every form/mass to be 3d. I went over one of your drawing, which contains good use of it and bad one.

Conclusion

You did a good job absorbing material covered in this lesson. There are few areas that you slightly lack knowledge but those areas are used in lesson 5. So I will mark this lesson as complete.. Remember to practice those contours as this is one of your biggest weaknesses in this lesson.

If you have any questions feel free to ask me,

Have fun on your journey,

Next Steps:

Move to lesson 5

This community member feels the lesson should be marked as complete, and 2 others agree. The student has earned their completion badge for this lesson and should feel confident in moving onto the next lesson.
3:37 AM, Saturday December 18th 2021

Hi Rivgar,

Thank you so much for your critique, it was really helpful!

I will keep in mind your advice and continue improving!

Regards,

Noodlecake

The recommendation below is an advertisement. Most of the links here are part of Amazon's affiliate program (unless otherwise stated), which helps support this website. It's also more than that - it's a hand-picked recommendation of something I've used myself. If you're interested, here is a full list.
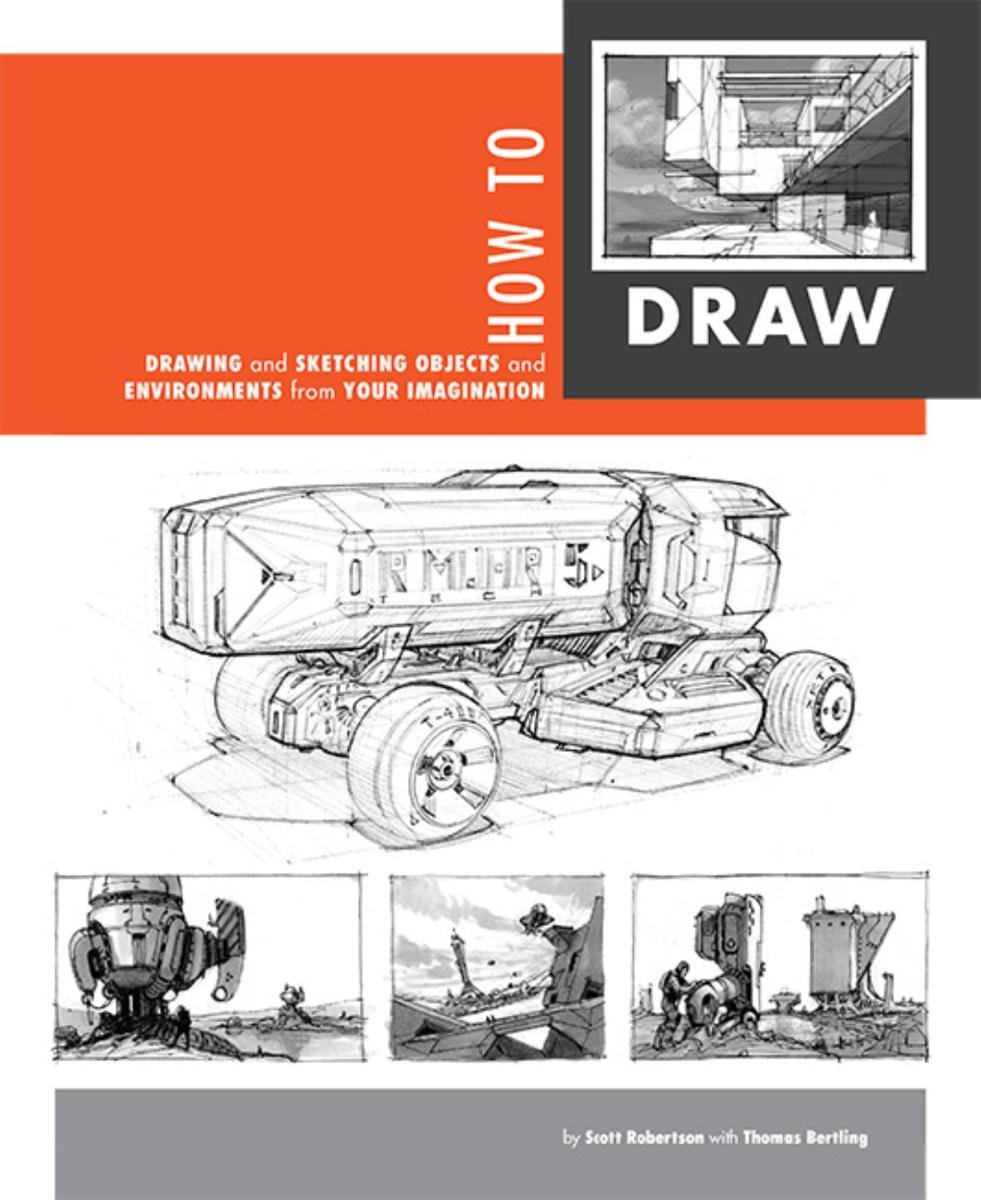
How to Draw by Scott Robertson

How to Draw by Scott Robertson

When it comes to technical drawing, there's no one better than Scott Robertson. I regularly use this book as a reference when eyeballing my perspective just won't cut it anymore. Need to figure out exactly how to rotate an object in 3D space? How to project a shape in perspective? Look no further.

This website uses cookies. You can read more about what we do with them, read our privacy policy.