This website uses cookies. You can read more about what we do with them, read our privacy policy.

4:53 PM, Monday September 5th 2022
Before we get started, just a quick note - while we definitely prefer imgur over all other means of hosting images, we understand that it's not an option for everyone. In your case, since you're using a google doc, you should have access to google drive or google photos - both of those would be preferred means of submission, as they're far easier to work with than a document like this.
Starting with your arrows, these are done well. You're drawing them with a great deal of confidence, which helps to push the sense of fluidity with which they move through the world. This carries over into your leaves quite nicely, where you're able to capture not only how they sit statically in 3D space, but also how they each move through the space they occupy.
When it comes to adding edge detail however, I'm noticing that you're attempting to add chunks of multiple individual elements with a single stroke - so for example, you might try to add three or four spikes or bumps with a single stroke, which does result in zigzagging back and forth across the edge and breaks this principle of markmaking from Lesson 1. Be sure to build up that edge detail with each stroke representing a single element, so you can focus on having it rise off and return to that existing edge in as seamless a manner as possible. This helps us maintain a tight, specific relationship between each phase of construction.
Remember - what we're doing here is not putting down a rough sketch to use as a guide. We are effectively introducing a structure to the world, as though it were a simple leaf shape cut out of a piece of paper, and as we add edge detail to it or build up its structure, we are actively making physical changes to that existing form. If we want to add spikes to its edge, we're physically adding more pieces of paper to it. If we want to create a wobbly edge, we are physically drooping and lifting sections of its perimeter in 3D space. And if we want to cut into its silhouette, then the lines we're drawing represent the paths a pair of scissors would follow to cut it out, as shown here.
Continuing onto your branches, it appears here that you may not have followed the instructions for this one as intended - it looks like you're not laying out the segments as explained here in these notes and the accompanying diagram, and instead minimizing the overlap between them. That overlap is important for achieving a smoother, more seamless transition from one segment to the next.
While these issues are present in your earlier exercises, you are by and large handling your actual plant constructions pretty well. The previous issues are still present to varying degrees - both in terms of how you use the branch technique, and in your tendency to try and add too much edge detail in a single stroke, resulting in weaker relationships between the steps of construction, but once those issues are addressed, you should be good to go.
So, I'm going to assign some limited revisions below.
Next Steps:
Please submit 1 page - half of leaves, half of branches. Be sure to include plenty of edge detail on the leaves, and follow the steps from the branches exercise more closely.
1:02 AM, Tuesday September 13th 2022
4:33 PM, Wednesday September 14th 2022
You're handling the edge detail on your leaves better, although I would strongly urge you not to get into the habit of drawing your earlier constructional steps more lightly, and then the later ones darker. This can encourage you to redraw more of the linework than you need to. Try and keep it all to roughly the same thickness.
As to your branches, you still don't appear to be following the instructions from the lesson. They clearly state that each segment should start from one ellipse, continue past the second, and stop halfway to the third, with the next segment repeating the pattern from the second ellipse.
You appear to allow some of your segments to run longer (going past the second, and then past the third, similarly to what's explained here), and also still appear to be falling short of that halfway point when many of them come to a stop.
As such, I am going to need one more page of the branches exercise.
Next Steps:
Please submit one more page of the branches exercise, being sure to follow the instructions to the letter.
5:11 AM, Saturday September 17th 2022
4:09 AM, Friday September 23rd 2022
https://photos.app.goo.gl/2WxrKP4LYDKZ9hcD9
I extended the line halfway to the third ellipse and started at the second extended halfway to the fourth and so on. I hope this is correct.

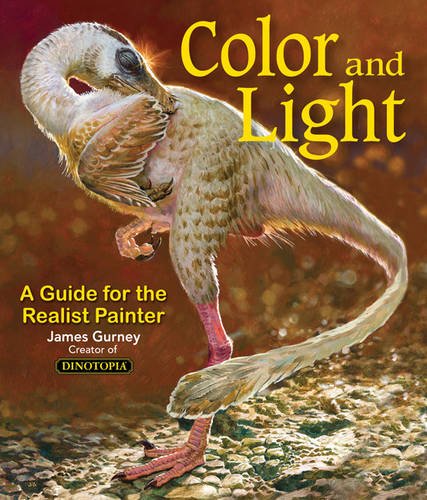
Color and Light by James Gurney
Some of you may remember James Gurney's breathtaking work in the Dinotopia series. This is easily my favourite book on the topic of colour and light, and comes highly recommended by any artist worth their salt. While it speaks from the perspective of a traditional painter, the information in this book is invaluable for work in any medium.


