Lesson 4: Applying Construction to Insects and Arachnids
12:14 AM, Saturday January 16th 2021
Thanks for reviewing my work!

Starting with your organic forms with contour lines, these are for the most part coming along well. You're sticking in most cases to the characteristics of simple sausage forms as mentioned in the exercises, and your contour lines are doing a great job of wrapping around your forms and fitting snugly within their silhouettes.
Moving onto your insect constructions, there is a lot of good here, with a few issues I want to address. As a whole I'm very pleased with your general approach to construction. You're working additively, laying down your basic underlying forms and then building up by wrapping new forms around that existing structure, gradually achieving greater complexity in successive phases. This is precisely what the constructional method is all about.
There are a few small ways in which you deviate from this just a little bit, but enough worth mentioning to keep you on the right track as you move forwards. For example, if we look at the abdomen of this wasp, here the individual lines you've wrapped around the abdomen definitely start to feel pretty complex on an individual basis. They're not simply basic contour lines that wrap around the abdominal sausage - instead they have all kinds of additional curves to them. When it comes to this sort of thing, I might opt instead to think about each individual piece of segmentation as its own form, and to layer them on. Each segment itself would be simple, no unnecessary curvature, just the sense of taking a flexible plate and conforming it to that sausage's curvature. Here's what I mean.
Looking at your use of the sausage method, there are definitely a lot of ways in which you're adhering to it nicely, except that you're not reinforcing the joints between the sausages with a contour line, as explained in the middle of this diagram, which is quite an important step.
Also, it's always best to look at the sausage structure - which is applied consistently to all the legs we build up, even for animals - is really just a base armature. Once in place, we can and should continue to build on top of it, identifying any further complexity that exists in our reference images and wrapping new forms around that structure to capture that additional information. Here's an example using an ant's leg. Notice just how much more can be done with it?
The last point I wanted to mention is very minor, because it only really comes up in this last spider. Remember that as discussed back in lesson 2, we do not explore any form shading for form shading's own sake in this course. What you've done here is employ hatching lines expressly for the purpose of shading the spider's legs. It doesn't actually capture any textural information, and therefore doesn't work to any of our goals in this course. In general it is best just to skip form shading altogether, and to leave hatching out as well, and to remember above all that texture and detail is not about decorating our drawings.
What we're doing in this course can be broken into two distinct sections - construction and texture - and they both focus on the same concept. With construction we're communicating to the viewer what they need to know to understand how they might manipulate this object with their hands, were it in front of them. With texture, we're communicating to the viewer what they need to know to understand what it'd feel like to run their fingers over the object's various surfaces. Both of these focus on communicating three dimensional information. Both sections have specific jobs to accomplish, and none of it has to do with making the drawing look nice.
So! With that all laid out, I am quite happy with your results and will gladly mark this lesson as complete. Keep up the good work.
Next Steps:
Feel free to move onto lesson 5.

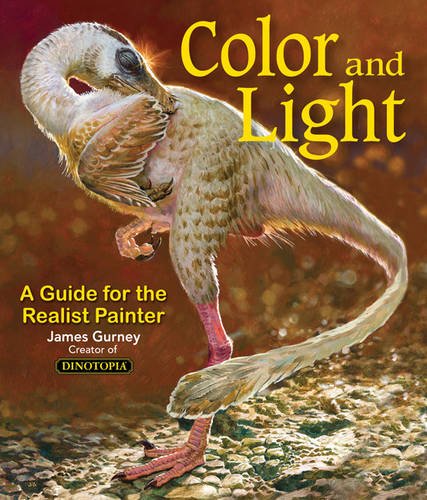
Some of you may remember James Gurney's breathtaking work in the Dinotopia series. This is easily my favourite book on the topic of colour and light, and comes highly recommended by any artist worth their salt. While it speaks from the perspective of a traditional painter, the information in this book is invaluable for work in any medium.
This website uses cookies. You can read more about what we do with them, read our privacy policy.