This website uses cookies. You can read more about what we do with them, read our privacy policy.

12:22 AM, Sunday May 31st 2020
Really nice work! It's very clear that over the course of this challenge, you've demonstrated considerable improvement. You've gone from largely guessing the orientation of your lines to gradually thinking more and more about how each set of parallel lines is meant to converge consistently towards their shared vanishing points. It's also very clear that you've put a lot of time and effort into analyzing exactly what your line extensions tell you about where you need to improve. Early on, in boxes like 10, it's clear that you caught onto things like a tendency for your lines to converge in pairs, which is a pretty common kind of mistake. Having noticed this, you clearly shifted your approach, and remained aware of this pitfall through the remainder of the challenge.
Generally in these critiques, we explain to students the importance of thinking only about the lines that converge towards the same vanishing point as the one we're drawing. Not to get distracted by the lines that share a corner, or that share a face, and not to get distracted by other red herrings like the "back corner" where many of the symptoms of poor convergence tend to manifest. It's very clear that you are already entirely aware of this.
There is one thing I can offer, however. When thinking about these parallel lines, try to think about the angle at which those lines meet at the vanishing point. You'll often notice that the middle two lines of a given set will frequently have a very small angle between them. This angle, by the time the lines reach the box itself, can frequently be very close to parallel - especially if the vanishing point itself is further off. The idea that you can sometimes draw those lines as being parallel on the page if they're close enough together, can be a great way to avoid unnecessary guesswork, as shown here.
This is of course only effective if the vanishing points are further off though - which in turn is something I noticed not to often be the case in your boxes. As such, make sure that when doing this kind of exercise in the future, that you vary the rate of foreshortening for your boxes. You want to make sure get lots of practice in with boxes that have shallower foreshortening (more gradual convergences), as well as those that have more dramatic foreshortening.
So! Overall, you've really knocked it out of the park. There's still room for improvement, as there always is, but you've done a great job. I'll go ahead and mark this challenge as complete.
Next Steps:
Feel free to move onto lesson 2.
4:55 PM, Sunday May 31st 2020
I'm very happy to hear this, as someone who is completely new to drawing and tried my best I was nervous to submit this. To hear such positivity and to know that what I was doing while figuring out how to draw these really makes me happy. Also you're completely right about the foreshortening needing to vary, I was so focused on getting the lines right that I only really made the shapes vary, thanks for the information! I'll take it and learn from it.
Also a sidenote: thank you for all your effort on this course, your videos are immensely helpful and I'm glad to get a critique from you personally. I look forward to finishing all the challenges!

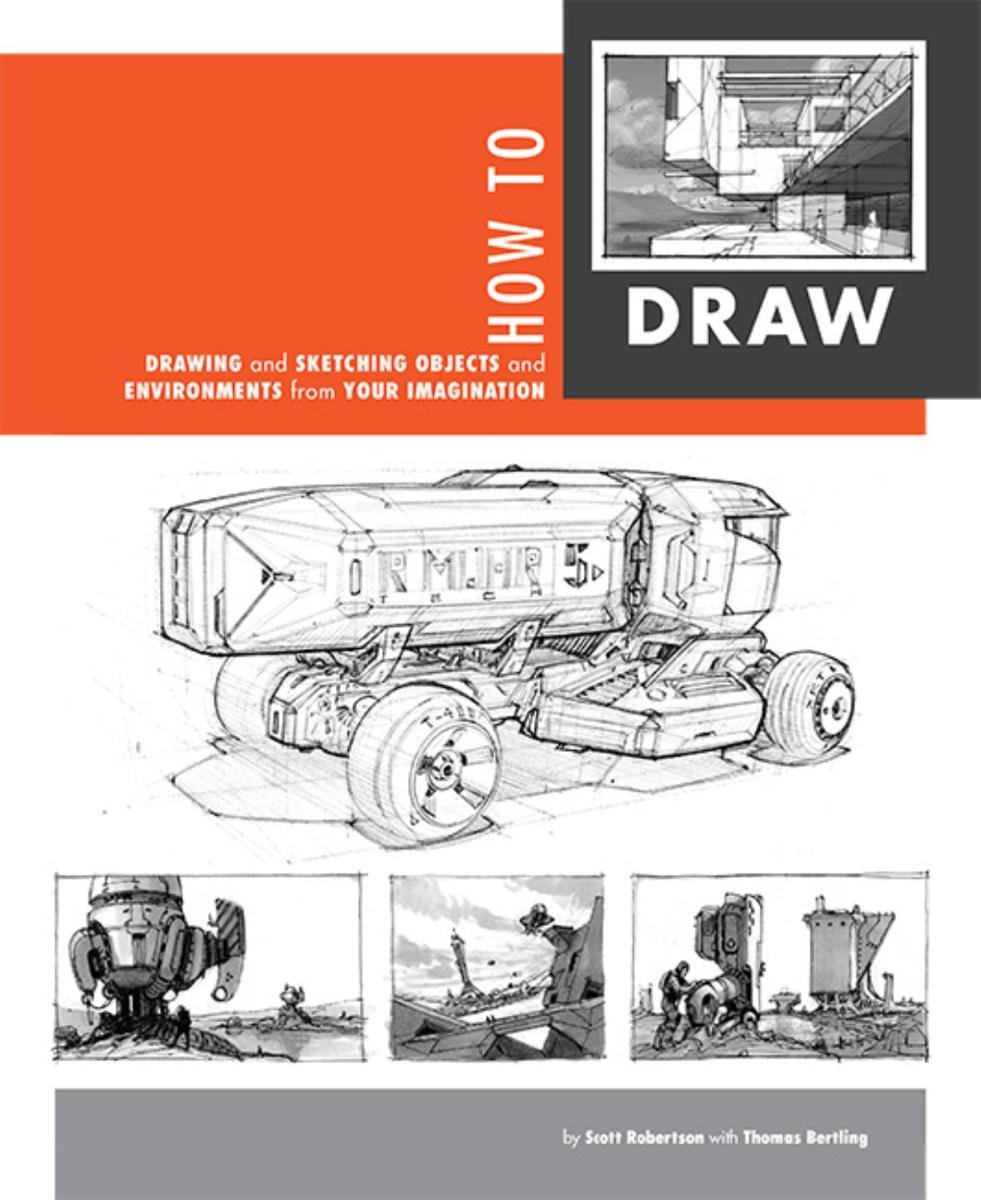
How to Draw by Scott Robertson
When it comes to technical drawing, there's no one better than Scott Robertson. I regularly use this book as a reference when eyeballing my perspective just won't cut it anymore. Need to figure out exactly how to rotate an object in 3D space? How to project a shape in perspective? Look no further.


