Lesson 2: Contour Lines, Texture and Construction

9:44 PM, Tuesday September 1st 2020

Imgur: The magic of the Internet

Direct Link: https://i.imgur.com/AeBMvYJ.jpg

Discover the magic of the internet at Imgur, a community powered enterta...

Dear Uncomfortable/teaching assistant,

this is my submission for lesson two. I had the most trouble with the sausages with contour curves and the form intersections. I only recently brushed up on the organic forms with contour curves by doing them for warm-ups, but it will be really interesting to see if your feedback goes in line with what I've learned so far.

The form intersections exercise was really giving me headaches, so I attached a note of my troubles. I know it's about the intersection part (which isn't the main focus of the exercise) - I apologise if it is not part of the critique. I will repost it on a seperate thread if this is the case.

Anyways, I'm really looking forward to your feedback!

0 users agree
10:06 PM, Wednesday September 2nd 2020

Starting with your arrows, these are definitely coming along well - you're drawing them with a strong sense of motion as they're driven through the world. That said, remember that as these move through all three dimensions of space, always remember that the gaps between their zigzagging sections are also subject to perspective. You appear to have a grasp of this, at least somewhat, but you could stand to exaggerate the rate at which those gaps get tighter and more compressed, in order to better convey a sense of depth in the scene.

Continuing onto the organic forms with contour lines, you definitely appear to be trying to stick to the characteristics of simple sausage forms, as mentioned in the instructions. There are a few places where the sausage's ends get a little smushed, but you're definitely progressing well in that regard. You're generally doing a good job with the contour lines themselves as well - both ellipses and curves - although at times there is just a touch of hesitation that can make your linework come out a bit more rigidly. Always remember that the second your pen touches the page, your only concern should be to execute the mark with confidence, having handled all matters of control and accuracy during the preparation and planning phases of the ghosting method.

Lastly, in your contour ellipses you appear to be keeping the degree of your ellipses pretty consistent throughout. The contour curves show a better transition, shifting from narrow to wide or wide to narrow as we slide along the length of the sausages, although at times you've got them shifting in the wrong direction. The degree of a contour line basically represents the orientation of that cross-section in space, relative to the viewer, and as we slide along the sausage form, the cross section is either going to open up (allowing us to see more of it) or turn away from the viewer (allowing us to see less), as shown here.

Note how the contour curves get wider as the cross-section moves away from the viewer, not narrower. So if you're looking at the bottom-middle sausage on this page, the contour lines should get wider as we move towards the right (since the left side is facing the viewer, and therefore is closer).

Moving onto your texture analyses, I think you're making excellent progress here. Your'e clearly leaning hard into the use of shadow shapes, and are using them to control the density of your textures. Admittedly the textures actually ended up looking quite similar across all three rows' gradients. You clearly did exhibit strong observational skills, but I think you may have looked for the same kinds of features in your references (as opposed to not studying them closely enough). Try to take a bit of a step back next time and instead of looking for particular things, allow yourself to take a more general view of what the texture itself is showing you. With brain texture, for example, you'd probably want to accentuate the fact that these folds and wrinkles are very smooth, meaning a lot of more gentle curves and less stiffness/wobbling to the lines. For the rock, you may see more obvious pieces that jutt out from one another, rather than a single surface separated by cracks. Think of each chunk (between the cracks) as its own separate textural form.

Another point I wanted to mention was that while you did use shadow shapes quite confidently, you did still end up drawing the cracks themselves as lines. To help you avoid doing this, try to make a point of drawing all textural marks using this two-step process. By forcing yourself to outline every shadow shape, then fill it in, you won't be able to make these simple outlines/lines, and will be forced to think of each shadow as being something separate, a purposeful result of the presence of some other actual form.

I think you overall do end up making considerable progress with the dissections, especially in identifying the differences between textures (there's definitely more variety in your results here). You are still somewhat too reliant on lines and outlines though, especially with those big pinecone pieces and such. These notes talk about how to think about this issue.

Continuing onto your form intersections, I understand that you're eager to understand how the forms themselves work, but you have allowed this focus to distract you, despite knowing that it is not the focus of the exercise. It'd be less of an issue, but looking at all but the very first page of this exercise, and once on the second page, you appear not to have made any other attempts to figure out how those forms intersect with one another. This exercise is about two things - first and foremost, allowing you to demonstrate your ability to construct your forms to be cohesive and consistent within the same space, which you mostly did quite well, and secondly, to give students an opportunity to attempt to draw those intersection lines. I by no means expect them to do it correctly right now - it is merely so a seed can be planted, and so that the student will start thinking about how the forms they draw exist in 3D space together, how they relate to one another within it, and how those relationships can be defined. This is something we explore at length throughout this entire course, and this is just meant to be the starting point.

Because you got distracted and focused too much on how to do it correctly, it appears that you didn't make the attempts that were expected of you. Based on the question you wrote out, the challenge you're facing is to be able to make the attempts without knowing what is right and what is not. But that is, by and large, the point. These intersections are an extremely complicated thing to grasp, and the best way to start developing that understanding is to actually attempt and fail many, many times. As mentioned back in Lesson 0, these spatial relationships are one of the core principles that Drawabox is meant to help you learn, with spatial reasoning being the primary skillset the course as a whole is designed to teach. This is just Lesson 2.

I'm not going to be answering the actual question, for two reasons - first off, you focused so much on this that you deviated from the instructions of the exercise, and that isn't something I want to encourage, and secondly, I don't require you to understand this concept right now. As mentioned before, I just need you to try.

As a side note, while I mentioned that you did a pretty solid job of constructing the forms such that they felt cohesive and consistent within the same scene, I do want you to refrain from redrawing the same marks over and over. The ghosting method should be used for every single mark you draw for a number of reasons - one of them being that it helps you to avoid bad habits such as reflexive drawing and automatically correcting your mistakes. Every mark you make should be the result of planning and preparation, so the second your pen lifts off the page, you should not be putting it back down without going through the first two phases of the ghosting method once again.

Lastly, your organic intersections are coming along pretty well. You've established how the forms interact with one another as 3D elements, rather than as a stack of flat shapes, and you've conveyed a good illusion of gravity in how they slump and sag over one another. While some of your cast shadows are a little off, overall it does seem like you're thinking about how those shadows are being cast upon a separate surface, and that you're trying to let them follow that surface instead of clinging only to the form doing the casting. You'll continue to improve upon that with practice, as you're moving in the right direction.

Now, before I mark this lesson as complete, I'd like you to do an additional 2 pages of form intersections using a variety of different forms. You were doing just fine when you drew the intersections between your boxes - that isn't to say they were all correct, but that you were working through the spatial problem. That's how you'll gradually come to build that understanding, by getting your hands dirty. Explanations will only take you so far.

It is however worth mentioning that there is a major aspect of intersections that require you to simply assert how those forms relate to one another in 3D space. There's a lot of information that isn't present when you just draw two flat silhouettes over one another on a page. How close together they are in the "unseen" dimension of depth, for example. Are they barely touching, are they right up in each other, or are they miles apart? You get to determine where they touch - but once you make that assertion, the rest of your lines must also adhere to it. The issue isn't in asserting the wrong thing, it's in avoiding telling the viewer many different contradictory things.

Next Steps:

Please submit two more pages of form intersections. Use different kinds of forms (not just boxes), draw the actual intersection lines, and refrain from going back over your lines automatically. Use the ghosting method for every single mark you draw.

When finished, reply to this critique with your revisions.
1:11 PM, Saturday September 5th 2020

https://imgur.com/a/mULDZTk

Dear Uncomfortable,

here are the two pages you had asked for. The first page is really messy and filled with contradicting information. I loosened up a bit for the second one and hopefully I did a few intersections correctly.

I gotta admit though, doing this exercise without understanding the math behind it is super frustrating for me. But I really tried to go with my gut and not overthink it, so hopefully I did the exercise in the way it was intended.

Looking forward to your reply!

MisterSpades

9:10 PM, Saturday September 5th 2020

Much better! Looks like despite the frustration you were able to get through it - and honestly your constructions are pretty much all on point, so you're clearly demonstrating a very strong grasp of those spatial relationships.

I'll go ahead and mark this lesson as complete.

Next Steps:

Feel free to move onto lesson 3.

This critique marks this lesson as complete.
The recommendation below is an advertisement. Most of the links here are part of Amazon's affiliate program (unless otherwise stated), which helps support this website. It's also more than that - it's a hand-picked recommendation of something I've used myself. If you're interested, here is a full list.
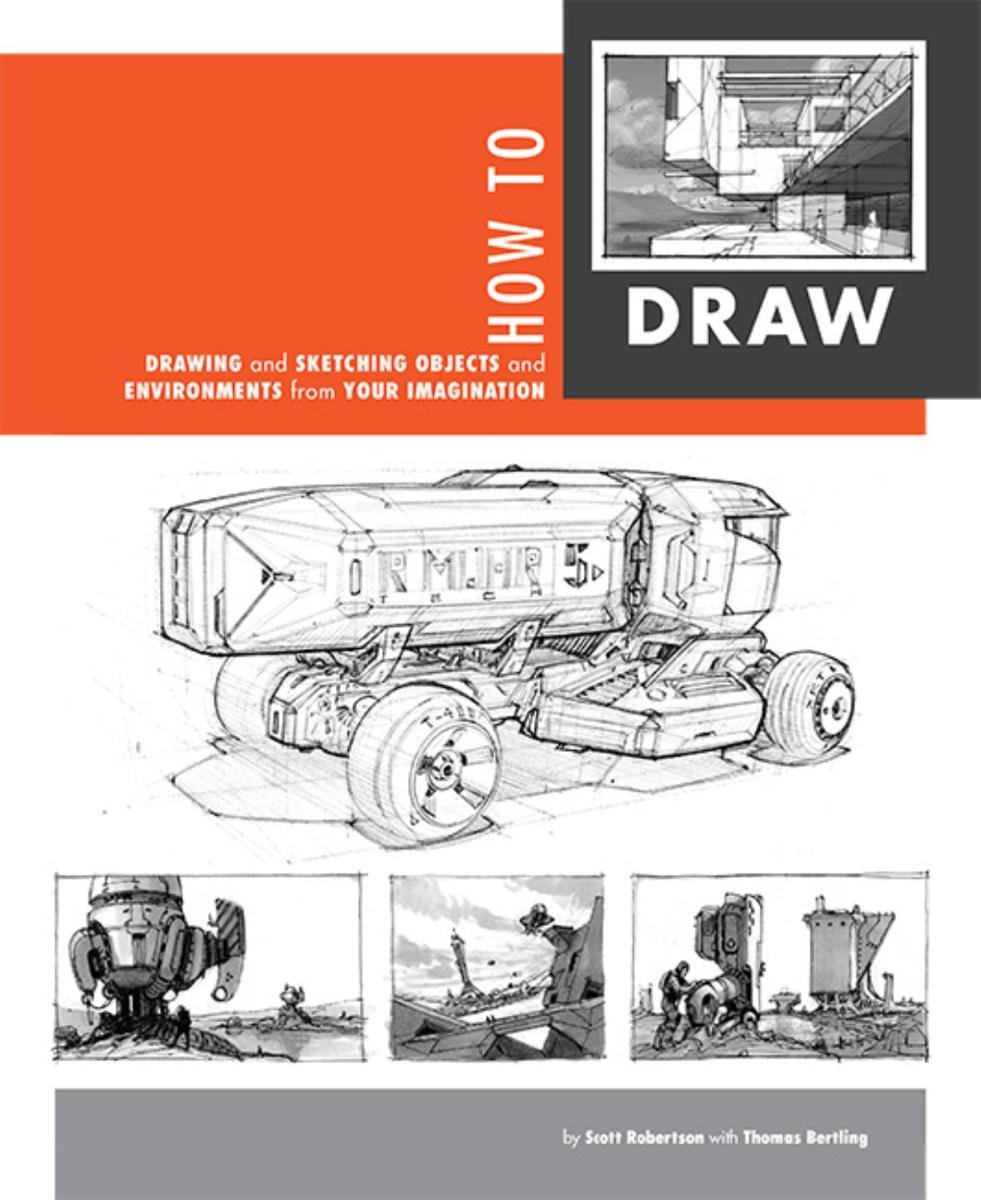
How to Draw by Scott Robertson

How to Draw by Scott Robertson

When it comes to technical drawing, there's no one better than Scott Robertson. I regularly use this book as a reference when eyeballing my perspective just won't cut it anymore. Need to figure out exactly how to rotate an object in 3D space? How to project a shape in perspective? Look no further.

This website uses cookies. You can read more about what we do with them, read our privacy policy.