Lesson 5: Applying Construction to Animals

5:35 AM, Tuesday March 2nd 2021

Lesson 5 - Album on Imgur

Direct Link: https://i.imgur.com/SmPlZr8.jpg

Discover the magic of the internet at Imgur, a community powered enterta...

I ended up needing to take a little over a month long break but I'm finally back.

Let me start by saying I'v been having problems with my hands shaking recently, even when I'm not drawing. Because of this drawing traditionally has become very difficult. I'm sure you'll notice how wobbly and scratchy my lines are in this lesson, especially the smaller ones. Unfortunately theres not much I can do abut it right now, tho it is slowly getting better. The good news is that this isn't to big of a problem for me since i only really draw digitally and I can use a stabilizer to help compensate.I know the lessons are supposed to be done traditionally but I included a digital drawing that I drew free hand (with a stabilizer) to show where my skill level is at when shaky hands aren't a problem.

Ill also say that after the dog drawings I took some time to look through some other students work to see what they were doing different (most notably Becca Rand over on youtube). This definitely helped a lot and I think I can start to see drastic improvement after that point.

0 users agree
8:50 PM, Thursday March 4th 2021

Starting with your organic intersections, there are a couple things that stood out quite a bit to me:

  • You seemed to be applying line weight and shadows throughout the process. Since you don't know which forms are going to be where until they're all drawn, you really shouldn't be sorting through line weight and cast shadows until the end. This will help you avoid contradictions in your drawing.

  • You appear to have a form (cropped here) which is just floating in space. This exercise is about creating a believable arrangement of forms that exist physically in the same space. This means being mindful of things like gravity in ensuring that they're positioned in a way that makes sense. Don't leave them floating around one another.

  • On your second page of organic intersections, your cast shadows seem to be a bit inconsistent. Make sure you think about where you're positioning your light source, and think about where the light is coming from, as well as the nature of the surface the shadow is being cast upon. You don't want a form casting shadows both to the right and left, and also you want to make sure your cast shadows wrap along the surface of the receiving form.

Moving onto your animal constructions, there are indeed a number of issues we need to address. There's a lot to go over here, but in the interest of avoiding overwhelming you all at once, I'm going to pick the most notable issues and address them one by one by looking at individual elements of your work.

Before I get into that though, I do want to address the thing about your hand tremors. I can definitely see that your drawing following along with the wolf demonstration is vastly better than the rest of your work here, and the linework certainly is more confident, but the linework I'm seeing in your ink drawings aren't really showing the normal wobbling or hesitation we get with shaky hands. Looking exclusively at your work and ignoring what you're claiming (a tactic I often use to help identify issues in students' work), I think the shaking hands might be a bit of a red herring.

Observation, and taking your time

So looking at that digital drawing you did with the wolf demo, this one is quite well done. The stabilizer is obviously helping you execute your marks better, but the demo does something else that is quite important - it keeps you from having to draw directly from the reference image. What students are expected to do on their own - that is, process and identify the forms present in the reference image, in order to construct them bit by bit on the page - is done for you already. The demonstration clearly shows you which forms to work with, and helps you build them up in an effective order.

This essentially means that you're left with a lot less to worry about, and can focus entirely on executing your marks, and drawing those individual forms. Conversely, when working directly from your own reference images, we have to deal with all of that, and as a result we can get overwhelmed. When we get overwhelmed, we tend to draw more erratically, we forget the core principles from previous lessons, and we just focus on getting marks down on the page.

The biggest problem that I'm seeing is that you are tackling each drawing way too quickly, and aren't giving yourself the time that is needed to both observe and study your reference closely and frequently (as discussed back in Lesson 2 you should be looking at your reference almost constantly, looking away only long enough to put down a very specific form you identified in that reference). From what I can see, right now you're getting a bit stressed out, and drawing as though someone's got a gun to your head. So slow down, and relax. Give yourself the time to think - don't just jump straight into drawing as soon as you can. This will ensure that the choices you're making (in terms of which marks you put on the page) are more clearly informed. That is the first step to you drawing with more confidence.

Keep in mind that actually drawing your marks is just the very last step of the whole three step process introduced in the ghosted lines exercise (which was all updated recently, so you may want to review it to refresh your memory). The biggest difference between your digital drawing and your ink ones isn't that the linework is better - it's that the actual marks you choose to make are distinctly different. In the digital one, you're actually drawing through your ellipses, you're shaping the silhouettes of your forms to reflect how those forms wrap around the structure they're being added to. But when you draw your marks in ink, you're forgetting about all of these core principles, and just focusing on getting something done. You're held back by anxiety, but because your hand shakes, you're assuming that to be the cause.

Your hand shaking may in some way contribute to your anxiety, but ultimately that shouldn't stop you from intending to create the correct marks. The fact that your wolf drawings are indeed better even when done in ink than many of the other drawings shows that the bigger issue lies in the difference - the fact that the need to study an actual photograph was removed.

Draw through your forms

You've got some drawings where you draw each and every form in its entirety. For example, in this bear you're allowing yourself to lay down almost every form in its entirety (aside from the legs on the opposite side of the body), which in turn helps you better understand how all the forms exist in relation to one another.

Make sure you do this in every single drawing, and honestly, do it for the legs on the opposite side of the body as well. This elephant definitely stood out as a situation where you totally forgot about this.

Head construction

Head construction is something you've experimented with a great deal, although there is an explanation of how to approach it in the informal demos section which I don't think you saw. While the explanation there will eventually be incorporated into the main lesson content (once I get there, currently updating things from way back in lesson 1 and working my way up), I've included it in the informal demos page so people still have access to it as it's quite important.

Read through it carefully. It explains how to think about the relationship between the eye sockets and the other forms that make up the face, and how they wedge together like pieces of a 3D puzzle. It also gets into how to think about the eye sockets as the first step to breaking the cranial ball into what is composed of vague, curved surfaces, to a series of clear cuts and planes.

It is for this reason that you should not be drawing your eye sockets as ellipses. This is actually a point that has been called out in a lot of places - the tiger head demo, the wolf demo, etc. Constructing them like pentagons with the point down gives us pieces that can very easily be fitted against a muzzle wedged in from below, and a brow ridge coming across the top.

Lastly, when drawing your actual eyes, remember that the eyeball is a sphere, and the eyelids wrap around it. It may help you to draw those lids as individual forms of their own, as shown here, to focus more on how they're interacting in 3D space. Right now you have a tendency to fall back on the 2D here.

Leg construction

Don't forget the specific requirements of the sausage method, as explained here. Contour lines go right on the joint between sausage segments, not anywhere else along their length, and of course be sure to stick to simple sausage forms.

I'm going to assign some revisions below, and I want you to focus first and foremost on investing as much time as each drawing requires. That means investing lots of time in observing your references, in applying the ghosting method, and in building things up steadily. Right now I think you could stand to put a lot more time in than you are currently, and allocating that time appropriately will help you yield far better results. Once I get the revisions, I'll continue with my feedback - ideally on work that takes the whole time investment issue off the table and allows me to focus on further actionable areas.

Next Steps:

Please submit the following:

  • 2 pages of organic intersections

  • 4 pages of animal constructions. As an additional restriction, the only contour lines you'll be allowed to use are those that define the relationship between two forms in 3D space - like those we place at the joints between sausage segments. Right now you've got a bit of a tendency to use contour lines a little too freely, and by restricting their use you'll be forced into using alternate strategies to make your constructions feel more solid.

When finished, reply to this critique with your revisions.
9:56 PM, Friday March 12th 2021

https://imgur.com/a/aaDO3w8

My brush pen ran out so I used a pencil for the shadows on the organic intersections.

7:42 PM, Sunday March 14th 2021

Your first page of organic intersections is generally moving in the right direction, but your second page has that big sausage that appears not to actually push down on the forms beneath it, and as a result it doesn't feel like it is believably impacted by gravity. Also, remember that you should be drawing every single sausage form in their entirety, not cutting them off where they're overlapped by another form. Drawing everything completely helps us better grasp how they sit in space, and how they relate to one another in space, rather than just how they sit on the flat page. Furthermore, make sure you're sticking to the characteristics of simple sausage forms for these.

Continuing onto your animal constructions, I'm going to skip over the frog and elephant for now, and look at the dog and bear.

Dog

Here I think you did do a decent job of observing your reference material more carefully. There's plenty of room for improvement on that front, and more time that could be invested into observing your references in order to specifically determine which forms you should be adding, but this is a big step in the right direction.

When it comes to the additional masses however, especially the big ones along the torso/neck, you're still largely drawing them as amorphous and non-specific blobs. I can see a few places where you're curving them to wrap around certain forms, but for the most part it looks like you're trying to figure out what shape you want these forms to have as you draw them. Of course, construction and the ghosting method in general are all about breaking problems into smaller steps so they can be solved individually - so you should already determine the specific nature of the shape you want to draw before your pen touches the page. You can also draw these in a few separate marks - drawing one curve to wrap around the shoulder mass, and then another mark for the rest of the form's silhouette.

I've added some additional points in these notes directly on your work - most notably, why are you drawing so small? You've got enough room to draw almost twice as big there, which would certainly help engage your whole arm, while also pushing your brain's capacity for spatial reasoning.

Bear

Looks to me like in this one, it's a bit of a reversal. You relied a lot more on memory (rather than direct observation), resulting in a much cartoonier overall result, but when drawing your additional masses you were definitely putting more effort into shaping their silhouettes. They still are somewhat amorphous and arbitrary, but you're putting more conscious decisions. It's just that the complexity that you're adding to them doesn't actually seem to be responding to specific forms present in the construction.

Here's a demonstration of what I mean. You can't just place inward curves wherever - they have to be in response to something specific, like one of the big shoulder/hip masses. If you need to extend that additional mass so it actually touches the shoulder/hip, then you can do so.

Furthermore, your head construction is very flat, because you largely drew it with flat shapes. The muzzle should have been considered in terms of being a boxy form, with a side plane, a front plane, a top plane, etc. wherever possible. I get that you were drawing it from a side view, but these are still 3D forms, and so we still need to imply this.

Alternatively, it wouldn't be a bad idea to just avoid full-on side-view references for now. As you get more used to capturing those 3D forms in other orientations, you'll become less likely to fall back into bad habits like these, just out of a greater familiarity in working with forms.

Here are some notes on how you approached that head. I also pointed out there how you drew your eye socket. You were referred back to this demo from the informal demos page in my original critique, but it appears you were somewhat selective in terms of where you applied it.

Not only is it critical that you invest as much time as you can into your drawings - the same should be said of you going through the critiques you're given. That means reading through them as many times as is needed, reflecting on them each day you do the work, etc. so that it is fresh in your mind as you work on the assignments.

Overall you are moving in the right direction, but you have a lot of room for improvement. I'm unsure of how long you spent on each drawing, whether they were done in the same sitting or different ones, so I'm going to impose a few additional restrictions.

I want you to do the same revisions as before - 2 pages of organic intersections, 4 animal constructions, but I want you to do no more than one animal construction in a single day. This is a tactic I use when students may simply be rushing without realizing it, and not giving themselves the room to invest as much time as they reasonably could on their observation, and on the execution of each and every individual mark. And of course, I expect that you're still doing the exercises from your previously completed lessons as part of a regular warmup routine.

Take as long as you reasonably can on every drawing - and if need be, feel free to break a single drawing across multiple sittings. In addition, I'd like you to record how much time you spend on each drawing, just so I have more information to work with.

Next Steps:

Please submit the revisions listed at the end of my critique.

When finished, reply to this critique with your revisions.
The recommendation below is an advertisement. Most of the links here are part of Amazon's affiliate program (unless otherwise stated), which helps support this website. It's also more than that - it's a hand-picked recommendation of something I've used myself. If you're interested, here is a full list.
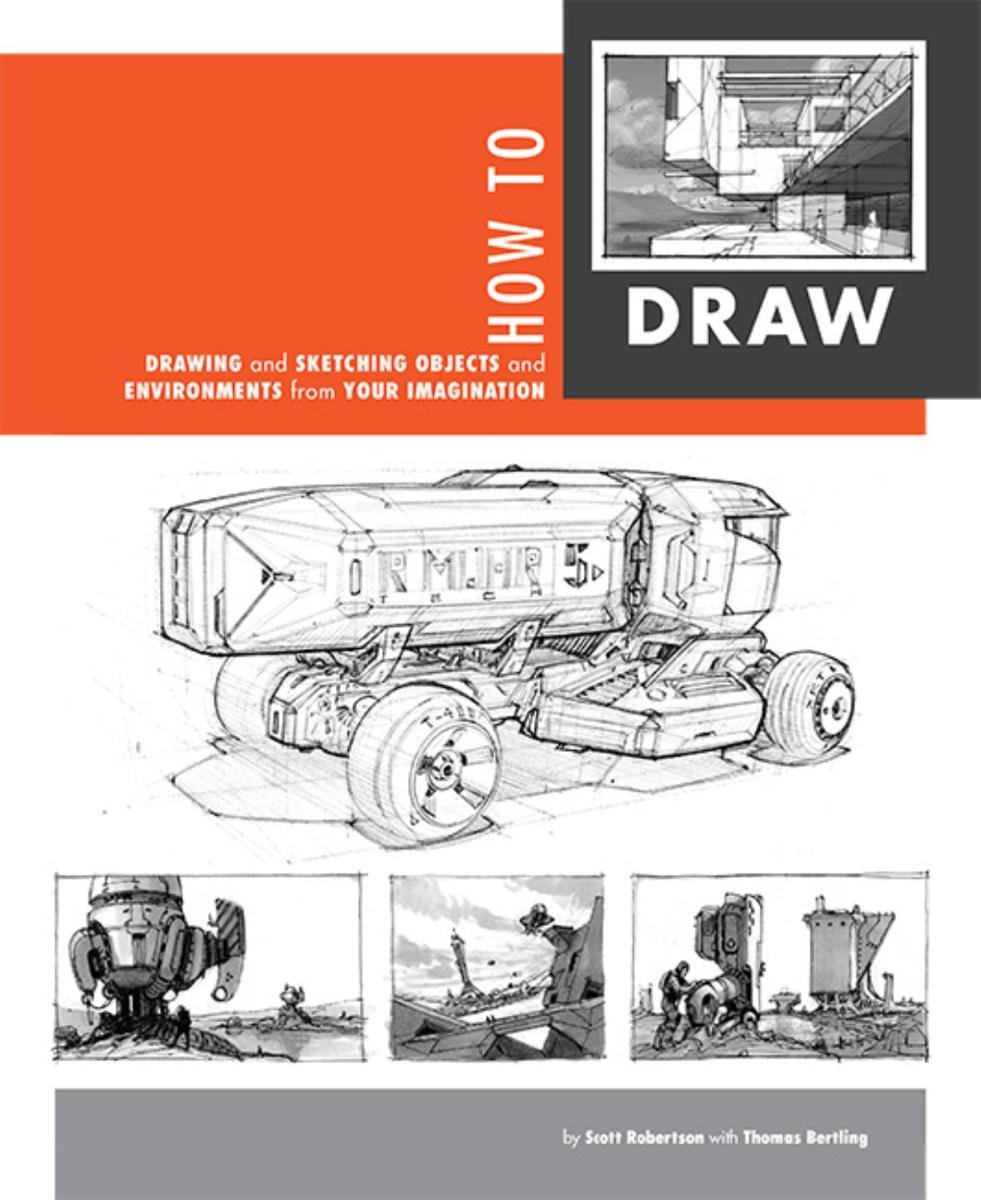
How to Draw by Scott Robertson

How to Draw by Scott Robertson

When it comes to technical drawing, there's no one better than Scott Robertson. I regularly use this book as a reference when eyeballing my perspective just won't cut it anymore. Need to figure out exactly how to rotate an object in 3D space? How to project a shape in perspective? Look no further.

This website uses cookies. You can read more about what we do with them, read our privacy policy.