Lesson 1: Lines, Ellipses and Boxes

6:21 PM, Sunday April 12th 2020

Imgur: The magic of the Internet

Direct Link: https://i.imgur.com/oKIDXwk.jpg

Discover the magic of the internet at Imgur, a community powered enterta...

I have submitted this before, but without official critique. I only had the planes filled with ellipses, but I can do two more without, if necessary. Thank you for your time given to this and the well structured lessons.

1 users agree
9:31 PM, Tuesday April 14th 2020

Hey there owtu, no worries about the planes, that's usually how it goes.

So starting with your lines your super imposed lines are executed very confidently and with no wobbling. However, there is a lot of fraying so you want to start working on finding a speed to start getting things a little more under control but this is a great start. Your ghosted lines are likewise off to a good start as they are confident and smooth, but with some overshooting. What I like to do is instead of stopping at the point, I lift my pen up. I feel it is easier to do than fighting the motion of your arm and it gives your lines a nice taper.

Moving on to your ellipses, you are off to a good start. You are using your shoulder confidently and getting smooth ellipses with no sharp edges or flat zones. You are drawing through and keeping things relatively tight together and you are showing to understand all the core concepts. Your ellipses in planes are making decent contact with the edges (there are some misses, but not too bad) resulting in ellipses that don't float within the plane. Your ellipses in tables likewise are packed together tightly and relatively uniform with shape and orientation within each group. Your ellipses in the funnels are also doing well and you do a good job keeping in mind the alignment of the minor axes.

Moving on to your rough perspective boxes your line quality is pretty good. You seem to be mindful of your orientations, with most of your horizontal lines being parallel to the horizon and verticals perpendicular with only some skewed lines. This results in properly oriented one point perspective boxes. Your converging lines, as shown by your check lines, are all relatively close to the target VP and with practice your accuracy for lines going to far off points will improve.

Now looking at your rotated boxes, you did a good job pushing through to completion as well as keeping things very neat and controlled. Additionally, you drew this pretty large which is good to see as that gives your brain more room to puzzle through things. In terms of rotation, you not really rotating your boxes so much as skewing them, so watch this gif and study how the rotation of the box is driven by the motion of the vanishing points along the horizon. In terms of packing your boxes, you did a really nice job keeping things together so that you can properly leverage adjacent lines as perspective guides and I am really glad to see you stuck to these guides on your far corner boxes where they turn out differently from the example but you respected the bounds you already had set into place showing some good understanding of what you should be doing when keeping boxes packed together. Overall this is a good first attempt and all we expect of students is a complete effort to the best of their abilities and that is what you did. This is so you can be exposed to new types of spatial problems and solution methods.

Finally let's take a look at your organic perspective boxes. The compositions are very dynamic, especially the ones with the really large foreground elements. This is great as it gives the eye a place to enter the scene and sets the scale. You continue to sell the illusion of depth on the page with your scaling of receding boxes as well as overlapping them. All of these together are how you can make things look three dimensional on your paper. Your perspective is diverging at this point (near planes are smaller than far planes) but we'll get to that in the next steps. For now you are doing a good job keeping lines neat for the most part and filling those frames up with boxes.

So with this I will be marking your lesson 1 as complete. Good job!

Next Steps:

Move on to the 250 box challenge.

This critique marks this lesson as complete.
6:38 AM, Wednesday April 15th 2020

Thank you!

The recommendation below is an advertisement. Most of the links here are part of Amazon's affiliate program (unless otherwise stated), which helps support this website. It's also more than that - it's a hand-picked recommendation of something I've used myself. If you're interested, here is a full list.
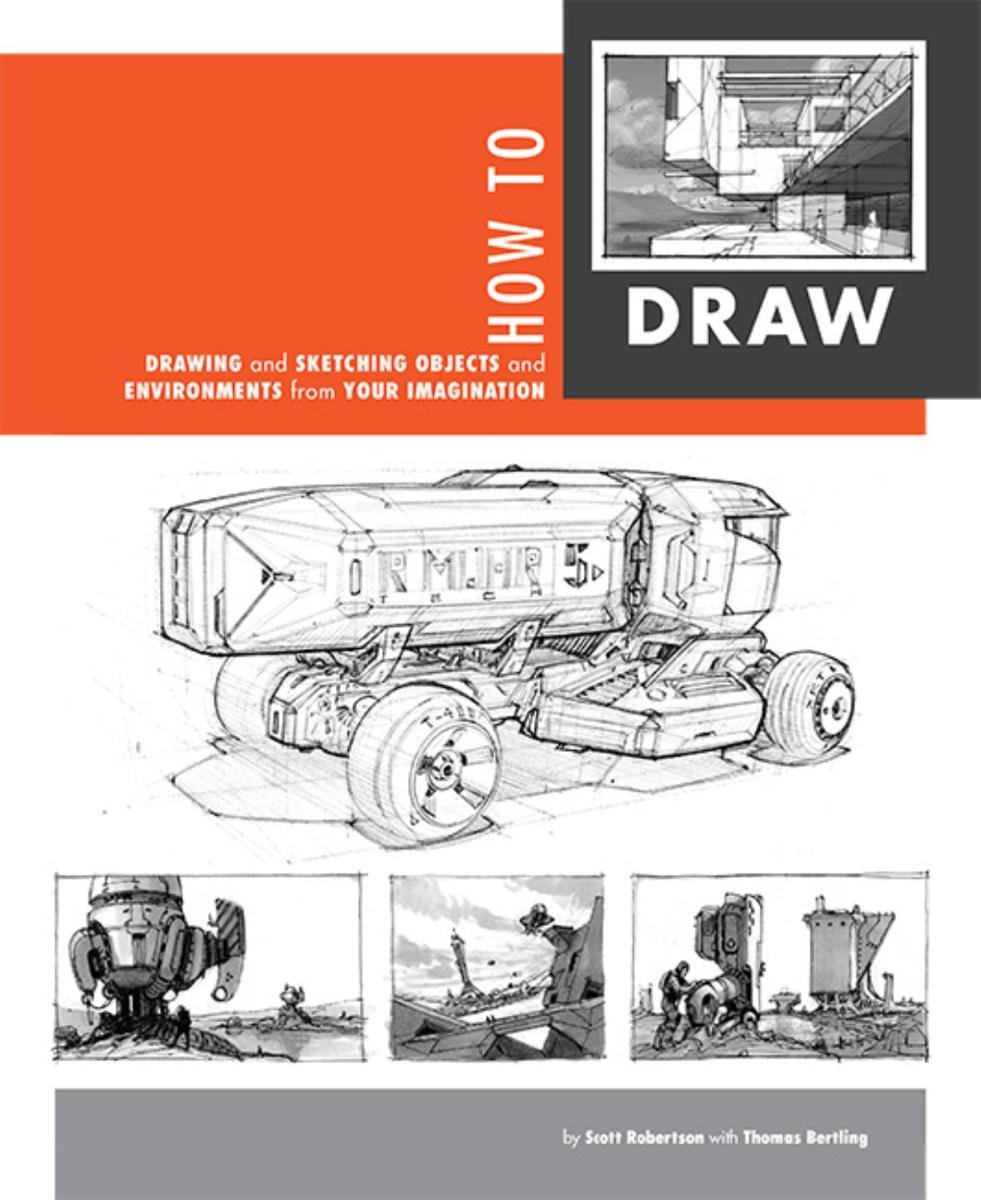
How to Draw by Scott Robertson

How to Draw by Scott Robertson

When it comes to technical drawing, there's no one better than Scott Robertson. I regularly use this book as a reference when eyeballing my perspective just won't cut it anymore. Need to figure out exactly how to rotate an object in 3D space? How to project a shape in perspective? Look no further.

This website uses cookies. You can read more about what we do with them, read our privacy policy.