Lesson 6: Applying Construction to Everyday Objects

9:00 PM, Thursday December 1st 2022

Drawabox Lesson 6 - Album on Imgur

Imgur: https://imgur.com/gallery/dF2UOGR

Discover the magic of the internet at Imgur, a community powered enterta...

Any feedback is appreciated. This lesson was definitely the most difficult yet.

I was not entirely sure how to use the French curve, it did not always match up well with the curve I was trying to make, so I would sometimes try to build a line in different segments, but it usually looked chicken-scratchy. I freehanded most of the curves with ghosting, but any advice about the French curve would be appreciated.

0 users agree
7:04 PM, Monday December 5th 2022

Starting with your form intersections, your work here is quite well done. I noted a couple minor points here - mainly, for the sphere/box intersection, always make sure that you're considering the curvature of both surfaces, so that you can run the intersection line along both of them simultaneously. I expect based on your work you already largely understand this, but I have found that sharing this diagram at this stage in the game can help students further solidify their understanding of how to think through these kinds of spatial relationships.

As far as the french curve goes, you're on the right track - each piece of cut acrylic is composed of as many different kinds of curves as possible, with the intent being that the curve you'll want to draw is only going to be a small subsection of the whole thing's curve. As you suspected, a lot of that comes down to breaking the complex curves you require into their own separate pieces, "solving" it bit by bit.

This concept from the lesson notes, while not specific to the use of french curves (but rather a more general concept pertaining to curves in general) helps lay down some foundation for this, by pushing us to define the curves we require first as a chain of straight lines or flat planes, such that the eventual curves we want to produce end up being a pretty close fit to the straight lines.

So! Getting into your object constructions, you've done very well, and have held really nicely to the overall core focus of "precision" that we push throughout the lesson. Where lessons 3-5 have us operating in a much less precise, more inside-out approach - that is, one where we can kind of build upon the previous stage, no matter how it turned out. If the head of an animal started out too big, we can keep building upon it without undermining the solidity of the structure (so long as we accept that the head is going to end up being proportionally larger than whatever's in our reference). Here however, we learn to work in more of an outside-in approach, where much more of our decision making needs to be separated out, with those choices being made separately from the marks that actually build up those structures.

Precision is often conflated with accuracy, but they're actually two different things (at least insofar as I use the terms here). Where accuracy speaks to how close you were to executing the mark you intended to, precision actually has nothing to do with putting the mark down on the page. It's about the steps you take beforehand to declare those intentions.

So for example, if we look at the ghosting method, when going through the planning phase of a straight line, we can place a start/end point down. This increases the precision of our drawing, by declaring what we intend to do. From there the mark may miss those points, or it may nail them, it may overshoot, or whatever else - but prior to any of that, we have declared our intent, explaining our thought process, and in so doing, ensuring that we ourselves are acting on that clearly defined intent, rather than just putting marks down and then figuring things out as we go.

Through your patient, careful use of subdivision, you have done an excellent job of this. I'm not seeing any skipped steps, but rather an extremely thorough breakdown of these structures to build them up a bit at a time. I do have some suggestions on how this can be taken even further (in a manner that is at least right now not entirely fleshed out in the lesson material, but it will be once my demo overhaul reaches this far into the course), as well as a couple issues I wanted to call out in regards to your constructions.

First, the couple of issues - though worry not, none of them speak to any core issues with how you're approaching the material, just some little hiccups I noticed. The first of these is something I noticed with your laptop construction. As shown here it looks like the way in which the object's corners were positioned on the front and back of the base are inconsistent. In the back it appears to be level with the bottom plane of that bounding box, but tucked in from the left side. In the front, it appears to be snug against the left side and front of the bounding box, but the bottom edge of the laptop is raised up about halfway up the bounding box's height. This inconsistency, though subtle and not immediately jumping out at a glance, does mean that the actual laptop structure is lopsided, slanting upwards and to the right as we slide forward along its edge. I'm guessing this was not intentional.

The second point I noticed was in your combination lock was that there were some elements that could have been included to better ensure the integrity of the construction. As shown here, the actual shackle (the metal bar) is lopsided, coming further forward closer to the viewer and further back towards the opposite side. There are a couple approaches for avoiding this:

  • While the problem likely arose in part due to confusion with all the different lines (something that will get easier to keep track of with practice), one thing that can help us how we use our rulers (given that the use of a ruler is permitted/encouraged in this lesson). A ruler gives us not just a means to execute a straight line reliably, but it also gives us a visual extension of our mark, allowing us to judge how it's oriented (given the other edges it must remain parallel to in 3D space, and so how it converges with the lines representing them) and make adjustments accordingly without ever first committing.

  • The other option - although really given that this helps with the confusion, both options should be applied - is to either start with a bounding box that'll encompass the entire lock (this is especially relevant given that the shackle sits halfway through the body of the lock). This gives you great benefit in being able to align to the center lines of the various planes. Working without that additional scaffolding requires you to rely much more heavily on your ability to eyeball the convergences of your lines and keep everything straight in your head.

Now the last thing I wanted to share is not calling out a mistake, but rather explaining how one of the techniques introduced in the computer mouse demo (specifically the use of the orthographic plans) can be taken further and ultimately yield more specific benefits. In the demo, we really just use it in a very loose fashion, subdividing each plan view into quadrants to give us something a little closer on which to base our estimations of where each specific landmark falls.

This can be leveraged far better by actually deciding upon specific fractional positions for each such landmark along the length of a given dimension - so for example, if we were constructing the front of a drawer, there's value in identifying specifically where that handle starts and ends along the width of that drawer's front face, and doing so ahead of time so that when we go to actually construct the object in three dimensions, we've already figured out all of these "answers", leaving us to merely apply them in three dimensions rather than having to worry about making decisions while we draw.

Note that what we're talking about here is not simply identifying those proportions, but rather it's really about making decisions. So for example, if we identified that the handle of the drawer sits between the 19/50ths and 31/50ths positions along its width, but that would be incredibly annoying to subdivide and build out. Instead, in most cases we'd be able to round these to 2/5ths and 3/5ths respectively, without any noticeable loss of accuracy.

So using your shaving razor handle as an example, if we first define all of its curves as chains of straight edges, we end up with a lot of individual landmarks (mainly the corners between the straight edges). We don't have to necessarily pin down every single one, but the more that we can identify at this stage (as shown here, the less guesswork we have to deal with later on, making the process more streamlined.

This will come in very handy as we tackle more complex subject matter in Lesson 7, where you'll want to leverage this kind of approach to a great degree. It certainly is more time consuming, but given how well you've demonstrated patience and care throughout the rest of this lesson, I expect you are entirely capable of meeting that requirement.

So! With that, I'll go ahead and mark this lesson as complete. Keep up the great work.

Next Steps:

Feel free to move onto the 25 wheel challenge, which is a prerequisite for Lesson 7.

This critique marks this lesson as complete.
1:26 AM, Thursday December 15th 2022

Thank you for the feedback, it was very helpful.

The recommendation below is an advertisement. Most of the links here are part of Amazon's affiliate program (unless otherwise stated), which helps support this website. It's also more than that - it's a hand-picked recommendation of something I've used myself. If you're interested, here is a full list.
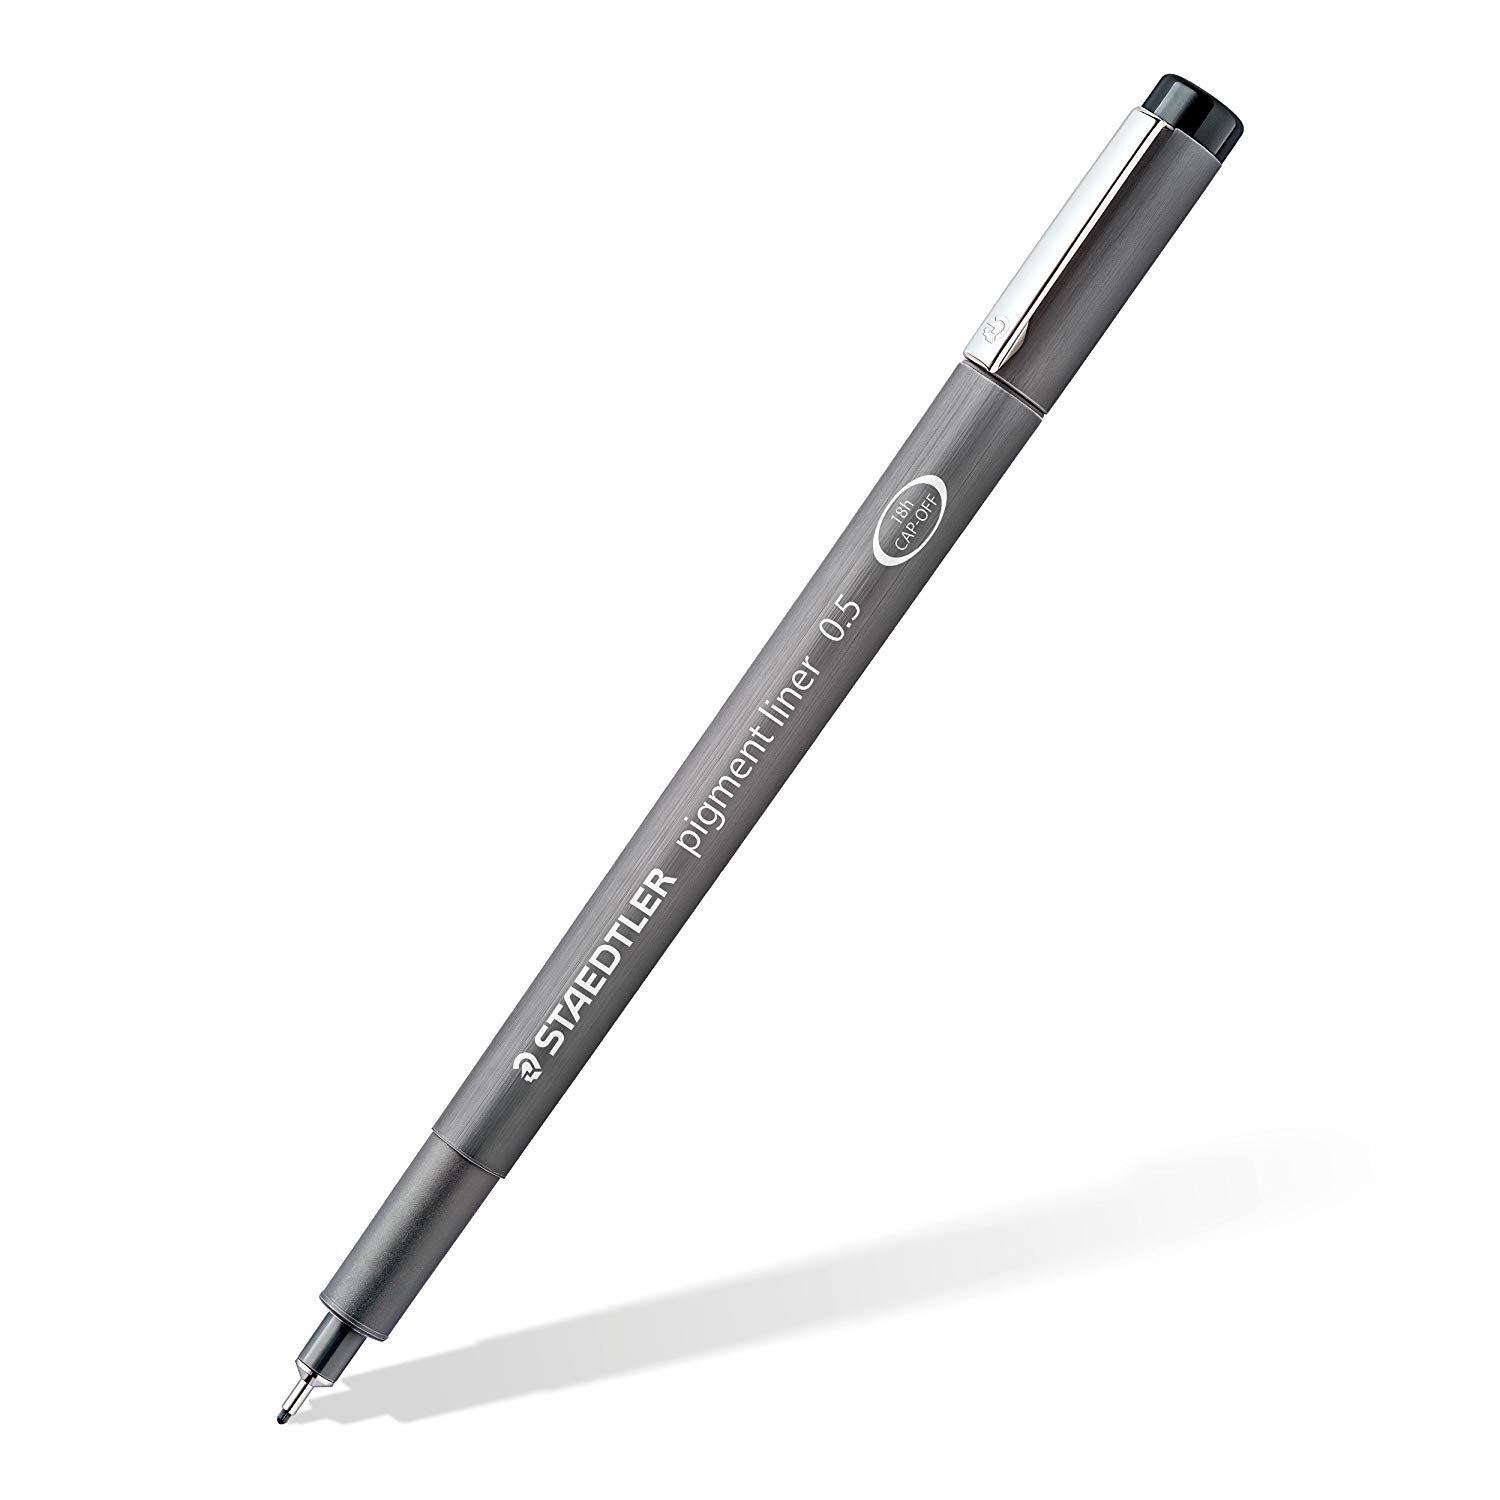
Staedtler Pigment Liners

Staedtler Pigment Liners

These are what I use when doing these exercises. They usually run somewhere in the middle of the price/quality range, and are often sold in sets of different line weights - remember that for the Drawabox lessons, we only really use the 0.5s, so try and find sets that sell only one size.

Alternatively, if at all possible, going to an art supply store and buying the pens in person is often better because they'll generally sell them individually and allow you to test them out before you buy (to weed out any duds).

This website uses cookies. You can read more about what we do with them, read our privacy policy.