View Full Submission View Parent Comment
1:40 AM, Tuesday January 18th 2022
edited at 1:41 AM, Jan 18th 2022

Okay, so we are not quite there yet, there are still a number of things to work on.

-First of all, make sure that each one of the leaf edges ends right where the flow line ends. do not leave any gaps in the leaf, respect each step of the construction,Always remember that construction really relies heavily on how tightly bound each step is to the one before it. This is how we're able to take the solidity that comes from simplicity in those first stages, and carry it forward even as the overall complexity of the structure increases. So, keep an eye on cases where you leave arbitrary gaps between phases of construction - for instance, on this page, each flow line governs where the edges of the leaf should meet.

-All that we are looking for with these exercises is to establish specific relationships between each form and/or details, you want to start from the most simple and gradually build your way up. Do not try to tackle any complexity right at the beginning. Here we are not concerned with matching the reference or having your drawing look exactly like the plant you chose, this is just an exercise in spatial reasoning.

For example here you ignored my advice when I clearly wrote this in the critique:

When building any cylindrical structure, make sure you align them to a minor axis, do not rely on eyeballing on guesswork, simple as the pot in this reference may look, you don’t want to skip steps of the construction

In this drawing, you did not draw any branches, the leaves are just floating there, but if you look at your reference you’ll clearly see the branches, even if they do not appear explicitly you know that they have to be there, they serve as the supporting structure and as such they must be drawn in their entirety.

So they key things that you want to take from this is that you should build from simple to complex, each additional form has to be preceded and supported by a previous structure, there are no arbitrary marks and each line that you put on your page has to be carefully planned.

I dislike being the carrier of bad news but I wont let you move on just yet, I think you are lacking a general understanding of the principles highlighted here, so it would be a good idea to rewatch and read the material on Lesson 3 along with my critiques.

Sorry my work is to help you and I would rather not have you move on to lesson 4 where the overall level of complexity is much greater.

Oh and take your time please, I'll be around here to check your work.

Next Steps:

Do the following

-1 page of leaves

-2 more plant constructions, again no details or texture for these ones. If you have any questions let me know and I'll try to answer before you start your new revisions.

When finished, reply to this critique with your revisions.
edited at 1:41 AM, Jan 18th 2022
5:23 PM, Sunday October 16th 2022

Hello! It's been awhile since our last meeting all the way back and Janurary. A lot of stuff happened in between then and now leading to me without access to my markers, previous pages and paper, but now I'm back to work, I apologize for the 9 months of silence after you assigned my work. Here is the revisions I went and did that you asked for, I hope I managed to take your words to at least any degree and improve in the time I was gone, thank you for taking the time to critique me once more!

8:06 PM, Sunday October 16th 2022

Okay, I’m glad to see you again. I thought that my words had been too discouraging and I was actually quite worried but anyways.

Since it’s been quite a while maybe you are a bit rusty right now, I don’t know if you kept doing your warm ups but in case you didn't then I’ll recommend you go and spend some time reviewing past lessons and the feedback that you may have gotten on those previous submissions.

Anyways let’s move on to the revisions.

-Starting with the leaves you are doing a pretty good job drawing the first two steps of the construction that is drawing the flow line and enclosing the silhouette, the main issue arises when you try to add edge detail.

There are some leaves like the ones at the bottom right corner where you are doing an splendid job tackling the more complex leaf structures, but as I said the only real issue is when you try to add the edge details, so what you should focus on is to take your time to design each individual bump and cut. Don't fall into the trap of working in autopilot, each mark should be the result of careful planning and deliberation. Ultimately this is the most important skill that you will need to complete this course.

-Moving on to the plant constructions you are doing quite well compared to the last time, you are definitely thinking about how to solve the spatial problems you are presented with using the tools you’re given here.

The main thing I want to call out is the way you are building those branches, keep in mind that you should extend your segments fully halfway to the next ellipse and then use the previous segment as a runway so that you can end up with a smoother transition.You can read more about this approach in these notes https://drawabox.com/lesson/3/2/exercisebranches .

And lastly I did notice that you seem to have drawn these sets of revisions in quite a short span of time - sometimes students will think that they're somehow expected to complete a given drawing before they get up from their drawing session. And thus, their drawing must take the amount of time they have to offer it. This of course is not true - you are welcome and encouraged to split a single page, a single drawing, or a single exercise across as many sessions and days as you need. Your only requirement is that you give each object, each form, and each mark as much time as they individually require to be done at your best.

Okay but for now I’ll let you move on, but remember to go back and review the previous lessons if you need to.

Next Steps:

Lesson 4

This community member feels the lesson should be marked as complete, and 2 others agree. The student has earned their completion badge for this lesson and should feel confident in moving onto the next lesson.
The recommendation below is an advertisement. Most of the links here are part of Amazon's affiliate program (unless otherwise stated), which helps support this website. It's also more than that - it's a hand-picked recommendation of something I've used myself. If you're interested, here is a full list.
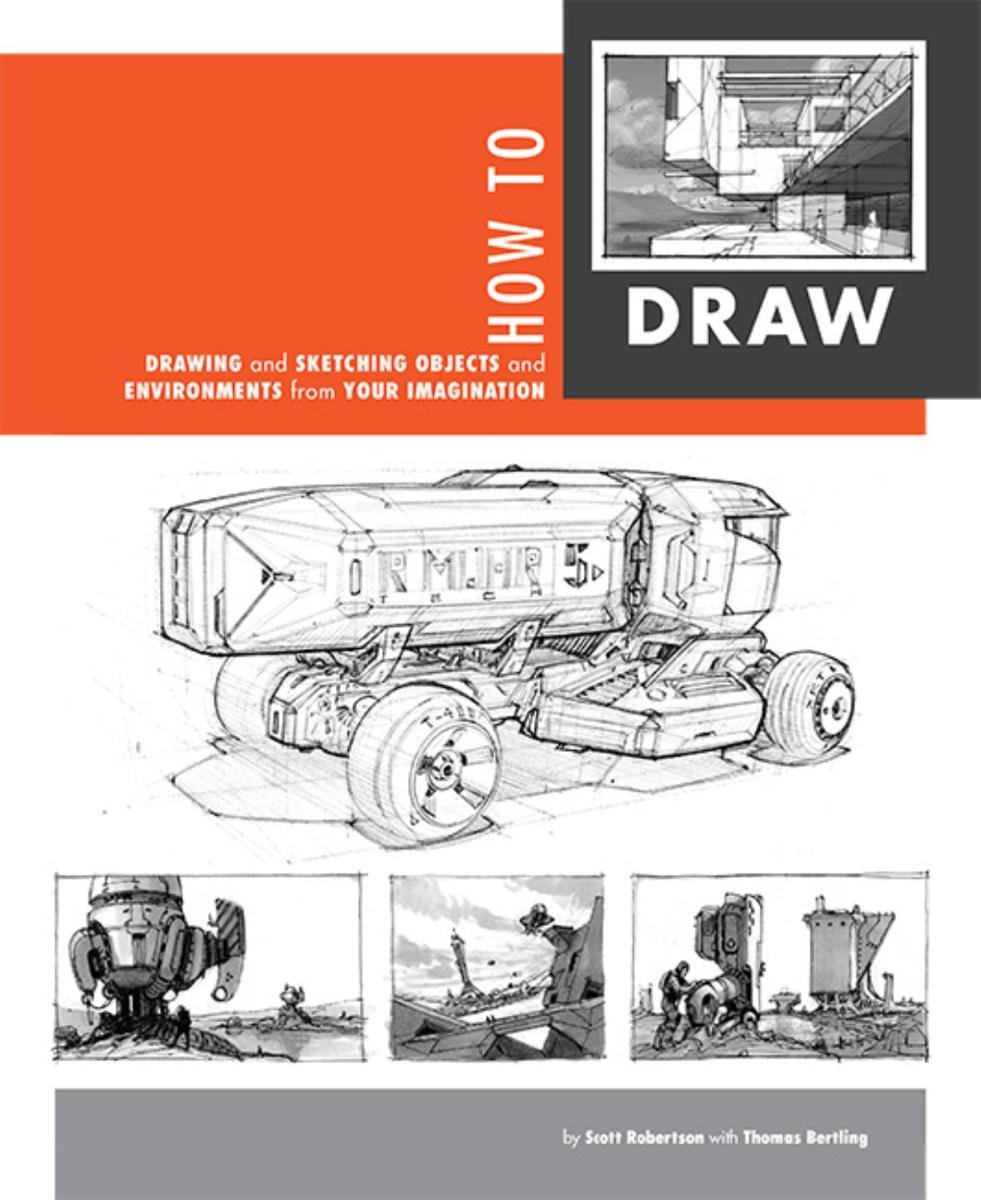
How to Draw by Scott Robertson

How to Draw by Scott Robertson

When it comes to technical drawing, there's no one better than Scott Robertson. I regularly use this book as a reference when eyeballing my perspective just won't cut it anymore. Need to figure out exactly how to rotate an object in 3D space? How to project a shape in perspective? Look no further.

This website uses cookies. You can read more about what we do with them, read our privacy policy.