Foreshortened Animals in Lesson 5 Tips

12:57 PM, Sunday August 8th 2021

Hi everyone! Does anyone have any tips on how to draw foreshortened animals? A lot of the demos in lesson 5 seems to be focused on profile shots of animals but some of the reference images I want to draw are 3/4 views almost or more head on angles. Any tips or thoughts on the subject would be appreciated.

3 users agree
2:53 PM, Sunday August 8th 2021

Hi! So my first recommendation is to use easier references for the animals. Remember the goal of the lesson is not to learn how to draw animals, but rather to use drawing animals as an exercise to learn construction. Worrying about things like foreshortening or harder orientations would detract from learning the primary goals of the lesson, and is an unnecessary challenge.

Of course, all of that being said, you are completely free to challenge yourself as long as it doesn't take away from learning the main concepts in the lesson. How I approached drawing an animal from 3/4 view is to not worry about foreshortening when drawing the individual forms, but rather capture that foreshortening in the size of the form relative to other forms.

For example, when placing down the major masses, assuming the animal is coming towards the viewer, I would make the head a bit larger than normal, and the pelvic mass a bit smaller than normal. Same with the legs, while there's no foreshortening within the leg itself, there would be a size difference between the two pairs of legs.

More important than the foreshortening I feel is capturing the correct angles (or degrees when it comes to the major masses and contours). For example, the ribcage and pelvic masses would be a lot more circular in an animal seen head on compared to in profile. In addition, most quadrupeds in 3/4 view tend to have their pelvic mass higher on the page than their ribcage mass (unless they're sitting down or standing). A contour curve across the middle of the torso sausage I've found is also an effective way of really capturing how the animal is oriented. Finally, don't forget that the contour curves defining the intersections between forms are also a great way to define the orientations of forms.

Hope this helps!

7:16 PM, Sunday August 8th 2021

Thanks for the advice and feedback. Reading your respons I can see now that im trying to jump straight into the deep end before fully understanding basic construction. First time posting here so its great to get some guidance on the lessons.

1 users agree
3:30 PM, Sunday August 8th 2021

As below/above. I think it is better to use references that provide good construction practice rather than ones you want to draw from an aesthetic POV. Almost head on provides to much overlapping info.

7:18 PM, Sunday August 8th 2021

Ya I agree with you on this. Ill try and tackle this later once I've become more comfotable with construction in general. Thanks for the fast response.

The recommendation below is an advertisement. Most of the links here are part of Amazon's affiliate program (unless otherwise stated), which helps support this website. It's also more than that - it's a hand-picked recommendation of something I've used myself. If you're interested, here is a full list.
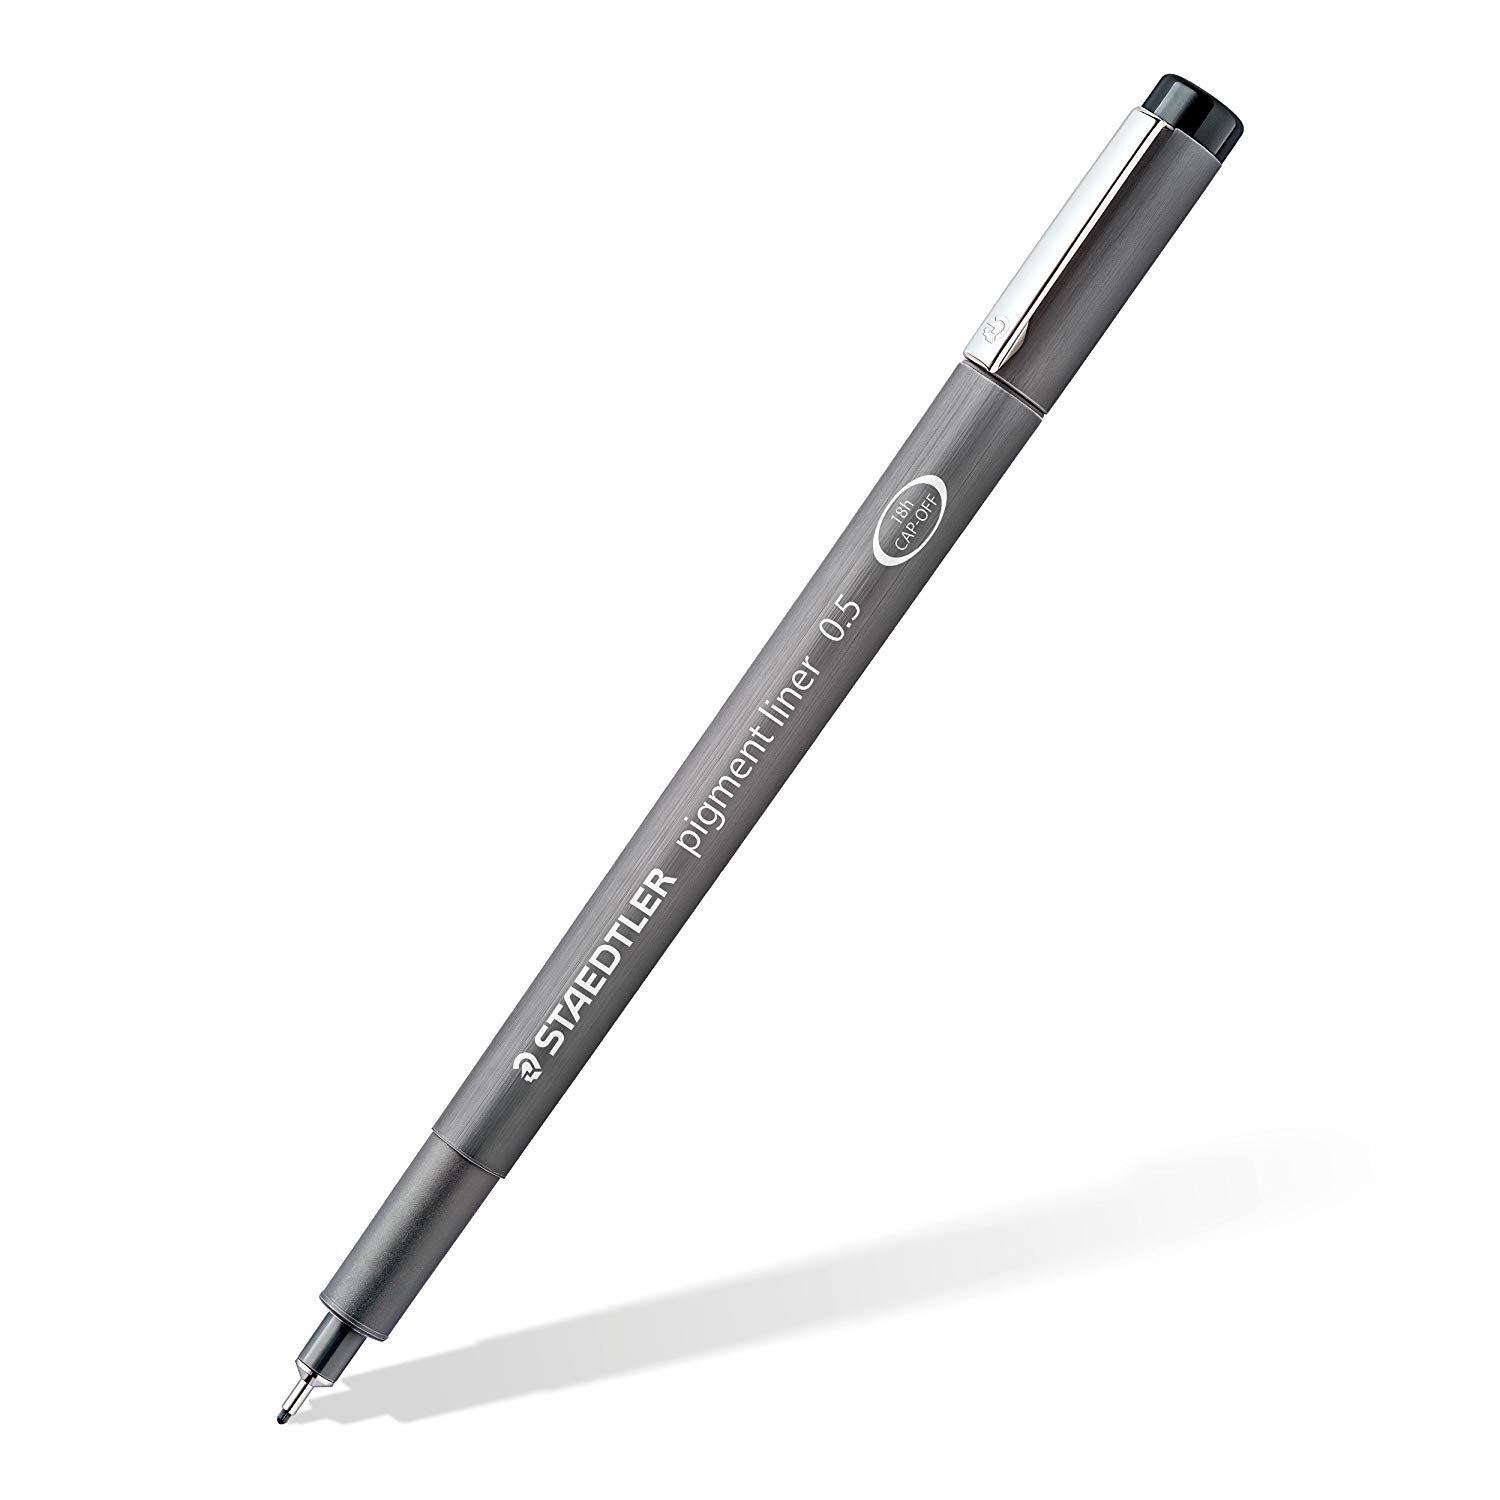
Staedtler Pigment Liners

Staedtler Pigment Liners

These are what I use when doing these exercises. They usually run somewhere in the middle of the price/quality range, and are often sold in sets of different line weights - remember that for the Drawabox lessons, we only really use the 0.5s, so try and find sets that sell only one size.

Alternatively, if at all possible, going to an art supply store and buying the pens in person is often better because they'll generally sell them individually and allow you to test them out before you buy (to weed out any duds).

This website uses cookies. You can read more about what we do with them, read our privacy policy.