View Full Submission View Parent Comment
1:16 AM, Monday April 24th 2023

Hey there, sorry for the late response!

I took a look at your arrows and I can tell that you are trying to apply the tips that I gave you so far. I drew an example of a different way you could try to approach your arrows here:https://imgur.com/a/2gF3KNr

In the second step, I added straight lines going down for the sides of the arrow. I noticed that the sides of your arrows are tilting outwards, which can prevent the zig-zagging sections from overlapping. If you try and draw the sides first, they can serve as a guide for the next line you must draw, like in the third step. It may be hard to accurately place the line in the third step, but for now, try and use the ghosting method with confidence.

I will go ahead and assign one more page of the organic arrows so you can get extra practice in. After I let you move onto lesson 3, this is something you can practice during warm-ups.

Next Steps:

Another page of organic arrows -- Take as much time as you need and if you have any more questions, I'm more than happy to help

When finished, reply to this critique with your revisions.
7:23 PM, Monday April 24th 2023

No problem. I waited over a month for an initial response, so ten days is nothing lol. Ah, I see now! I hadn't thought about it before, but drawing the sides straight down makes a lot of sense as a guide. Thanks for that. Alright, I'll try it again

7:03 PM, Monday May 1st 2023

https://imgur.com/a/r1YnKFQ

FINALLY back with this. Would’ve happened sooner, but Imgur was fighting me NOT to post this for some reason a day or two ago

12:14 AM, Wednesday May 3rd 2023

First of all, great work!

I can defintely see the improvement in these arrows and I believe that you are understanding the concept very well now. I do see that some of the sides of the arrows are overshooting a bit, but it's good to see that you are using the ghosting method for them. Overall, great job

And with more practice, you could go back and try the first method again as shown in the lessons. The one that I showed you in my replies maps out the sides first so that the bottom and top lines are essentially parallel. You can still achieve this by mapping out the top and then the bottom lines first like in the lesson. I was just trying to show an approach I saw from someone else that made simpler to understand.


Once again, good job on your work. I will mark this as complete!

Next Steps:

Move on to Lesson 3

This community member feels the lesson should be marked as complete, and 2 others agree. The student has earned their completion badge for this lesson and should feel confident in moving onto the next lesson.
7:57 PM, Monday May 8th 2023

Thank you so much for taking the time to grade my homework! I wouldve responded sooner, but I didn't realize you yourself had responded. That "see more of the conversation" link is extremely missable lol. Again, thanks for the grading and the help

View more comments in this thread
The recommendation below is an advertisement. Most of the links here are part of Amazon's affiliate program (unless otherwise stated), which helps support this website. It's also more than that - it's a hand-picked recommendation of something I've used myself. If you're interested, here is a full list.
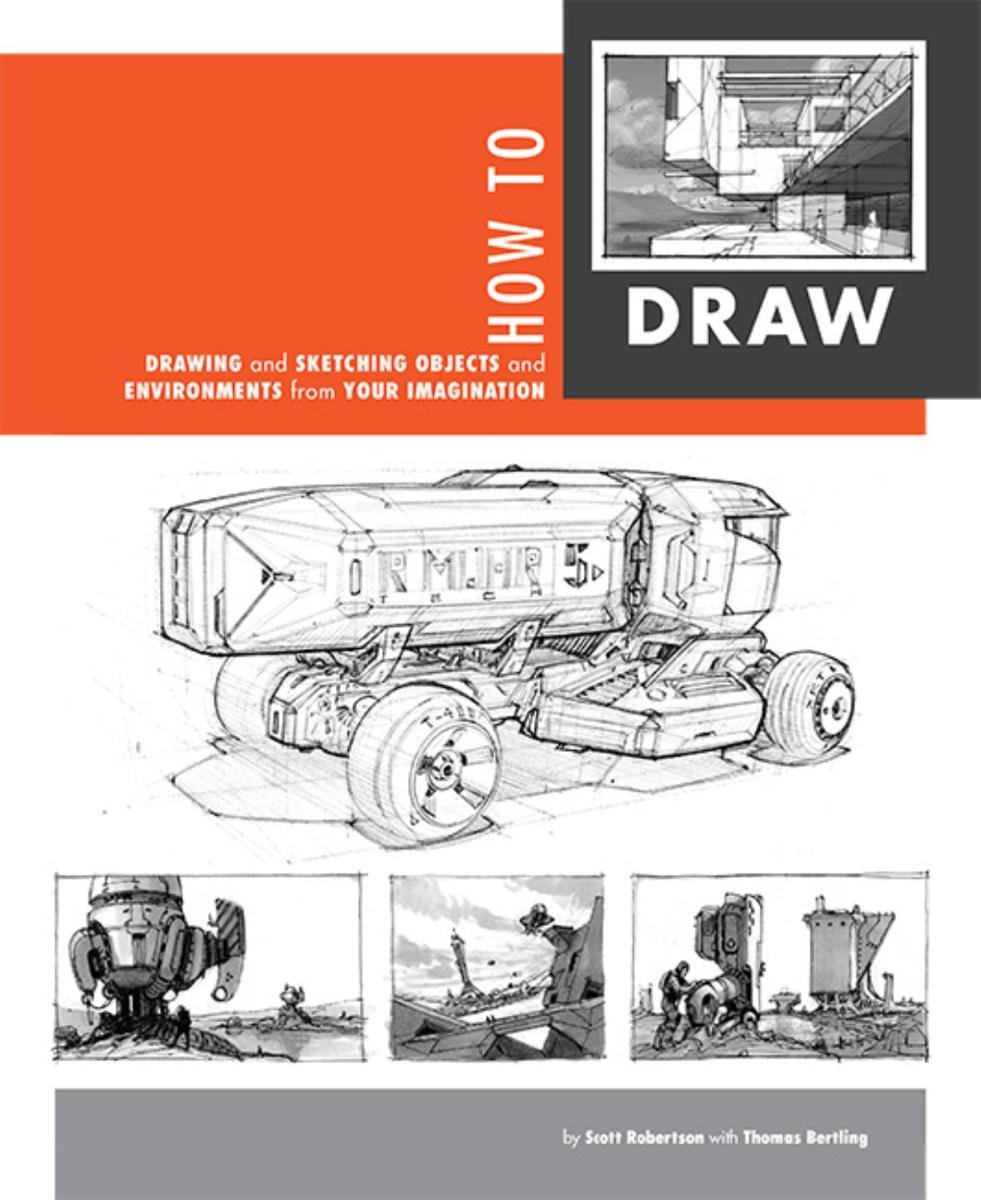
How to Draw by Scott Robertson

How to Draw by Scott Robertson

When it comes to technical drawing, there's no one better than Scott Robertson. I regularly use this book as a reference when eyeballing my perspective just won't cut it anymore. Need to figure out exactly how to rotate an object in 3D space? How to project a shape in perspective? Look no further.

This website uses cookies. You can read more about what we do with them, read our privacy policy.