Lesson 5: Applying Construction to Animals

3:10 AM, Wednesday April 7th 2021

DAB L5 - Album on Imgur

Direct Link: https://i.imgur.com/OdnJeme.jpg

Post with 37 views. DAB L5

Over all this lesson was quite challenging and at times very frustrating. I think that despite this it was very instructive. I feel that I have grown in my understanding of form, and how forms overlap with each other. In general I can "feel" what I'm drawing much more than before. My sense of 3D is far from perfect but I think it's much better than before.

One notable area I struggled with is the face of some animals. Drawing the muzzle was really hard for me at times.

Reference pictures can be found here: https://imgur.com/a/I39CTJ9

0 users agree
7:13 PM, Thursday April 8th 2021

There are a number of ways in which your work on these animals is moving in the right direction, but I can see a number of areas where some alterations can be made to how you approach certain problems, to yield overall improvement.

Before we get to the meatier bits, there are a number of points that jumped out at me that are fairly straightforward, and I've marked them out on this page:

  • In other pages your linework is somewhat better, but it varies and there are definitely times when you're getting scratchy, or drawing without thinking as much as you should. Remember that contour curves should be drawn with one mark, not several. We only draw through full, complete, ellipses twice before lifting our pen. This is because it helps our arm get into the motion of drawing an elliptical shape, something it naturally wants to do (which helps keep our ellipses more evenly shaped). With anything else (a sausage form for instance) it'd just push that shape towards being elliptical. And of course, with simple marks like these contour curves, there would be no benefit at all because there's no continuous flow, with there being separate start/end points.

  • On your sea horse (and in a number of other places, like this seagull's head), you're cutting back into the silhouette of a form you'd already constructed. This is something I specifically talked about back in my critique of your Lesson 4 work, so I'd like you to go back and reread it a little more carefully to make sure you keep this in mind: once you've constructed a form, you should not be attempting to modify its silhouette in any way. We can only interact with the existing structure or make changes to it by introducing new, complete, fully enclosed 3D forms to it.

  • Remember that whenever you want to add any textural information - for example, the wrinkles on that shark's body - that you should be drawing intentionally designed cast shadow shapes, and specifically thinking about how those shadow shapes would be cast by the textural forms in question. The best approach to this is to first outline the shape and then fill it in, always using this two step process to ensure that you don't slip back into the temptation if just putting arbitrary marks down.

Moving forward, the first major point I wanted to address was how you're drawing your additional masses. Right now, many of them are appearing more like arbitrary blobs. Once drawn, you tend to go over them with contour lines to try and make them feel more solid and 3D, but unfortunately this doesn't work as well as we'd want here, for a couple reasons:

  • Contour lines only make an object feel solid and three dimensional in isolation. They don't help define the relationship between that form and the structure it's attached to in a believable manner, and that's what we're really after here.

  • The more complex the silhouette of a form, the harder the contour lines have to work to make it feel 3D. As soon as you start adding a lot of random complexity, like the wobbly outlines of the additional masses on this bear's back/neck, it goes beyond a contour line's ability to work with.

  • You have a tendency to pile on a lot of contour lines, but you don't really put in the time to draw each one carefully. You're going for quantity over quality, and it isn't working well.

Ultimately none of the contour lines are of any use here - instead, we have to focus entirely on how that additional mass itself is designed, because it's that silhouette that will establish the relationship between the form and the existing structure. One thing that helps with the shape here is to think about how the mass would behave when existing first in the void of empty space, on its own. It all comes down to the silhouette of the mass - here, with nothing else to touch it, our mass would exist like a soft ball of meat or clay, made up only of outward curves. A simple circle for a silhouette.

Then, as it presses against an existing structure, the silhouette starts to get more complex. It forms inward curves wherever it makes contact, responding directly to the forms that are present. The silhouette is never random, of course - always changing in response to clear, defined structure. You can see this demonstrated in this diagram.

This means that when you actually draw your additional masses, you can't just let your autopilot take over - you have to specifically design how that mass is meant to wrap around the other forms present in the existing structure, as shown on this iblis drawing.

On the iblis, I also pointed out a couple other things:

  • Your use of the sausage method is very inconsistent. Sometimes you use it partially, sometimes you don't use it at all. In my critique of your lesson 4 work, I talked about employing the technique specifically, with all of its attributes. Sticking to simple sausage forms for each segment, and adding a contour line at the joint between segments to help define their relationship in 3D space. I also provided examples on how to wrap additional masses on top of those structures (breaking them into smaller masses instead of wrapping the structure completely in a larger mass. I see you doing this sometimes, but I also see places where you fall back to just drawing a bigger form over the whole thing. This doesn't work particularly well because it causes the original sausage segment to just "float" loosely inside of the new form, providing no clear relationship between them. Wrapping individual, separate pieces around instead provides us clearer areas where the silhouette makes contact with the underlying structure, as shown here.

  • You have this habit of using line weight to encase your whole construction - please refrain from doing this. Line weight is a tool with a specific, limited purpose - to clarify how forms overlap in specific, localized areas. We only apply line weight to small areas, and blend it back into the original linework. What you definitely don't want to do is have line weight jump from one form's edge to another's, as this will flatten out your drawing and smooth over the kinds of pinches and features we're trying to create by building up our masses one at a time. It's like taking a muscular figure and covering it with rubber - a lot of the nuance of their original silhouette gets lost.

Now I've covered a number of points, but there's one last thing I want to draw your attention to. Right now your head construction suggests that you haven't looked over this explanation from the informal demos page. That explanation goes over how to think about the head as a series of individual components that should all be wedged together, like pieces of a 3D puzzle, and when my overhaul of the course reaches lesson 5 (currently I'm still finishing up lesson 1), that approach will be central to how I approach head construction in the future. For now, you'll have to follow what's written there.

I'm going to assign some revisions below, so you can work towards applying what I've pointed out here. As I've mentioned already a couple times, be sure to go back over the critique I gave you for your lesson 4 work as well, as there are some key points you seem to be missing here and there.

Next Steps:

Please submit 5 additional animal constructions. Take your time with each one - I recommend that in order to keep from unintentionally rushing through parts, you should work on no more than one animal construction in a given day. You can always spend more than one day on a single drawing, but you shouldn't try to do any more than that. By being forced to spend your whole sitting on a single drawing, you may find yourself more willing to take your time with every mark, and to think through what each one is meant to contribute to the drawing.

When finished, reply to this critique with your revisions.
7:33 PM, Thursday April 8th 2021

Thanks for the feedback; this is a lot to unpack! Seems I have some work to do. I was actually doing 1 or 2 pages a day so maybe that's why they turned out the way they did.

Right now your head construction suggests that you haven't looked over this explanation from the informal demos page

Head construction was definitely an issue for me, but I actually did go through every single one of the demos in that I drew them myself. I will re-visit and try to get a better understanding.

As for the new drawings, is it ok to use a mixture of the existing references I have? And should I stick to particular animal types? Or does it not matter?

Also are the issues that you pointed out evident in my organic intersections? Or is it more a lack of application from that exercise to the actual animal drawings?

7:42 PM, Thursday April 8th 2021

Your organic intersections showed a good grasp of how the forms wrap around one another, so it was a lack of application - although in truth it's also a different context so it's not abnormal for the understanding to translate fully without a bit of help.

You can use whatever references you like - just make sure that they're all high resolution, so it's easier to identify the major elements of the given animal. Low-res reference can make things harder than it needs to be.

8:01 PM, Thursday April 8th 2021

Sounds good thank you.

5:06 AM, Thursday April 15th 2021

Ok here are my redraws: https://imgur.com/a/vW3HUmM

I took your advice and drew 1 a day and really tried to think about my lines more and the view everything as building on top of each other. I also reviewed the informal demos again and I think it really helped. Let me know what you think. Thanks!

7:17 PM, Thursday April 15th 2021

There's definitely improvement here, but there are also a number of significant issues that are coming into play here. I went over a couple of your drawings to point some issues out, here on your wolf and here on your mountain goat. Here are the main points I'm noticing, though I've got a couple additional points on the pages:

  • You've definitely improved on drawing those additional masses, but there are still issues that suggest that you're not necessarily always thinking about how the silhouette's shape needs to reflect how that mass either is pressing against solid structure, or not pressing against anything. It's really important to note that there is improvement here, but that you still need to go back over my explanation from my critique, and ultimately to be more conscious of how each mass's silhouette is being designed.

  • So to be specific, on the goat's neck/shoulder area, you had complexity there with the inward curve across the top of the mass which implies that there's something else pressing up against it. Since there isn't anything there, it needs to be a simpler outward curve. If you need that dip there, then you should be constructing it as two (or more) separate masses.

  • When you end up dealing with smaller additional masses (especially on the legs) you have the opposite problem - you use outward, simpler curves when the mass is pressing up against another structure, which is precisely where you need to be using inward curves because that's where contact is being made.

  • Another major issue I'm seeing is that you're not really employing the head construction explanation I shared with you previously. You may be employing it in small ways, but it's inconsistent, and there are elements missing to varying degrees. This tells me you probably read through it, but then allowed it to slip into the background, not reviewing it again while working on your drawings.

Another very significant point, which I didn't mark out on those two pages, is that you are currently not spending enough of your time studying your reference image. I'm seeing lots of signs that you're falling into the trap of oversimplification, which occurs naturally when we spend too long looking away from our drawing, capturing what we think we remember (but that our brain has ultimately just reduced to a much simpler state). You absolutely must look at your reference image almost constantly, refraining from relying on your memory. Look away only long enough to capture a specific form or mark based on what you saw from your reference, then go back to looking at it to determine the next piece you wish to transfer, and how it exists in 3D space.

All in all, you're moving in the right direction but you have a ways to go and more room for improvement. Part of this is just a matter of practice, but there are a number of key things you need to remember to apply with each and every drawing.

Next Steps:

Please submit an additional 5 animal constructions, with the same restrictions as the previous set (in terms of only doing 1 per day).

When finished, reply to this critique with your revisions.
1:46 AM, Friday April 16th 2021

You seemed to harp on the wolf and the goat a bit. Were the other constructions similarly lacking or do you notice that I struggle more with quadrapeds?

Also another question regarding the leg construction with "sausages". Do they always have to be "perfect" sausages? In the wolf demo you use different shapes to build up the legs (i.e. the ends are different sizes) and similarly, with the sample dog digram the sizes are different on the ends. Is the focus here not to have bowing in the center of the mass (like an ellipse)? Or are we supposed to use "perfect" sausages that have spheres at their ends and maintain the same thickness throughout? This has been a very confusing aspect of this lesson for me.

With the additional mass designs, I envisioned them as clay, so I designed the silhouette with the shape I needed. I guess this is incorrect and instead I need to think of them of being more solid and not as pliable? Or filled with water?

Finally, is it possible to get feedback prior to the full submission of 5 animals? I feel that it would be better for me to get feedback earlier rather than spending time doing things wrong repeatedly and not realizing it.

View more comments in this thread
8:59 PM, Friday April 23rd 2021

Here are my redraws (round 2): https://imgur.com/a/79q3Oxk

2:08 AM, Tuesday April 27th 2021

In my original critique, and in the subsequent feedback you received after your previous round of revisions, I called out the fact that your head constructions tended to feature eye sockets that floated loosely, instead of being tightly integrated with the rest of the structure as shown here. I pointed you to that explanation/diagram each time, but the issue still seems to be present.

I'm not entirely sure what to make of that. What is demonstrated in that diagram is a fairly straightforward step by step process. So first, let's tackle that directly. The first thing I'm going to ask you to do is to do a direct copy of the head construction diagram linked above. This is the process I want you to try to apply to each and every one of your animal constructions. While it may not fit perfectly to something like a shark (that wasn't really a big concern, your shark was fine), but the core concepts there of making sure everything fits together tightly, creating a three dimensional puzzle, is very important.

The other point to look at is how you're drawing your additional masses. As shown here, the masses along the legs are actually coming along pretty well. For all intents and purposes, their silhouettes are designed much more intentionally and purposefully, taking into consideration where they're making contact with another structure, and where they're not.

The big mass on the back however is a lot more erratic. As I marked out there, there are a lot of arbitrary inward/outward curves that don't respond directly to the existing structure in the way that those on the legs did. That is definitely something to work on - you're clearly able to do it correctly, but it comes down to being more purposeful in what it is you try to do.

As shown here, it's also important to try to get your pieces to wedge together, rather than having them stand separately. It's the exact same thing we talk about with head construction - elements that float more loosely aren't going to feel as solid and three dimensional. But the more relationships you can create between the given pieces (where appropriate of course), the more solid the construction remains. So creating a ball form at the shoulder then allows you to wrap that mass along the back around it, creating more sturdy relationships, as it also wraps around the torso/neck.

So, once again, I'm going to ask you to review the previous critiques you've received in this lesson (and hell, the ones for lesson 4 as well), and then complete the revisions assigned below. You are making progress, but it's very clear that there are areas where you're either just forgetting by the time you reach the drawing stage, or you're just not allowing yourself to apply what you know as intentionally and purposefully as you can.

Next Steps:

Please submit the following:

  • A draw-along with the head construction demo

  • 2 additional animal constructions, taking them as far as you reasonably can with construction, but not getting into any textural detail.

And let me tell you, if you've got floating eye sockets on those two animals, we're gonna have words, you and I.

When finished, reply to this critique with your revisions.
2:40 PM, Tuesday April 27th 2021

I've actually drawn that demo multiple times and did it again after the last critique. I guess I didn't realize I was required to follow that exact formula for my other constructions. I have to say I don't really understand how to apply it to other animals (i.e. sea horse, shark, or even a bird) since their facial makeup doesn't always fit together that way; at least in my head (i.e. eye socket doesn't butt up against a muzzle).

I think it's probably a case of me forgetting since I did these over a longer period of time in addition to all the other drawing I'm doing whereas normally I would knock them out closer together in a shorter period of time. I'll try to be more actively aware of what I need to focus on.

View more comments in this thread
1:50 PM, Monday May 3rd 2021

Here are my latest redraws (round 3) https://imgur.com/a/B0p56KQ

3:57 PM, Monday May 3rd 2021

These are definitely marking steps forwards. There's still plenty of room for improvement, but I can see that you're applying the points I raised previously, and that you're adhering more closely to the head construction technique I shared previously. As such, I am going to mark this lesson as complete.

Over the next several months, I'm going to be pushing forward with an overhaul of the videos and lesson material - for the most part that means taking what I'm already sharing with students in my critiques, and formalizing it all into the lesson material which thus far hasn't been able to reflect all that I've learned by giving students their feedback. The head construction approach is a good sign of this.

While I have shared all of these things with you in the feedback you've received thus far, when I actually reach Lesson 5 in my overhaul, I'll be able to present it all in a more cohesive manner. I recommend that at that time, you read over and watch the new material, as it should help further support what I've shared with you already. For now though, just keep practicing this stuff on your own, and continue to reflect on the feedback you've received.

Next Steps:

Move onto the 250 cylinder challenge, which is a prerequisite for lesson 6.

This critique marks this lesson as complete.
3:59 PM, Monday May 3rd 2021

Thanks and sounds good! If you want feedback on the learning material prior to release I'd be happy to take a look assuming you do some sort of "field testing" before releasing material. Though I guess your multiple rounds of critiques for students in lesson 5 would already have been plenty of feedback on the teaching material.

The recommendation below is an advertisement. Most of the links here are part of Amazon's affiliate program (unless otherwise stated), which helps support this website. It's also more than that - it's a hand-picked recommendation of something I've used myself. If you're interested, here is a full list.
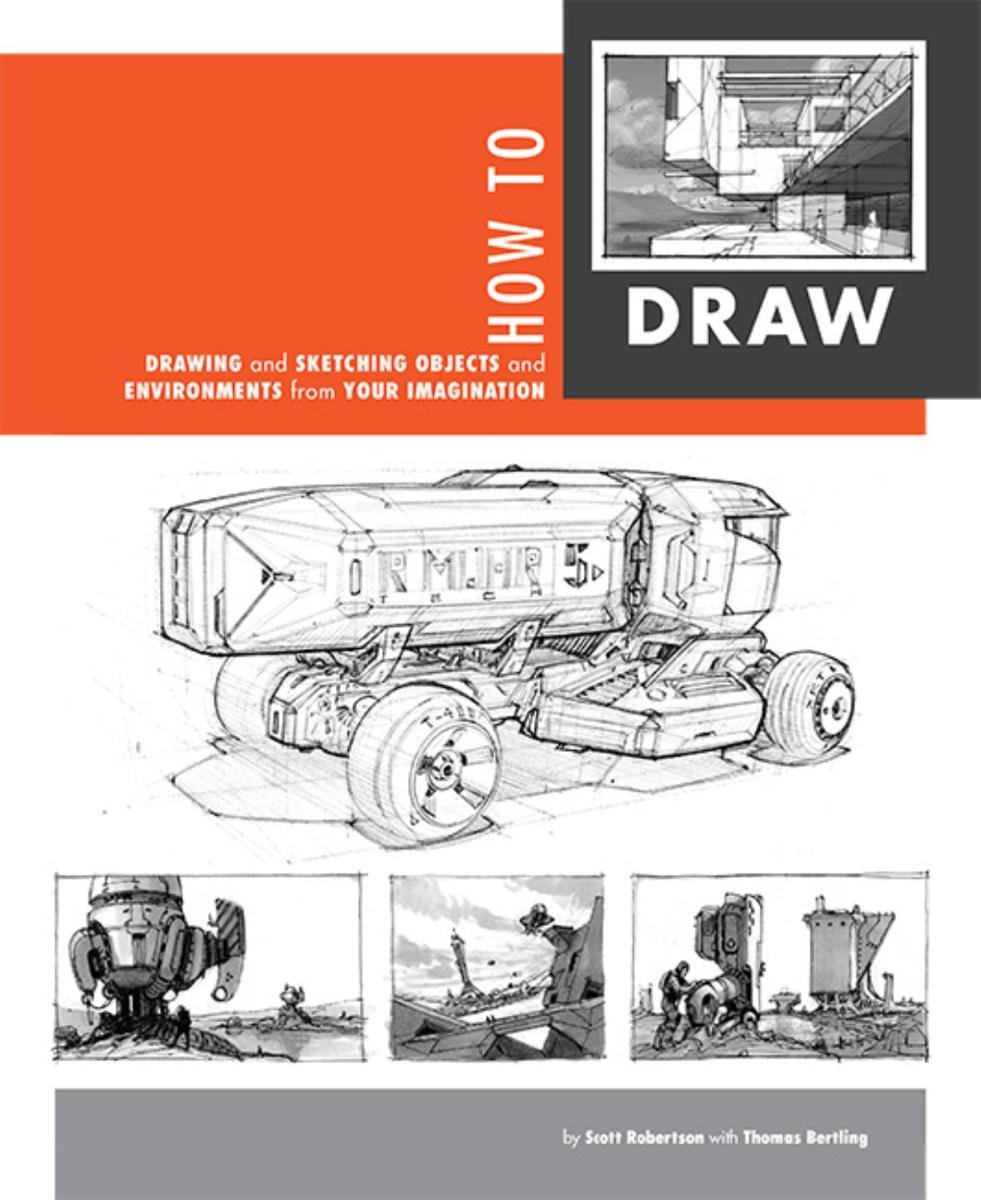
How to Draw by Scott Robertson

How to Draw by Scott Robertson

When it comes to technical drawing, there's no one better than Scott Robertson. I regularly use this book as a reference when eyeballing my perspective just won't cut it anymore. Need to figure out exactly how to rotate an object in 3D space? How to project a shape in perspective? Look no further.

This website uses cookies. You can read more about what we do with them, read our privacy policy.