Lesson 1: Lines, Ellipses and Boxes

11:47 PM, Friday November 20th 2020

Art Fundamentals Lesson 1 - vc21223 - Album on Imgur

Direct Link: https://i.imgur.com/tSS7ouh.jpg

Discover the magic of the internet at Imgur, a community powered enterta...

Hello, the first couple are done with ballpoint since my fineliners took some time to be delivered. Also, my second page of organic perspective was done after I was about 90% finished with the 250 box challenge because that was when I took pictures of my lesson 1 homework and noticed that I was missing a page (the assignment checklist is super helpful!).

2 users agree
2:46 AM, Saturday November 21st 2020
Hi VC21223, I'll try to offer you my humble advice on lesson 1, so you could use this critique to review your work and progressing.

1 - Superimposed Lines:

These looks good, you have a straight hand and you are capable of draw long lines without much "derailing", but I can see that after you draw your first line, the next ones seem to go their own way just at the start and go up or down, then straight to the end point. Before draw your lines, try to be mindful of your starting and ending points, then draw your line. You can achieve that by using your muscle memory, just apply a bit of ghosting technique to it to get less and less fraying, like ghosting 3 times before draw. Also, I recommend to draw more long than short lines, because it has little sense to back to drawing short lines after you've practiced long superimposed lines. You could do this by enlarging every set of superimposed lines you draw, until you met the same length of the paper, preferably in the horizontal way.

2 - Ghosted Lines.

These aren't bad, but I would like to see a better use of the paper. You can draw a bunch of lines in any direction, you only need to rotate the paper in order to draw with the same angle, and don't fear about overlapping them, what matters is that you draw 2 points, the starting and the ending point, then ghost a short number of times (ideally 3 times) and then draw your line confidently, leaving all the work to your muscle memory.

Another advice could be to vary the length of your lines too, from short lines to lines as long as the size of the paper.

3 - Ellipses:

Seems like you're applying the theory correctly here, but the failure I can see is more in your confidence when you draw. Your ellipses looks very wobbly, so I recommend to ghost a longer time before touch the paper with your pen, In that way, your muscle memory will do the work  from your shoulder. You can use a visual aid to remember you how an ellipse look and get the "feel" of it, so you'll start to not to draw "plane" sides and "pointy" turns in your ellipses, which give then that incorrect rectangular feeling when you see them.

4 - Ellipses in Planes:

These look very good! congratulations!! But seems like you're not applying the theory fully here. I can see that in some instances, you don't draw all the points necessary to draw the plane and the insider lines, resulting in wobbly, broken and/or unfinished lines, so careful with that.

The ellipses inside looks very good but in a few instances I can see that you're more worry about hitting the points marked by the inner lines of the planes with your ellipse than drawing a natural and curvy ellipses. This can happen by accident, but you remember that the ghosting technique is the key here, so, after you ghost using your shoulder, doing an elliptical movement for maybe 3 to 5 times you will see how your entire arm draw a more curvy ellipse almost by instinct. That is how muscle memory works.

5 - Funnels:

The corrections here are basically the same of the earlier exercise, so again, watch out with those pointy turns and plane sides on your ellipses.

Don't draw the two curves of the body of the funnel by hand!, use a protractor or something circular as a dish or a compact disc, so they will not deform the ellipses you will draw inside.

You could apply a nice additional step here which consist on give each ellipse that follows an earlier one a wider minor axis, so you get a look more "3D" like in this example: https://d15v304a6xpq4b.cloudfront.net/lesson_images/26427b90.jpg

6 - Rough Perspective:

The most fundamental error here is one that was warned in the theory article in the main site which is that some of your lines of the front or the back side of your boxes aren't neither perpendicular or parallel to the horizon, but oblique, resulting in deformed boxes. Watch out for those, remember that, after constructing your box, its lines will be used to trace those guide lines that ideally should point to the VP of the box (the exercise is inherently difficult, so obviously they will not in your first attempts, but a will get better the more you practice these as a warm-up).

There is a problem of wobbly lines here too, which can be tackled with ghosting and drawing with confidence.

7 - Rotated Boxes:

Being by nature a very difficult exercise, this one resulted very good!, but the most notable error here is the disorder in the upper and lower boxes here, remember that the boxes must rotate and align each other, to not look like this: https://d15v304a6xpq4b.cloudfront.net/lesson_images/9a16c189.jpg So, remember that when you rotate your boxes, the VPs of them moves, hence their sides turn their orientation and conserve their form because the VPs maintain the distance between them, no matter were they move, otherwise will not be a box anymore.

The rest of the problems you can tackle right now are in the wobbly lines and the theory behind a box, but you will get much better on boxes when you're done with the 250 box challenge.

8 - Organic Perspective.

Bit of the same points in your rotated boxes and Superimposed Lines. If the construction of your boxes fails to met the 3 VPs that it requires in space, the will look deformed, But, after you grind the box theory with the 25 box challenge you will get better at it. You could keep practicing the "Y" technique for construction a box in your warm-ups on this exercise: 

https://d15v304a6xpq4b.cloudfront.net/lesson_images/7e325b33.jpg

https://d15v304a6xpq4b.cloudfront.net/lesson_images/40c53985.jpg

https://d15v304a6xpq4b.cloudfront.net/lesson_images/b6b205ea.jpg

You could work a bit in the size of your boxes drawing the very small the most "far" ones. The gist about this exercise is to give a feel of "far" and "close" distances, using perspective in an "organic" way (without plotting and with boxes drawn in any way possible) so the whole thing as this "outer space" feel of objects coming from very far to very close.

9 - Plotter Perspective:

Almost perfect, the only lacks here were aesthetic ones, like the filling of the sides of the boxes, and minor errors during the construction of a couple of boxes, but overall good.

All in all, a solid work, congratulations!!

Next Steps:

Now go to tackle the 250 box challenge!!

This community member feels the lesson should be marked as complete, and 2 others agree. The student has earned their completion badge for this lesson and should feel confident in moving onto the next lesson.
10:35 PM, Saturday November 21st 2020

Thank you so much for taking the time to review and critique my work! The tips are super helpful. In particular, your point about my ellipses being focused more on hitting the points of the planes rather than the shapes and curves of the ellipses themselves is painfully accurate.

1:10 AM, Sunday November 22nd 2020

anytime!! :)

The recommendation below is an advertisement. Most of the links here are part of Amazon's affiliate program (unless otherwise stated), which helps support this website. It's also more than that - it's a hand-picked recommendation of something I've used myself. If you're interested, here is a full list.
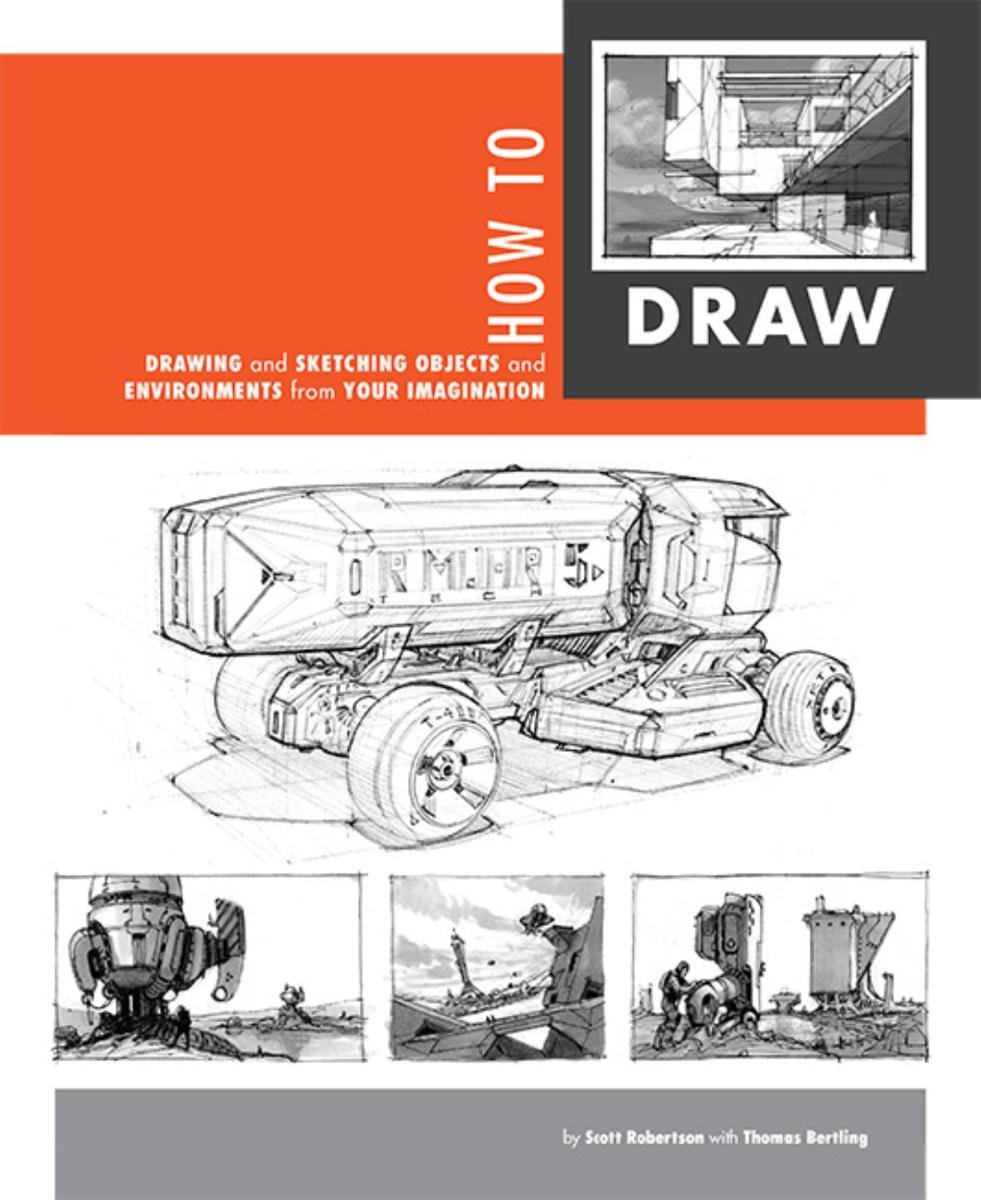
How to Draw by Scott Robertson

How to Draw by Scott Robertson

When it comes to technical drawing, there's no one better than Scott Robertson. I regularly use this book as a reference when eyeballing my perspective just won't cut it anymore. Need to figure out exactly how to rotate an object in 3D space? How to project a shape in perspective? Look no further.

This website uses cookies. You can read more about what we do with them, read our privacy policy.