250 Box Challenge

3:26 AM, Sunday November 22nd 2020

250 Box Challenge – Drawabox Challenger

Drawabox Challenger: https://drawaboxchallenger.wordpress.com/250-boxes

1-50 51-102 103-151 152-202 203-250

Hello everyone,

These are my 250 boxes. I do notice improvement every 50 boxes onward. The black fineliner is a Pigma Micron 08. I feel I have more control with that one than with the Staedler 0.5 (red, green, blue, purple, and orange).

Thank you.

0 users agree
12:24 AM, Tuesday November 24th 2020

Congratulations for completing the 250 Box Challenge!

Before we begin I just want to mention that in the future, when you go to scan your homework submissions, it would be better to scan your homework using the "photo" setting instead of the "drawing" setting. The drawing setting tends to up the contrast on an image and can cause you to lose some of the subtlety in your line work.

From what I can see your line work is fairly well done and your boxes are coming along well. You made some pretty good progress with the quality of your line work. When I compare your early boxes to your final sets I can see that your lines steadily looked straighter and more confident. You also do a better job of getting your sets of parallel lines to converge more consistently towards their shared vanishing points!

One thing I do notice about your boxes is that you drew a number of them a bit small. Drawing bigger helps engage your brain's spatial reasoning skills, whereas drawing smaller impedes them. So in the future, try to stick to drawing your boxes a bit bigger.

Finally while your converges do improve overall I think this diagram will help you further develop that skill as you continue through Drawabox. So, when you are looking at your sets of lines you want to be focusing only on the lines that share a vanishing point. This does not include lines that share a corner or a plane, only lines that converge towards the same vanishing point. Now when you think of those lines, including those that have not been drawn, you can think about the angles from which they leave the vanishing point. Usually the middle lines have a small angle between them, and this angle will become negligible by the time they reach the box. This can serve as a useful hint.

Congrats again and good luck with lesson 2!

Next Steps:

Continue to lesson 2!

This critique marks this lesson as complete.
12:54 PM, Wednesday November 25th 2020

Thank you Scyllastew, for your critique,

  1. I used a document scanner (the “legendary” Fujitsu ScanSnap iX500) on highest quality setting. This device does not have a photo or drawing settings that I am aware of. Comparing the scanned files to the source drawings, I do not really understand what you mean. Details are retained quite excellent I would say.

  2. Do you mean that one should draw the lines that share a vanishing point excluding the part that makes the box? Because I was thinking about that from time to time, to keep the fineliner colour more intact (instead of blending with the black ink of the box), and to give it a way a more accurate convergence, because small inaccuracies of the angle of the box increase a lot if you make the vanishing point line from that, rather than realigning it just a little bit (such as the blue line is doing in the diagram you showed, angling a bit more to the left than the actual box-part does). It appears such small inaccuracies can be ignored; precisely drawing vanishing point lines from such small inaccuracies gives the impression that the box is more inaccurate than it actually is.

An example is box 202: https://drawaboxchallenger.files.wordpress.com/2020/11/2020_11_22_03_48_42.jpg. Technically the upper red line (second from left to right) is off, because the blue line of the box is angled more to the left, but the inaccuracy is so small that I drew the line to the vanishing point, anyway.

Thank you!

1:13 AM, Thursday November 26th 2020

To answer your questions:

  1. This image shows a better representation of the difference that the scanner settings make. Your scanner, like the lower image, artificially increases the contrast to make the paper white. So there are subtle elements to the lines that are blasted out. You can observe the difference between these two images and note the changes.

If you cannot find a way to adjust your settings, a simple phone camera with a bright, natural light source should be adequate. A window during the day or going outside should work fine.

  1. This has nothing to do with extending your lines. The line extensions are only used to check your convergences and see if your sets of lines are converging consistently towards their shared vanishing point. This video should help you better understand what I meant. Here you can see me drawing a box in real time and I talk a bit about what I am thinking as I construct my boxes.

I hope this helps.

The recommendation below is an advertisement. Most of the links here are part of Amazon's affiliate program (unless otherwise stated), which helps support this website. It's also more than that - it's a hand-picked recommendation of something I've used myself. If you're interested, here is a full list.
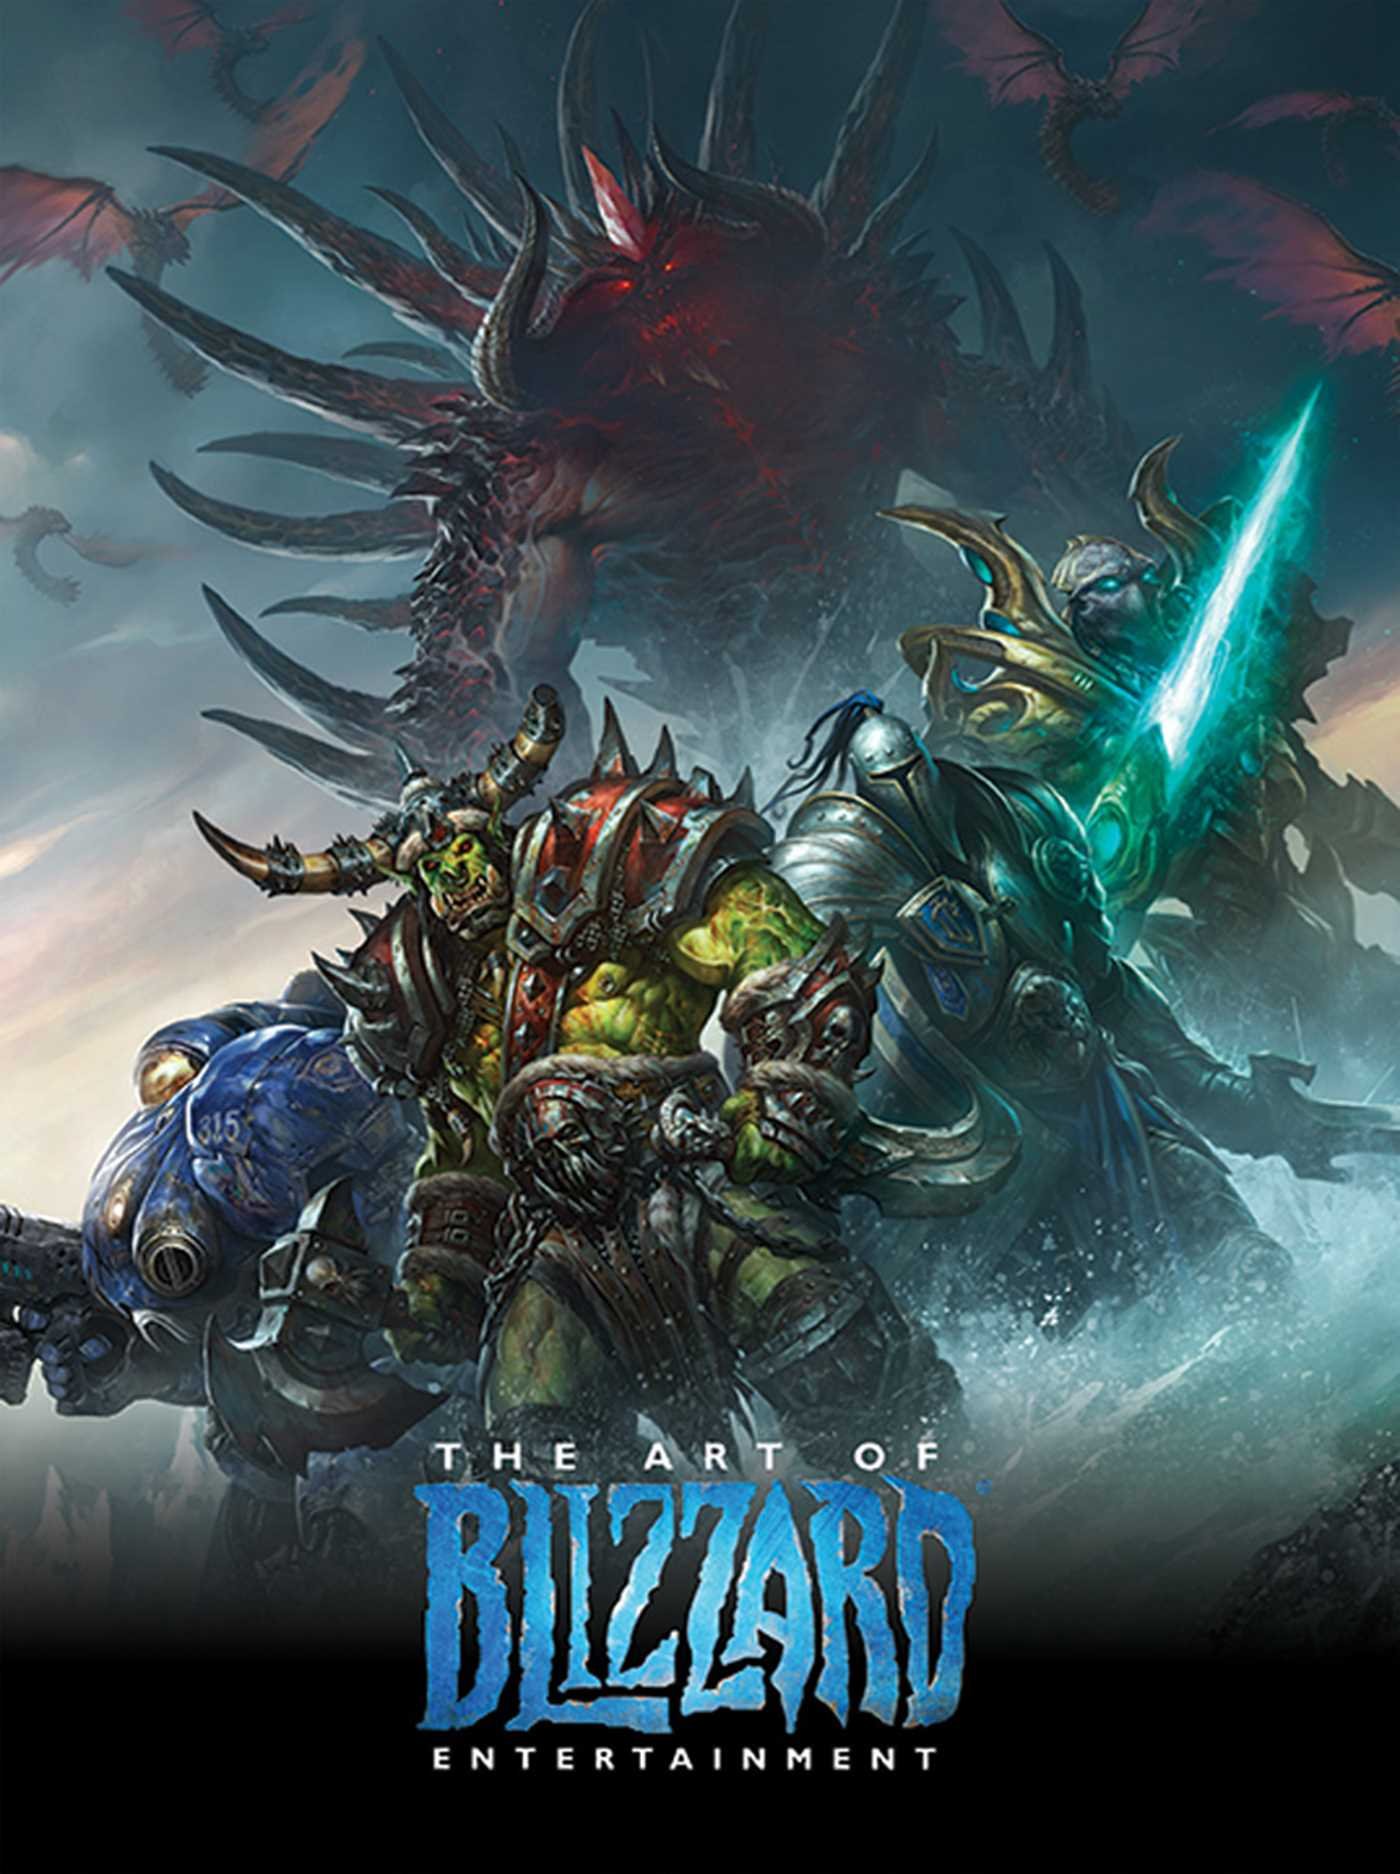
The Art of Blizzard Entertainment

The Art of Blizzard Entertainment

While I have a massive library of non-instructional art books I've collected over the years, there's only a handful that are actually important to me. This is one of them - so much so that I jammed my copy into my overstuffed backpack when flying back from my parents' house just so I could have it at my apartment. My back's been sore for a week.

The reason I hold this book in such high esteem is because of how it puts the relatively new field of game art into perspective, showing how concept art really just started off as crude sketches intended to communicate ideas to storytellers, designers and 3D modelers. How all of this focus on beautiful illustrations is really secondary to the core of a concept artist's job. A real eye-opener.

This website uses cookies. You can read more about what we do with them, read our privacy policy.