Lesson 4: Applying Construction to Insects and Arachnids

12:26 PM, Saturday December 4th 2021

Insekten.pdf - Google Drive

Google Docs: https://drive.google.com/file/d/1ZpWZs9Ks0yWVjNMmwKUBNoSjnIj9i2dZ/view?usp=sharing

Thank you so much for taking your time and reviewing my work. It really means a lot to me

Also little note: I drew in different colored fineliners I had lying around at home. They work perfectly fine and I don't want to buy new (black) ones if I have working ones.

2 users agree
1:04 PM, Thursday December 16th 2021

Hello Cytori,

I hope you are well,

I don't think the color of your fineliner matters, but it is good practice to not be wasteful with your money and use up the remaining fineliners.

Starting with sausages

Those are quite great, as you change the degrees of the contours properly. There are few cases where you make your contour sloppy, but your overall intention is to make them fit inside. Additionally on the topic that includes your contours, the linework. There are places where it could be better, try to be more patient with it.

Moving to insects

Looking through them I notice that your line weight is applied "incorrectly". It is a little messy and I know you could do better as your linework is quite good as you can make straight lines if you commit to them. So for lineweight remember to also ghost for that process. What we want to do is add another line on top of our initial one and what we should get is an effect of our line becoming darker(as we give more ink to the line) and slightly wider(as ink spills slightly to the sides). Making our line wider isn't our goal, it is to make it stronger/darker. This diagram conveys what I am trying to say. Keep in mind that we don't apply the lineweight with our wrist, what we want to use is our shoulder. Line weight is about clarifying the overlap between forms in specific areas.

In your last beetle you made the segments of it "armor" too much 2d. This demo shows how we should tackle that part of an insect body. This might be caused as you used a top view, which I believe doesn't help us when we draw a 3d object. Additionally in front limbs, you have skipped quite a few steps building those "forearms". When we construct anything we want to add forms on top of forms. I went over this section of the drawing here, my execution is quite crude as I drew it with the mouse. But what I want you to gain from it, is that we draw those complex forms with stacking small simple ones to create a feel of a solid 3d drawing. You can see an example of this with this beetle horn demo, and even on this ant head demo.

Lastly in this demo, I think you didn't draw proper sausages for the back legs. You again draw a silhouette, which creates a 2d shape. This is how it should have been made.

In your dragonfly drawing I think it's wings are missaligned or that could be how the reference just is.

Conclusion

You did a good job absorbing the material covered in this lesson. In the future try to avoid the top view in your drawabox drawings. Now I will mark this lesson as complete.

If you have any questions feel free to ask me here,

Have fun on your journey,

Next Steps:

Continue to lesson 5

This community member feels the lesson should be marked as complete, and 2 others agree. The student has earned their completion badge for this lesson and should feel confident in moving onto the next lesson.
6:05 PM, Thursday December 16th 2021

Hello Rivgar,

thank you so much for your detailed critique. I really appreciate the time you took to critique it and even drew on top of my drawings, it really clarified what you mean.

I feel like I've always struggled with adding line wight, because I often don't manage to go along the the original line and diverge, so I guess I subconscoiusly started drawing them from my wrist. Thank you for pointing that out, I'll keep it in mind and train it a little in my warmups.

For the beetle: Yeah, I noticed while drawing that a top-down view was really hard to convey a 3D object. You basically just saw the shell and the legs had somewhat leaf-like shapes and weren't round (https://www.pinterest.de/pin/400609329334961047/) and then the entire drawing just looked really flat... I should have done it like you drew it :)

Thank you again and have fun on your journey as well

The recommendation below is an advertisement. Most of the links here are part of Amazon's affiliate program (unless otherwise stated), which helps support this website. It's also more than that - it's a hand-picked recommendation of something I've used myself. If you're interested, here is a full list.
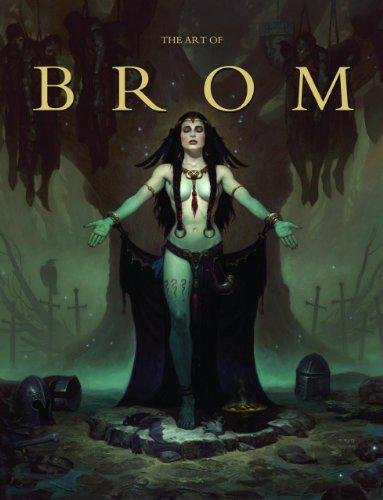
The Art of Brom

The Art of Brom

Here we're getting into the subjective - Gerald Brom is one of my favourite artists (and a pretty fantastic novelist!). That said, if I recommended art books just for the beautiful images contained therein, my list of recommendations would be miles long.

The reason this book is close to my heart is because of its introduction, where Brom goes explains in detail just how he went from being an army brat to one of the most highly respected dark fantasy artists in the world today. I believe that one's work is flavoured by their life's experiences, and discovering the roots from which other artists hail can help give one perspective on their own beginnings, and perhaps their eventual destination as well.

This website uses cookies. You can read more about what we do with them, read our privacy policy.